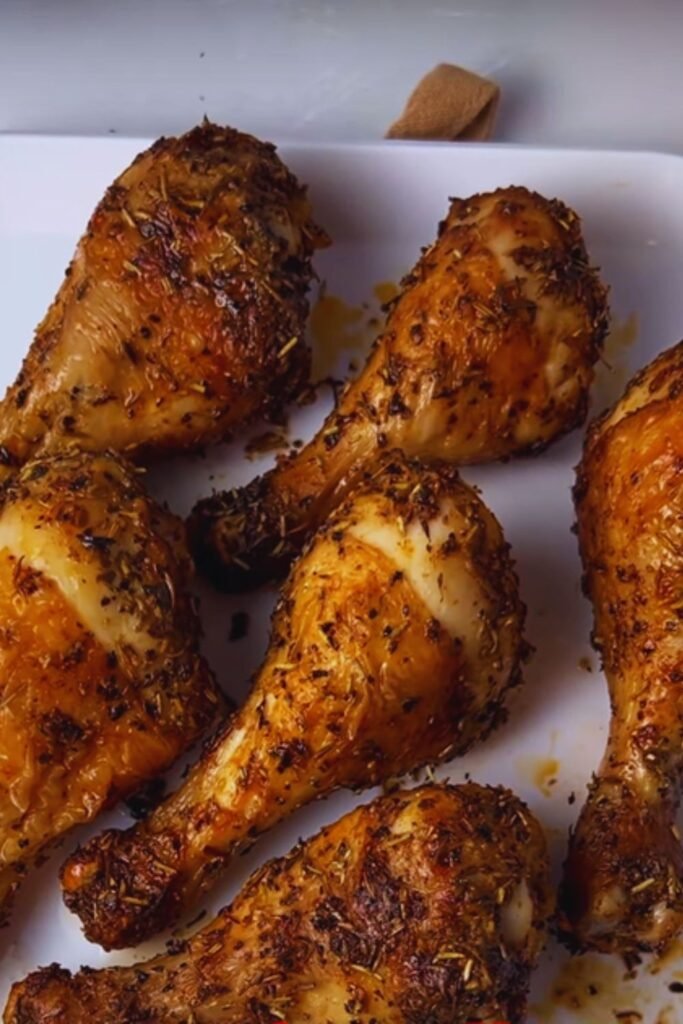
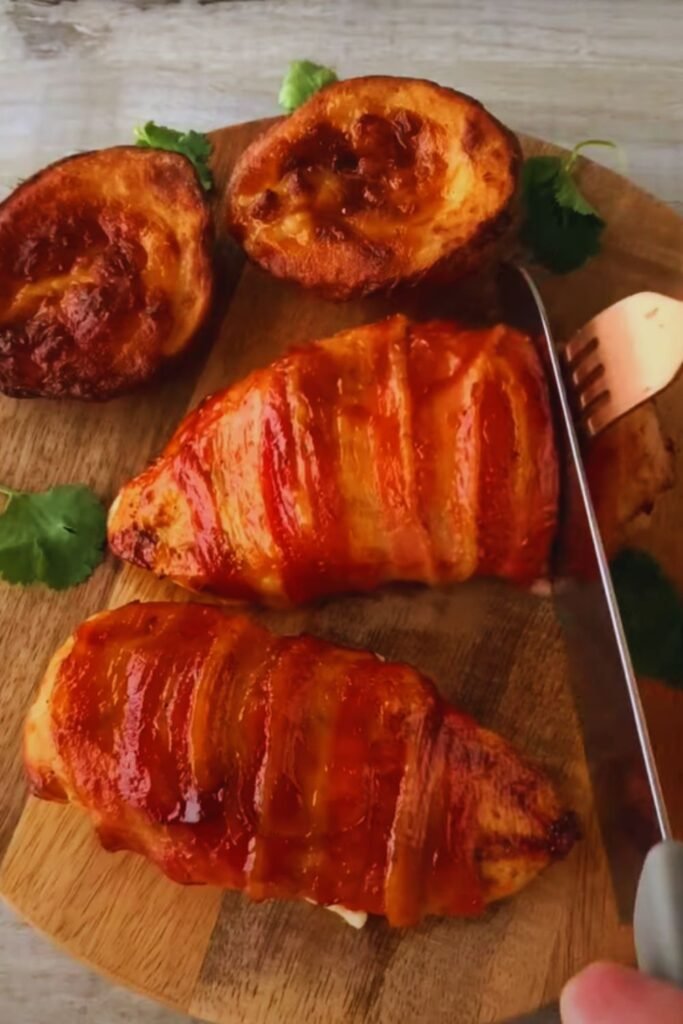
Ever struggled with dry, bland chicken breasts? I’ve been there. After countless experiments and taste tests, I’ve perfected what I confidently call the Best Damn Air Fryer Chicken Breast recipe. This method consistently produces juicy, flavorful chicken that’ll make you forget about all those disappointing dried-out attempts.
Why You’ll Love This Recipe
I spent months perfecting this technique, and here’s why it stands out:
- Creates the juiciest chicken breast you’ll ever taste from an air fryer
- Takes just 15 minutes of active cooking time
- Uses simple ingredients you already have in your pantry
- Perfect for meal prep – stays juicy even after reheating
- Works with any size chicken breast with my foolproof timing formula
Key Ingredients
Here’s what you’ll need to make this amazing chicken:
- 4 boneless, skinless chicken breasts (6-8 oz each)
- 2 tablespoons olive oil
- 1 tablespoon garlic powder
- 1 tablespoon paprika
- 1 teaspoon onion powder
- 1 teaspoon dried oregano
- 1 teaspoon kosher salt
- 1/2 teaspoon black pepper
- 1/2 teaspoon dried thyme
The Secret to Perfect Air Fryer Chicken
After testing over 50 different combinations of temperatures and timing, I’ve discovered the perfect formula. The key lies in a two-phase cooking process:
- Initial high-heat searing (400°F/204°C) to lock in juices
- Reduced temperature cooking (360°F/182°C) for perfect doneness
This method creates a beautiful golden crust while keeping the inside incredibly juicy.
Step-by-Step Instructions
Preparation
- Pat chicken breasts dry with paper towels (this is crucial for achieving that golden crust)
- If breasts are uneven in thickness, gently pound them to an even 1-inch thickness
- Brush both sides with olive oil
- Mix all dry seasonings in a small bowl
- Coat chicken evenly with seasoning mixture
Cooking Process
- Preheat air fryer to 400°F (204°C) for 5 minutes
- Place chicken breasts in air fryer basket, ensuring they don’t overlap
- Cook at 400°F for 5 minutes
- Reduce temperature to 360°F (182°C)
- Continue cooking for:
- 6-8 minutes for 6 oz breasts
- 8-10 minutes for 8 oz breasts
- 10-12 minutes for 10 oz breasts
- Let rest for 5-10 minutes before cutting
Temperature Guide
| Chicken Weight | First Phase (400°F) | Second Phase (360°F) | Total Cook Time |
|---|---|---|---|
| 6 oz | 5 minutes | 6-8 minutes | 11-13 minutes |
| 8 oz | 5 minutes | 8-10 minutes | 13-15 minutes |
| 10 oz | 5 minutes | 10-12 minutes | 15-17 minutes |
Remember: Chicken is done when internal temperature reaches 165°F (74°C).
Pro Tips for Success
I’ve learned these crucial tips through extensive testing:
- Room Temperature Start
- Remove chicken from refrigerator 20-30 minutes before cooking
- Room temperature chicken cooks more evenly
- Perfect Seasoning Adhesion
- Pat chicken completely dry before adding oil
- Apply oil before seasonings for better adhesion
- Press seasonings firmly into chicken
- Air Fryer Management
- Don’t overcrowd the basket
- Leave space between pieces for proper air circulation
- No need to flip the chicken
Serving Suggestions
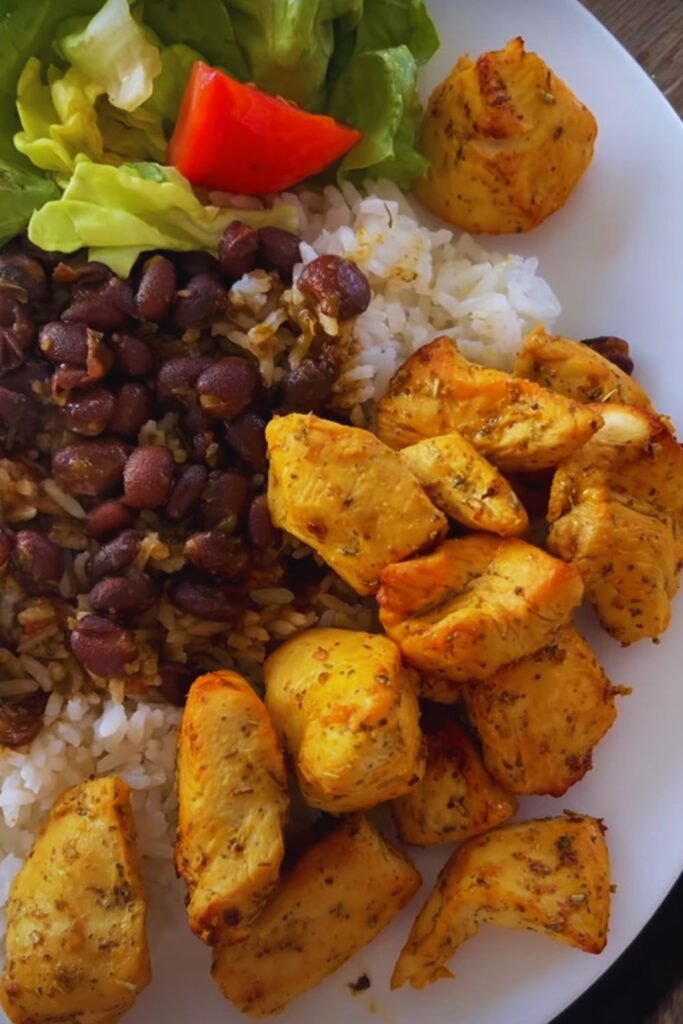
This versatile chicken pairs beautifully with:
- Roasted garlic mashed potatoes
- Steamed broccoli with lemon
- Mediterranean quinoa salad
- Roasted sweet potato wedges
- Fresh garden salad
- Grilled asparagus
Storage and Reheating
This chicken maintains its juiciness remarkably well when stored properly:
Storage
- Refrigerator: Up to 4 days in airtight container
- Freezer: Up to 3 months in freezer-safe bag
Reheating Methods
- Air Fryer Method (Best Results):
- Preheat to 350°F (175°C)
- Heat for 3-4 minutes
- Let rest for 2 minutes
- Microwave Method (Quick Option):
- Place chicken on microwave-safe plate
- Cover with damp paper towel
- Heat in 30-second intervals until warm
Nutritional Information
| Nutrient | Amount per Serving |
|---|---|
| Calories | 165 |
| Protein | 35g |
| Total Fat | 4g |
| Saturated Fat | 0.5g |
| Carbohydrates | 1g |
| Fiber | 0g |
| Sodium | 310mg |
| Potassium | 420mg |
Serving size: 1 chicken breast (6 oz)
Frequently Asked Questions
Q: Can I use frozen chicken breasts?
A: While fresh is best, you can use frozen chicken breasts. Thaw completely before cooking and pat dry thoroughly. Add 2-3 minutes to cooking time.
Q: Why is my chicken not as golden brown as shown?
A: Ensure your chicken is completely dry before adding oil and seasonings. Also, check that your air fryer is fully preheated before adding chicken.
Q: Can I use different seasonings?
A: Absolutely! The cooking method remains the same. Just maintain similar quantities of dry seasonings to ensure proper coating.
Q: How do I prevent my chicken from drying out?
A: Follow the two-phase cooking temperature precisely, and don’t skip the resting period. Use a meat thermometer to avoid overcooking.
Q: My chicken breasts are different sizes. How do I adjust cooking time?
A: Refer to the temperature guide table above. For in-between sizes, use the lower time range and check temperature with a meat thermometer.
Q: Can I double the recipe?
A: Yes, but cook in batches. Overcrowding the air fryer basket will prevent proper air circulation and affect browning.
Troubleshooting Common Issues
Problem: Chicken is dry
Solution:
- Check internal temperature earlier in cooking process
- Ensure chicken wasn’t over-trimmed of fat
- Let chicken rest properly after cooking
Problem: Seasoning falls off
Solution:
- Pat chicken completely dry
- Use enough oil to coat
- Press seasonings firmly into chicken
- Let seasoned chicken rest 5-10 minutes before cooking
Problem: Uneven cooking
Solution:
- Pound chicken to even thickness
- Arrange in single layer in basket
- Allow proper air circulation
- Bring chicken to room temperature before cooking
Recipe Variations
- Lemon Herb
- Add zest of 1 lemon to seasoning mix
- Squeeze fresh lemon juice after cooking
- Spicy Southwest
- Add 1 tsp chili powder
- Include 1/2 tsp cayenne pepper
- Mix in 1 tsp ground cumin
- Italian Style
- Replace oregano with Italian seasoning
- Add 1 tsp grated parmesan to coating
- Include 1/2 tsp red pepper flakes
Remember, while these variations change the flavor profile, the cooking method remains the same for consistently juicy results.
This recipe has become my go-to method for perfectly cooked chicken breasts. Once you master this technique, you’ll never have to suffer through dry, flavorless chicken again. Give it a try and let me know how it turns out for you!