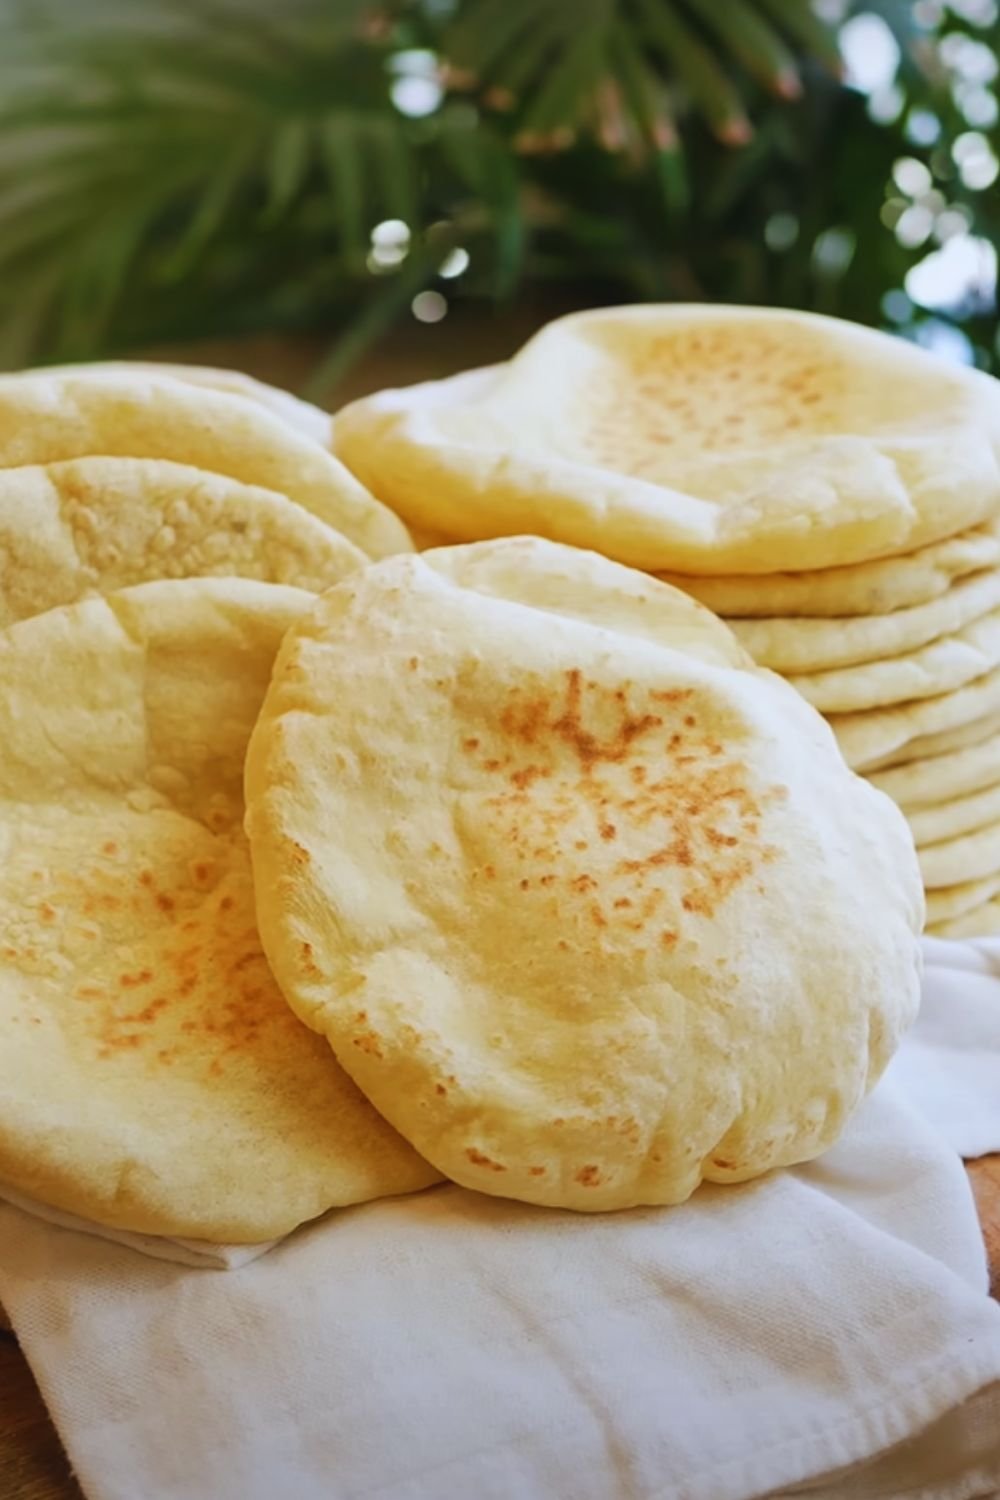
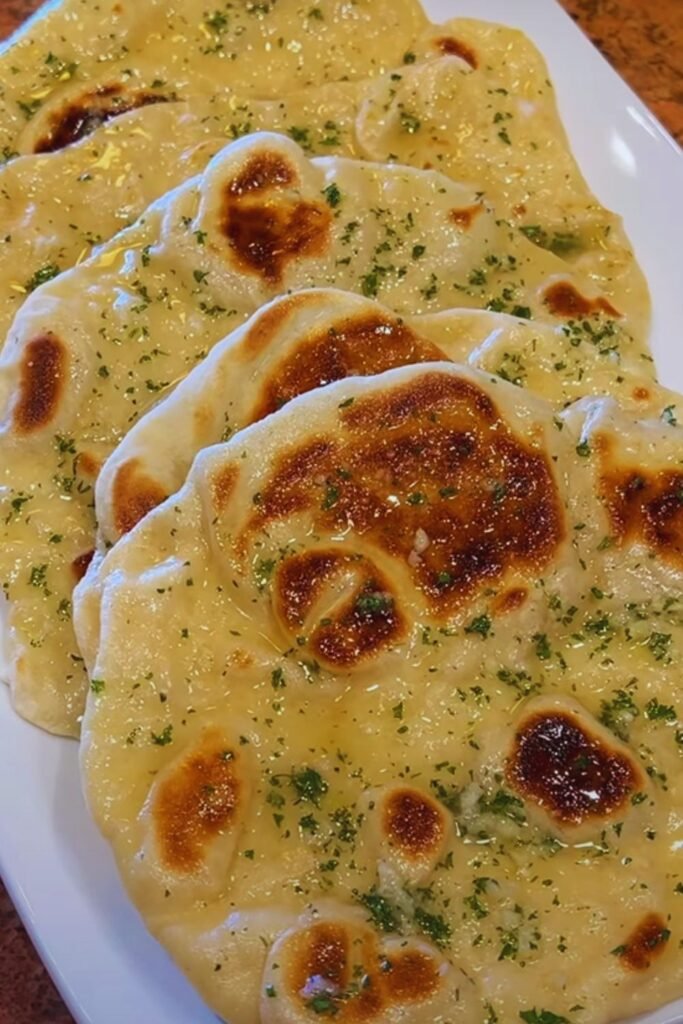
There’s something magical about pulling fresh, warm pita bread straight from the oven. As someone who’s spent years perfecting this traditional Greek staple, I’m excited to share my foolproof recipe for creating perfectly puffy, soft, and flavorful pita bread right in your home kitchen. Whether you’re planning to serve it with souvlaki, stuff it with falafel, or simply enjoy it with your favorite dips, this recipe will become your go-to for authentic Greek pita bread.
Why Make Your Own Pita Bread?
Before we dive into the recipe, let me share why making your own pita bread is worth the effort. Store-bought pita can often be dry, bland, and lacking that distinctive pocket we all love. When you make it at home, you’ll experience:
- The incomparable taste and texture of freshly baked bread
- Complete control over ingredients and portion sizes
- The satisfaction of creating an authentic Greek staple
- Cost-effectiveness compared to store-bought options
- The ability to customize thickness and size to your preference
Essential Ingredients
For this recipe, we’ll need simple, quality ingredients that come together to create something extraordinary:
For the Dough:
- 3 cups (375g) bread flour
- 1 cup (240ml) warm water
- 2¼ teaspoons active dry yeast
- 1 tablespoon olive oil
- 1 teaspoon sugar
- 1½ teaspoons salt
- 1 tablespoon Greek yogurt (my secret ingredient for tenderness)
Equipment Needed
To ensure success, gather these tools:
- Large mixing bowl
- Stand mixer with dough hook (or strong arms for kneading)
- Rolling pin
- Clean kitchen towels
- Baking sheets
- Pizza stone (preferred) or heavy baking sheet
- Dough scraper
- Kitchen scale (recommended for precision)
The Step-by-Step Process
1. Preparing the Dough
I’ve found that the key to perfect pita bread lies in the initial dough preparation. Here’s my detailed process:
- Start by activating the yeast:
- Combine warm water (110°F/43°C) with sugar
- Sprinkle yeast over the surface
- Let it stand for 5-10 minutes until foamy
- Create the dough:
- In a stand mixer bowl, combine flour and salt
- Add olive oil and Greek yogurt
- Pour in the activated yeast mixture
- Mix with dough hook on low speed for 2 minutes
- Increase to medium speed for 6-8 minutes
The dough should be smooth, elastic, and slightly tacky but not sticky. If kneading by hand, plan for 10-12 minutes of vigorous kneading.
2. First Rise
This crucial step develops flavor and structure:
- Place dough in an oiled bowl
- Cover with a damp kitchen towel
- Let rise in a warm spot (75-80°F/24-27°C) for 60-90 minutes
- Dough should double in size
3. Shaping the Pitas
This is where technique matters most:
- Gently deflate the dough
- Divide into 8 equal portions (about 95g each)
- Shape each portion into a ball
- Let rest for 15 minutes, covered
- Roll each ball into a circle:
- Aim for ¼ inch thickness
- Maintain even thickness throughout
- Size should be 6-7 inches in diameter
Pro Tip: I like to dust my work surface with a mixture of flour and semolina for extra crispiness on the outside of the pita.
4. Second Rise and Baking
The final steps that bring it all together:
- Place shaped pitas on floured baking sheets
- Cover with clean kitchen towels
- Let rise for 30 minutes
- Preheat oven to 475°F (245°C) with pizza stone inside
- Bake each pita for 3-4 minutes until puffed
Troubleshooting Guide
Here are solutions to common issues I’ve encountered:
Pitas Won’t Puff
- Dough too dry: Add water, 1 teaspoon at a time
- Oven not hot enough: Ensure proper preheating
- Uneven thickness: Roll more consistently
- Overworked dough: Handle more gently
Dense Texture
- Old yeast: Test yeast before using
- Insufficient kneading: Knead until properly elastic
- Too much flour: Maintain proper hydration
- Insufficient rising time: Allow full rise
Storage and Reheating
To maintain freshness:
- Cool completely on wire racks
- Store in an airtight container or bag
- Keep at room temperature for 2 days
- Freeze for up to 3 months
To reheat:
- Microwave: 10-15 seconds
- Oven: Wrap in foil, heat at 350°F for 5 minutes
- Stovetop: 30 seconds per side in a dry skillet
Serving Suggestions
Here are my favorite ways to enjoy fresh pita:
- Traditional Greek souvlaki
- Homemade hummus and baba ganoush
- Fresh Greek salad
- Tzatziki sauce
- Grilled vegetables and halloumi
- Falafel with tahini sauce
- Mediterranean mezze platter
Variations
Once you’ve mastered the basic recipe, try these variations:
- Whole Wheat Pita:
- Replace 1 cup of bread flour with whole wheat flour
- Increase water by 2 tablespoons
- Herb-Infused Pita:
- Add 2 tablespoons fresh herbs (oregano, thyme, or rosemary)
- Incorporate during initial mixing
- Garlic Pita:
- Add 2-3 minced garlic cloves
- Brush with garlic oil before baking
Common Questions
Q: Why didn’t my pitas form pockets?
A: The pocket forms from steam during baking. Ensure your oven is properly preheated and your dough is the right thickness. Too thick or thin won’t create proper pockets.
Q: Can I make the dough ahead of time?
A: Yes! You can refrigerate the dough after the first rise for up to 24 hours. Let it come to room temperature before shaping.
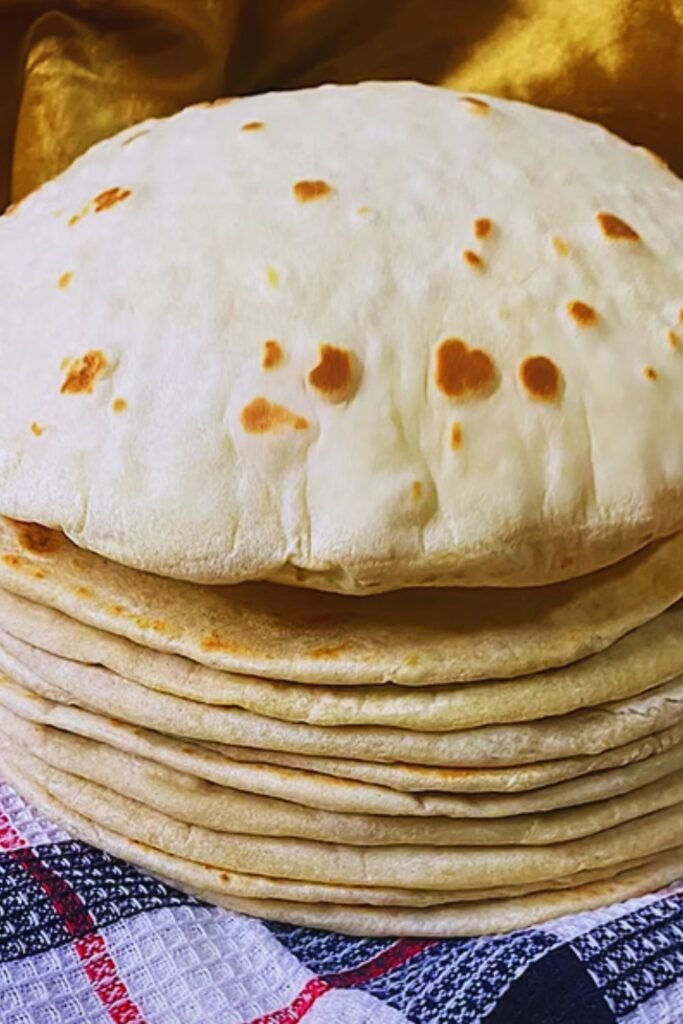
Q: How do I know when my pitas are done?
A: They should puff up completely and have light golden spots on both sides. They’ll deflate naturally as they cool.
Q: Can I make these without a pizza stone?
A: Yes, though a pizza stone helps create better pockets. Use an inverted heavy baking sheet instead.
Q: Why is my dough too sticky?
A: Humidity affects flour absorption. Add flour gradually, 1 tablespoon at a time, until the dough is tacky but not sticky.
Tips for Success
From my years of experience, here are my top tips:
- Temperature Matters:
- Use warm water (110°F/43°C) for yeast
- Keep dough in a warm place for rising
- Maintain high oven temperature
- Technique Tips:
- Don’t skip the resting periods
- Roll evenly for uniform pockets
- Work quickly when transferring to oven
- Timing is Everything:
- Watch pitas carefully while baking
- Remove as soon as they puff
- Stack and cover while warm
By following this guide, you’ll create authentic Greek pita bread that rivals any bakery. Remember, practice makes perfect, and even if your first batch isn’t picture-perfect, they’ll still be delicious. Happy baking!