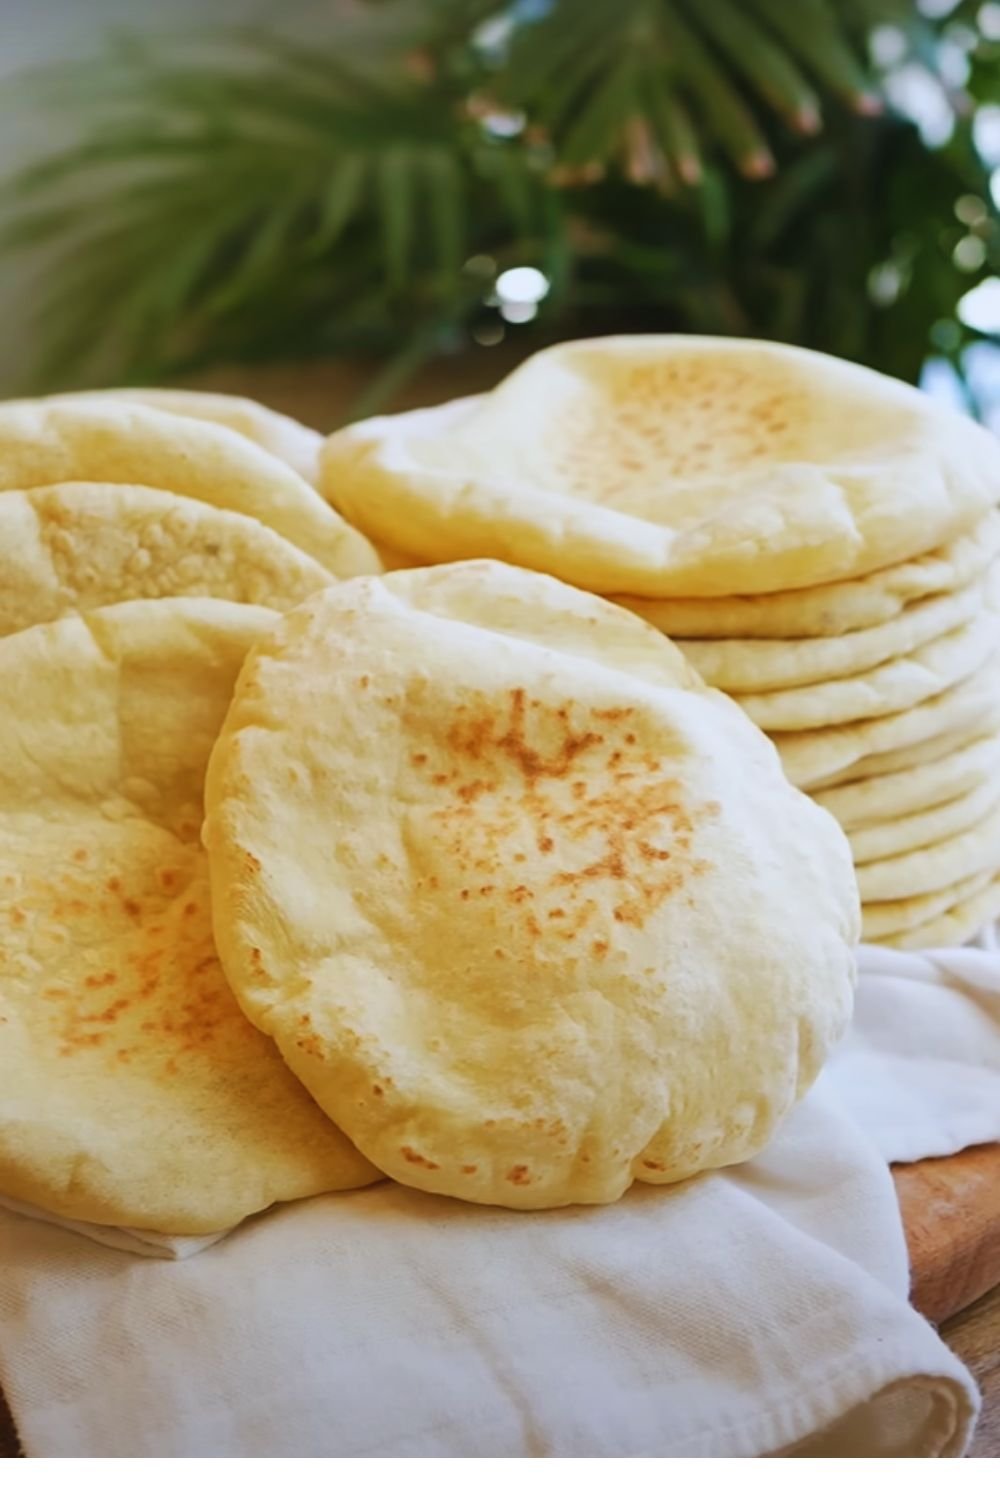
There’s something magical about pulling warm, puffy pita bread straight from the oven. The way it balloons up while baking, creating that perfect pocket for all your favorite fillings, is nothing short of kitchen alchemy. Today, I’m sharing my foolproof recipe for making authentic pita bread at home – no fancy equipment needed!
Why Make Pita Bread at Home?
After years of buying store-bought pita, I discovered that making it at home isn’t just more economical – it’s a complete game-changer in terms of taste and texture. Fresh pita bread is softer, more flavorful, and lacks the preservatives found in commercial versions. Plus, there’s an undeniable satisfaction in watching simple ingredients transform into these perfectly pocketed rounds of bread.
Essential Ingredients
Here’s what you’ll need to make 8 medium-sized pita breads:
| Ingredient | Amount | Notes |
|---|---|---|
| All-purpose flour | 3 cups (375g) | Unbleached preferred |
| Active dry yeast | 2¼ teaspoons (7g) | Or 1 packet |
| Warm water | 1 cup (240ml) | 105-110°F (40-43°C) |
| Extra virgin olive oil | 2 tablespoons (30ml) | Plus extra for coating |
| Salt | 1½ teaspoons (9g) | Fine sea salt preferred |
| Sugar | 1 teaspoon (4g) | To activate yeast |

Essential Equipment
| Equipment | Purpose |
|---|---|
| Large mixing bowl | For dough preparation |
| Clean kitchen towel | For covering dough |
| Baking sheet | For baking pitas |
| Rolling pin | For shaping dough |
| Measuring tools | For accurate portions |
The Step-by-Step Process
1. Preparing the Dough
First things first – let’s activate our yeast:
- Combine warm water and sugar in a bowl
- Sprinkle yeast over water
- Let stand for 5-10 minutes until foamy
- Add olive oil to the mixture
Next, we’ll prepare our flour mixture:
- In a large bowl, whisk together flour and salt
- Create a well in the center
- Pour in the yeast mixture
- Mix until a shaggy dough forms
2. Kneading the Dough

The key to perfect pita bread lies in proper kneading. Here’s my tried-and-true method:
- Turn dough onto a floured surface
- Knead for 8-10 minutes until smooth and elastic
- Form into a ball
- Place in an oiled bowl
- Cover with a damp kitchen towel
- Let rise for 1-1½ hours until doubled
3. Shaping and Second Rise
Once your dough has doubled in size:
- Punch down the dough gently
- Divide into 8 equal portions
- Shape each portion into a ball
- Cover and rest for 15 minutes
- Roll each ball into a 6-inch circle
- Keep thickness even (about ¼ inch)
4. Baking Process
Now comes the exciting part – watching those pitas puff up!
| Temperature | Time | Position |
|---|---|---|
| 450°F (230°C) | 3-4 minutes | Middle rack |
Baking tips for perfect results:
- Preheat oven with baking sheet inside
- Bake 2-3 pitas at a time
- Watch for puffing (happens around 2-minute mark)
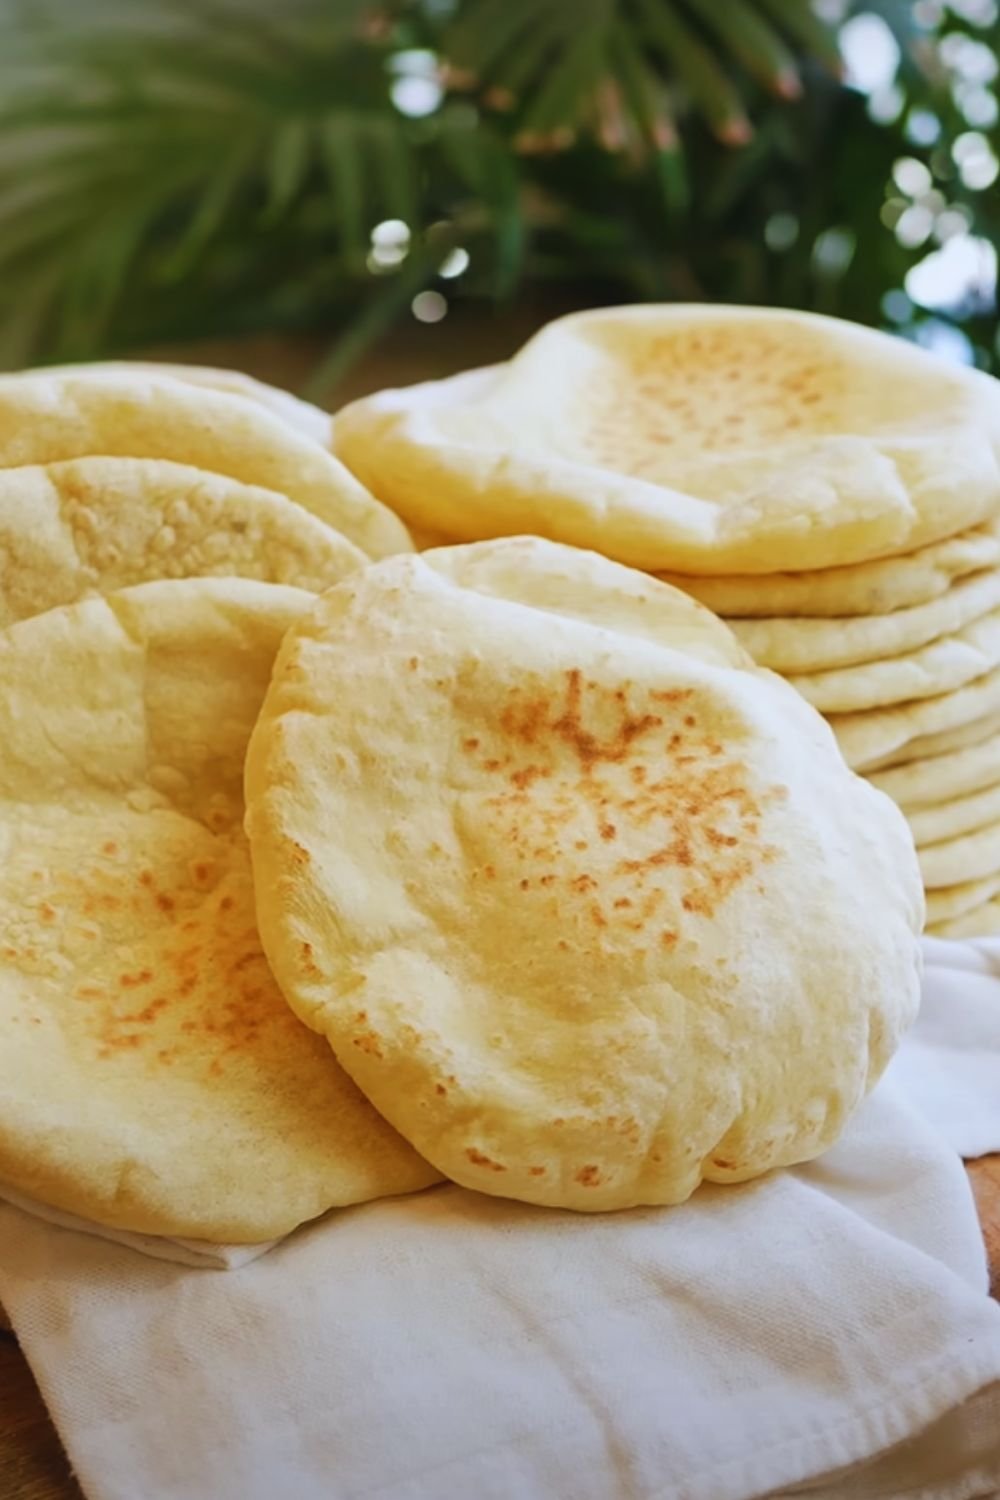
- Remove when lightly golden
- Cover with clean kitchen towel while warm
Troubleshooting Guide
| Problem | Likely Cause | Solution |
|---|---|---|
| Pitas don’t puff | Too thick/thin | Maintain ¼ inch thickness |
| Dough too sticky | Too much water | Add flour gradually |
| Tough texture | Overkneaded | Reduce kneading time |
| Uneven puffing | Uneven thickness | Roll more carefully |
Storage and Reheating
Fresh pita bread stays good for:
| Storage Method | Duration | Notes |
|---|---|---|
| Room temperature | 2 days | In sealed bag |
| Refrigerator | 1 week | In airtight container |
| Freezer | 3 months | Double-wrapped |
Serving Suggestions
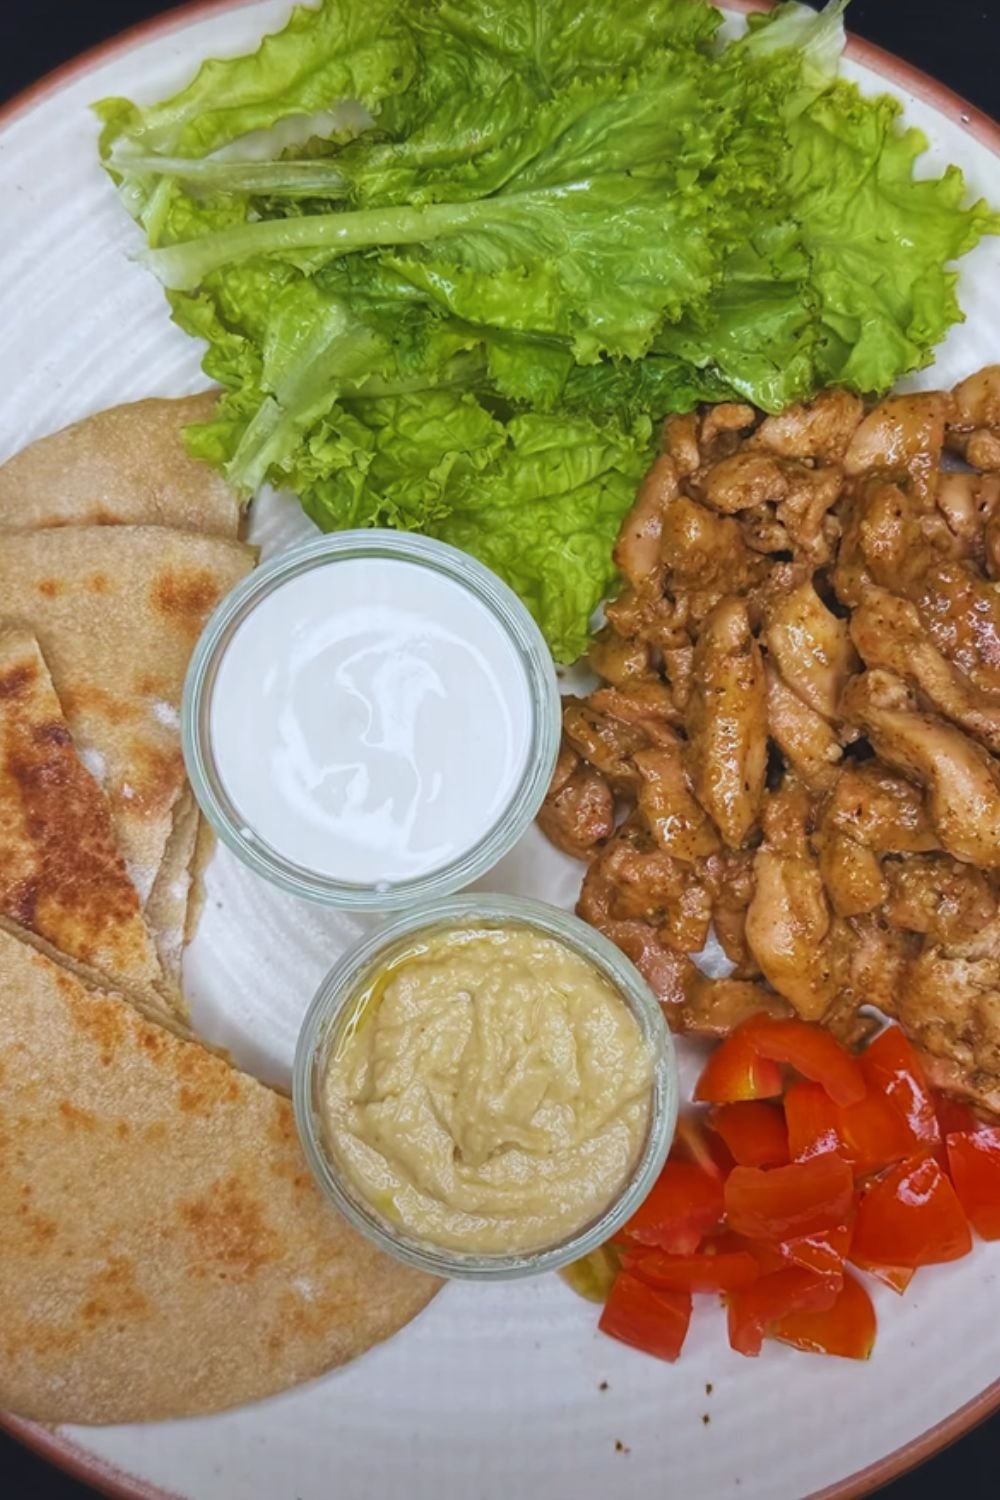
My favorite ways to enjoy fresh pita bread:
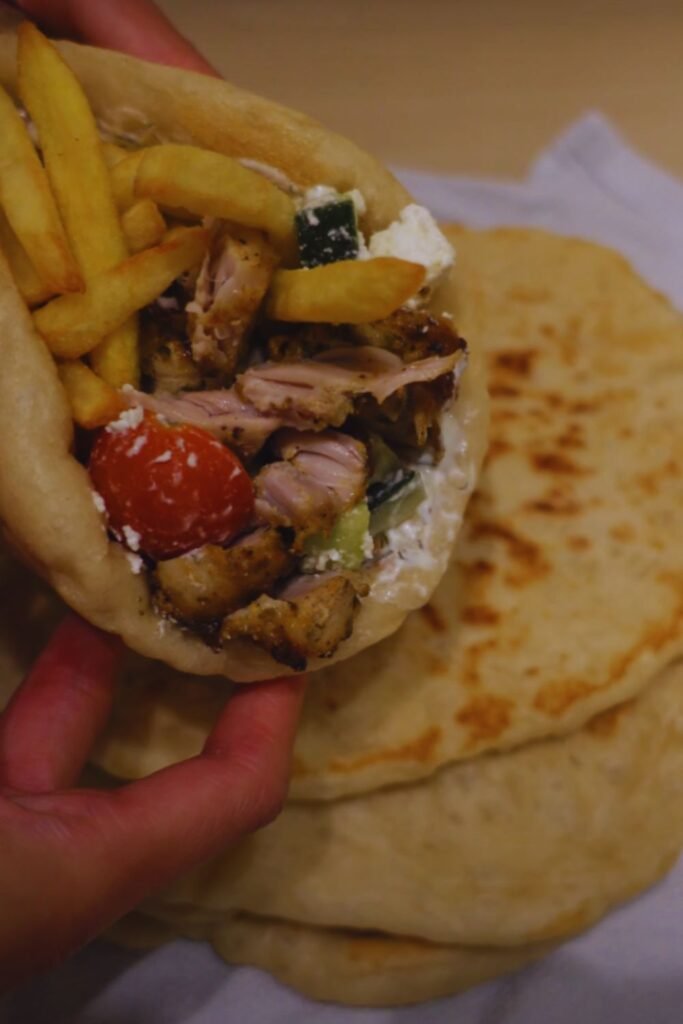
- Stuffed with falafel and tahini sauce
- Topped with hummus and cucumber
- Used as a base for Mediterranean pizza
- Served alongside Greek salad
- Cut into triangles and toasted for dips
Health Benefits
Homemade pita bread offers several nutritional advantages:
| Nutrient | Benefit |
|---|---|
| Complex carbohydrates | Sustained energy |
| Protein | Muscle support |
| Fiber | Digestive health |
| Low fat | Heart-healthy |
Common Questions
Q: Why didn’t my pitas puff up?
A: This usually happens when the oven isn’t hot enough or the dough isn’t rolled evenly. Make sure your oven is fully preheated and roll the dough to an even thickness.
Q: Can I use whole wheat flour?
A: Yes! You can substitute up to 50% of the all-purpose flour with whole wheat flour. Keep in mind that 100% whole wheat pitas will be denser.
Q: How can I make my pitas softer?
A: Cover the freshly baked pitas with a clean kitchen towel while they’re still warm. The steam helps keep them soft and pliable.
Q: Can I make the dough ahead of time?
A: Yes! You can refrigerate the dough after the first rise for up to 24 hours. Let it come to room temperature before shaping.
Q: Why are my pitas dry?
A: Overbaking is usually the culprit. Remove them from the oven as soon as they puff up and are very lightly golden.
Recipe Variations
Get creative with these delicious twists:
- Herb-infused pitas:
- Add 2 tablespoons fresh herbs to dough
- Try rosemary, thyme, or za’atar
- Multigrain version:
- Replace 1 cup flour with mixed grains
- Add extra water as needed
- Garlic pitas:
- Include 2-3 minced garlic cloves
- Brush with garlic oil before baking
Final Tips for Success
- Don’t skip the resting periods
- Keep dough thickness consistent
- Ensure oven is properly preheated
- Work quickly when transferring to oven
- Store properly while still warm
Remember, making perfect pita bread takes practice. Don’t get discouraged if your first batch isn’t perfect – each time you make them, you’ll get better at judging the dough consistency and perfecting your technique. The joy of pulling that first properly puffed pita from the oven is worth all the practice!