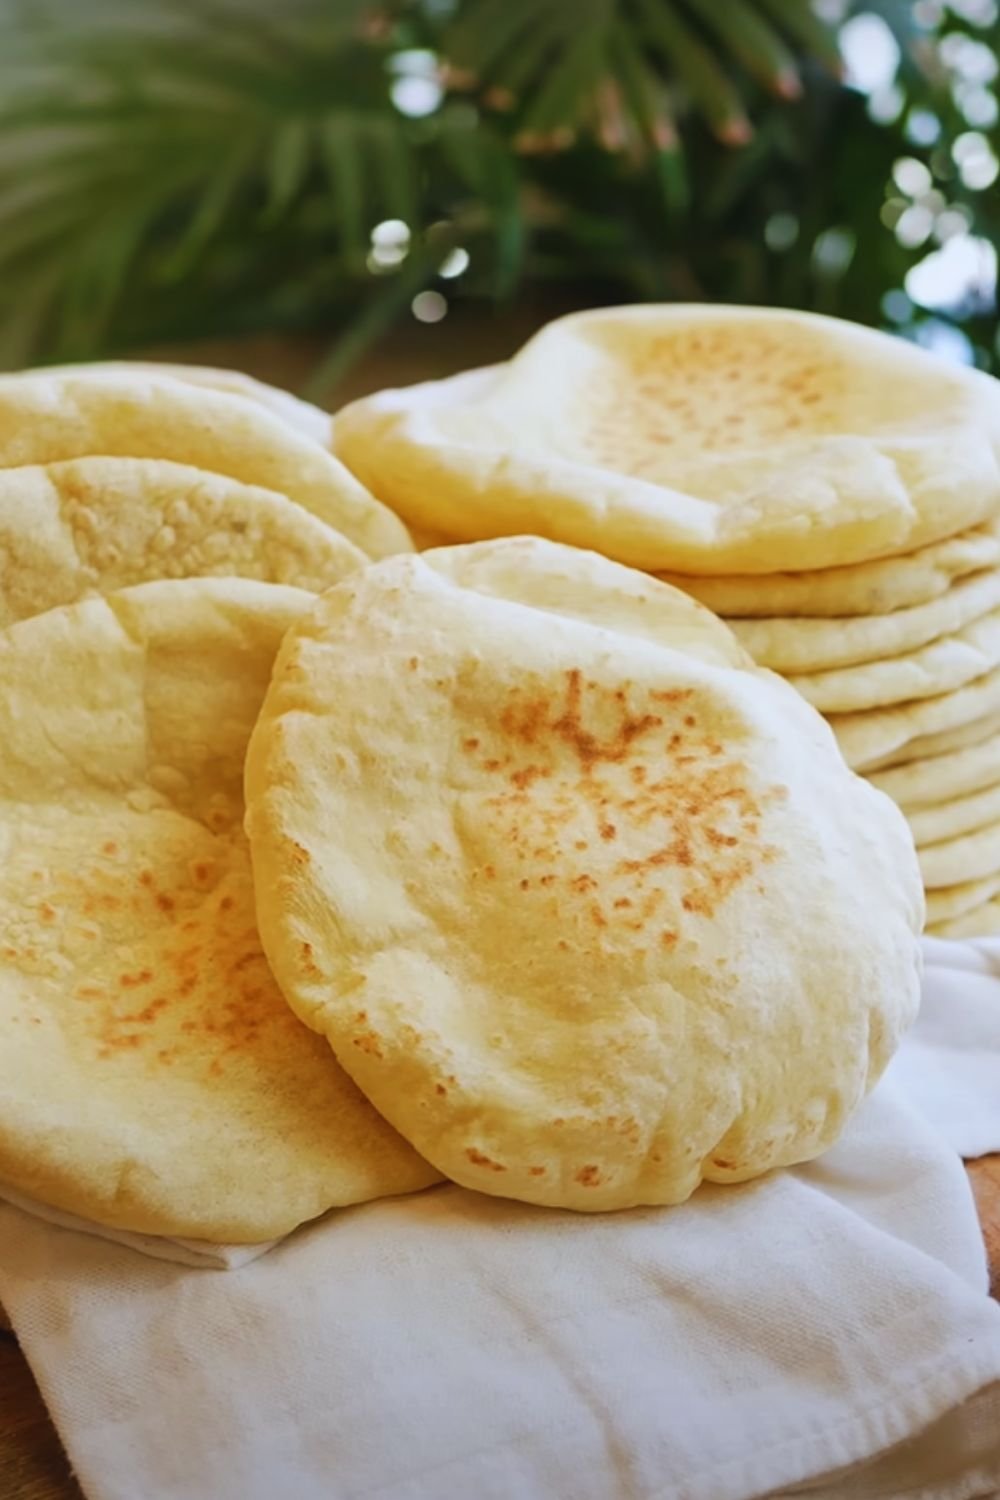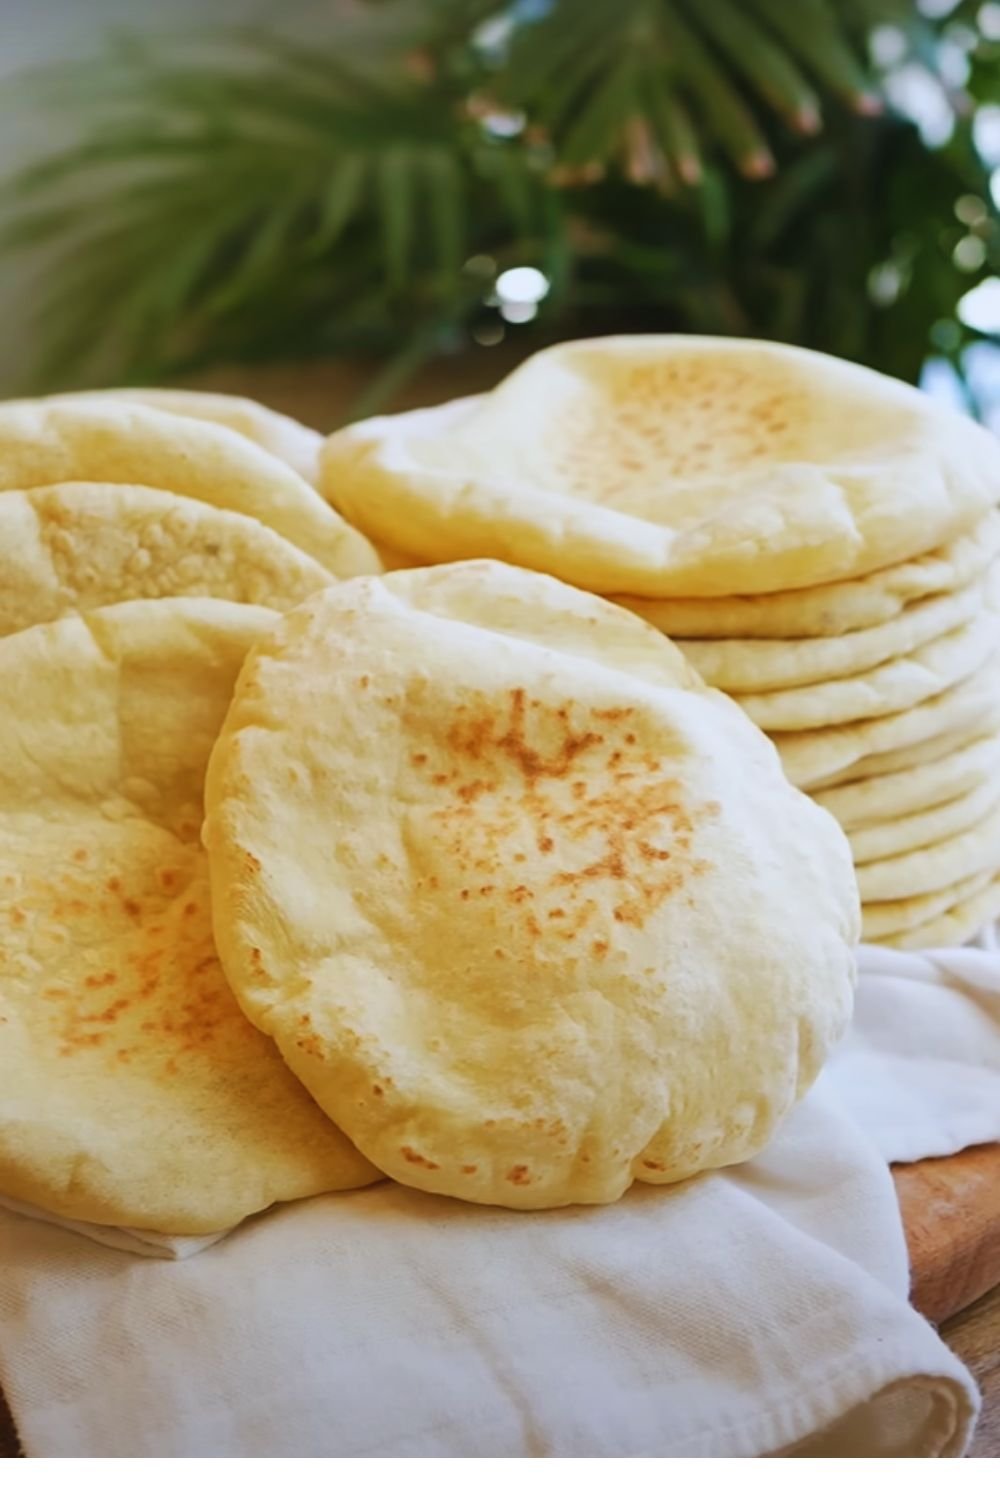
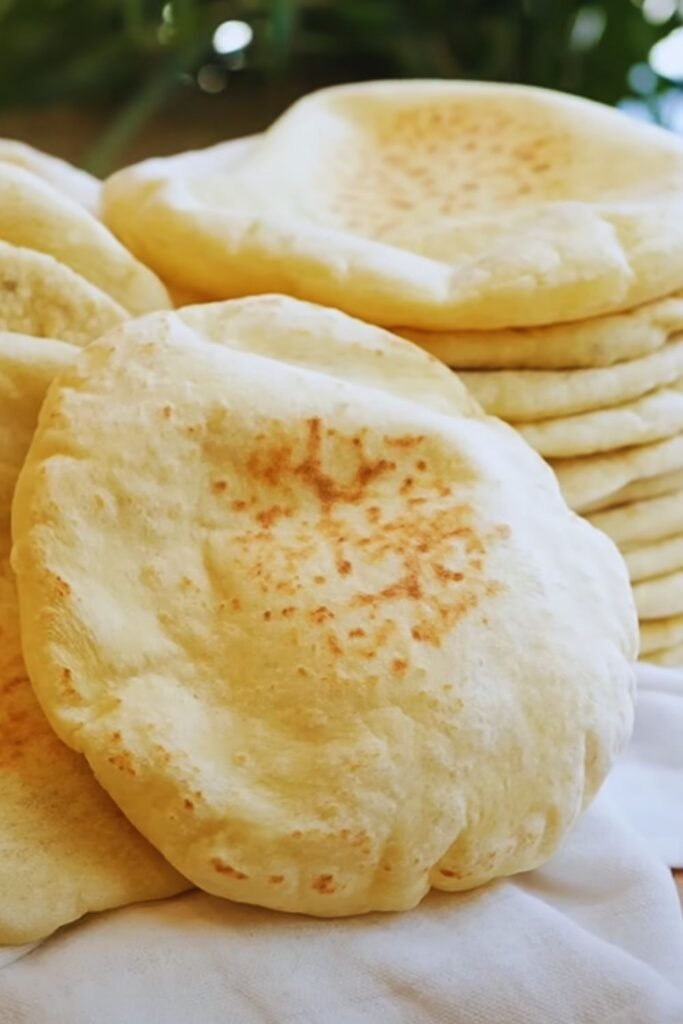
There’s something magical about pulling fresh, puffy pita bread straight from the oven. The aroma of freshly baked bread filling your kitchen, the anticipation of that perfect pocket forming, and the satisfaction of creating something so fundamental yet impressive – that’s what making pita bread at home is all about.
Why Make Pita Bread at Home?
Making pita bread at home isn’t just about the end product; it’s about connecting with one of humanity’s oldest culinary traditions. When you make pita bread from scratch, you’re participating in a baking method that’s been perfected over thousands of years. Plus, homemade pita bread is:
- Fresher and more flavorful than store-bought
- Free from preservatives and unnecessary additives
- More economical in the long run
- Customizable to your dietary preferences
- Perfect for impressing family and friends
Essential Ingredients
| Ingredient | Amount | Notes |
|---|---|---|
| All-purpose flour | 3 cups (375g) | Can substitute up to 1 cup with whole wheat flour |
| Active dry yeast | 2¼ teaspoons (7g) | One standard packet |
| Warm water | 1 cup (240ml) | Temperature between 105-115°F (40-46°C) |
| Sugar | 1 teaspoon (4g) | Helps activate the yeast |
| Salt | 1½ teaspoons (9g) | Fine sea salt preferred |
| Olive oil | 2 tablespoons (30ml) | Extra virgin for best flavor |
Equipment Needed
| Item | Purpose |
|---|---|
| Large mixing bowl | For dough preparation |
| Kitchen scale | For precise measurements |
| Clean kitchen towel | For covering the dough |
| Rolling pin | For shaping the pitas |
| Baking sheet | For baking the pitas |
| Pizza stone (optional) | For better heat distribution |
Step-by-Step Instructions
1. Prepare the Yeast Mixture
- Combine warm water and sugar in a bowl
- Sprinkle yeast over the water
- Let stand for 5-10 minutes until foamy
- If mixture doesn’t foam, your yeast might be inactive
2. Make the Dough
- Mix flour and salt in a large bowl
- Add olive oil to the activated yeast mixture
- Gradually incorporate wet ingredients into flour
- Knead for 8-10 minutes until smooth and elastic
- Form into a ball
3. First Rise
- Place dough in an oiled bowl
- Cover with a damp cloth
- Let rise in a warm spot for 1-1½ hours
- Dough should double in size
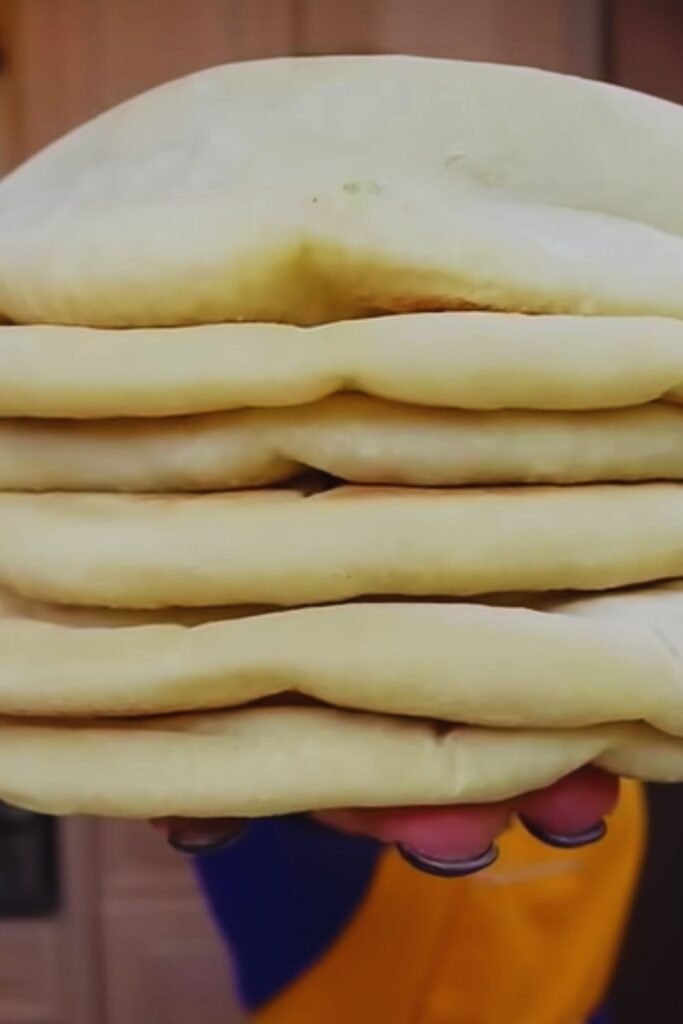
4. Shape the Pitas
- Divide dough into 8 equal portions
- Roll each portion into a ball
- Rest balls for 10 minutes
- Roll each ball into a ¼-inch thick circle
5. Second Rise
- Cover shaped pitas with a clean towel
- Let rest for 30 minutes
- Preheat oven to 475°F (245°C)
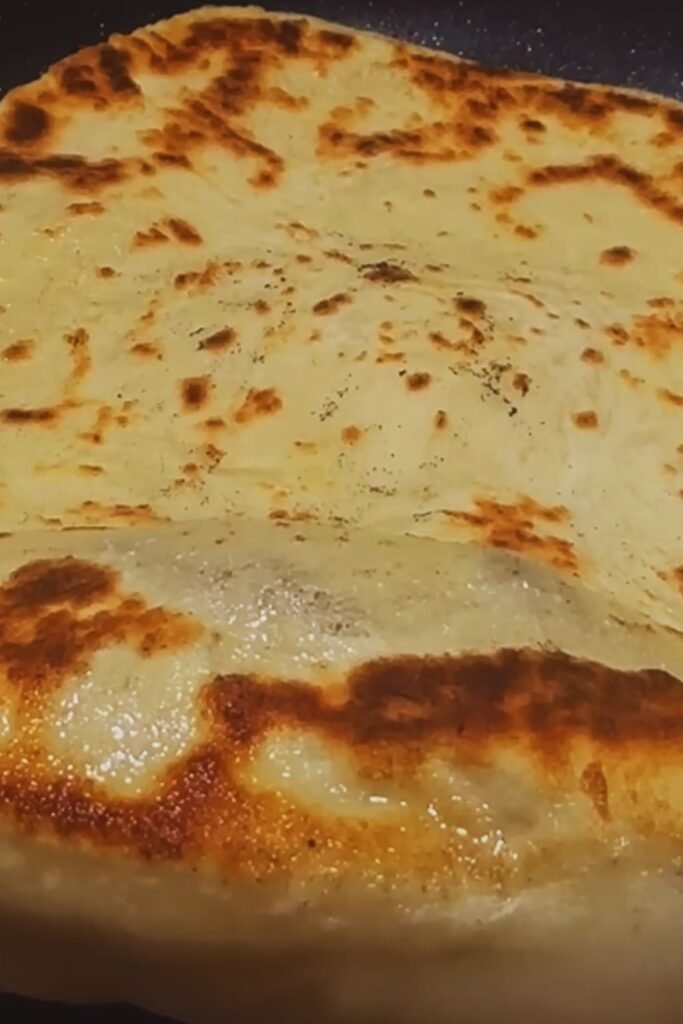
6. Bake
- Place pitas on preheated baking sheet
- Bake for 3-4 minutes until puffed
- Don’t overbake – they should be pale
- Cool on wire rack
Troubleshooting Guide
| Problem | Possible Cause | Solution |
|---|---|---|
| Pitas don’t puff | Oven not hot enough | Preheat longer |
| Dough too thick | Roll thinner | |
| Tough texture | Overworked dough | Knead less |
| Dry pitas | Overbaked | Reduce baking time |
| Dense texture | Insufficient rise | Allow longer rise time |
Storage Tips
- Cool completely before storing
- Keep in airtight container at room temperature for 2 days
- Freeze for up to 3 months
- Refresh in warm oven before serving
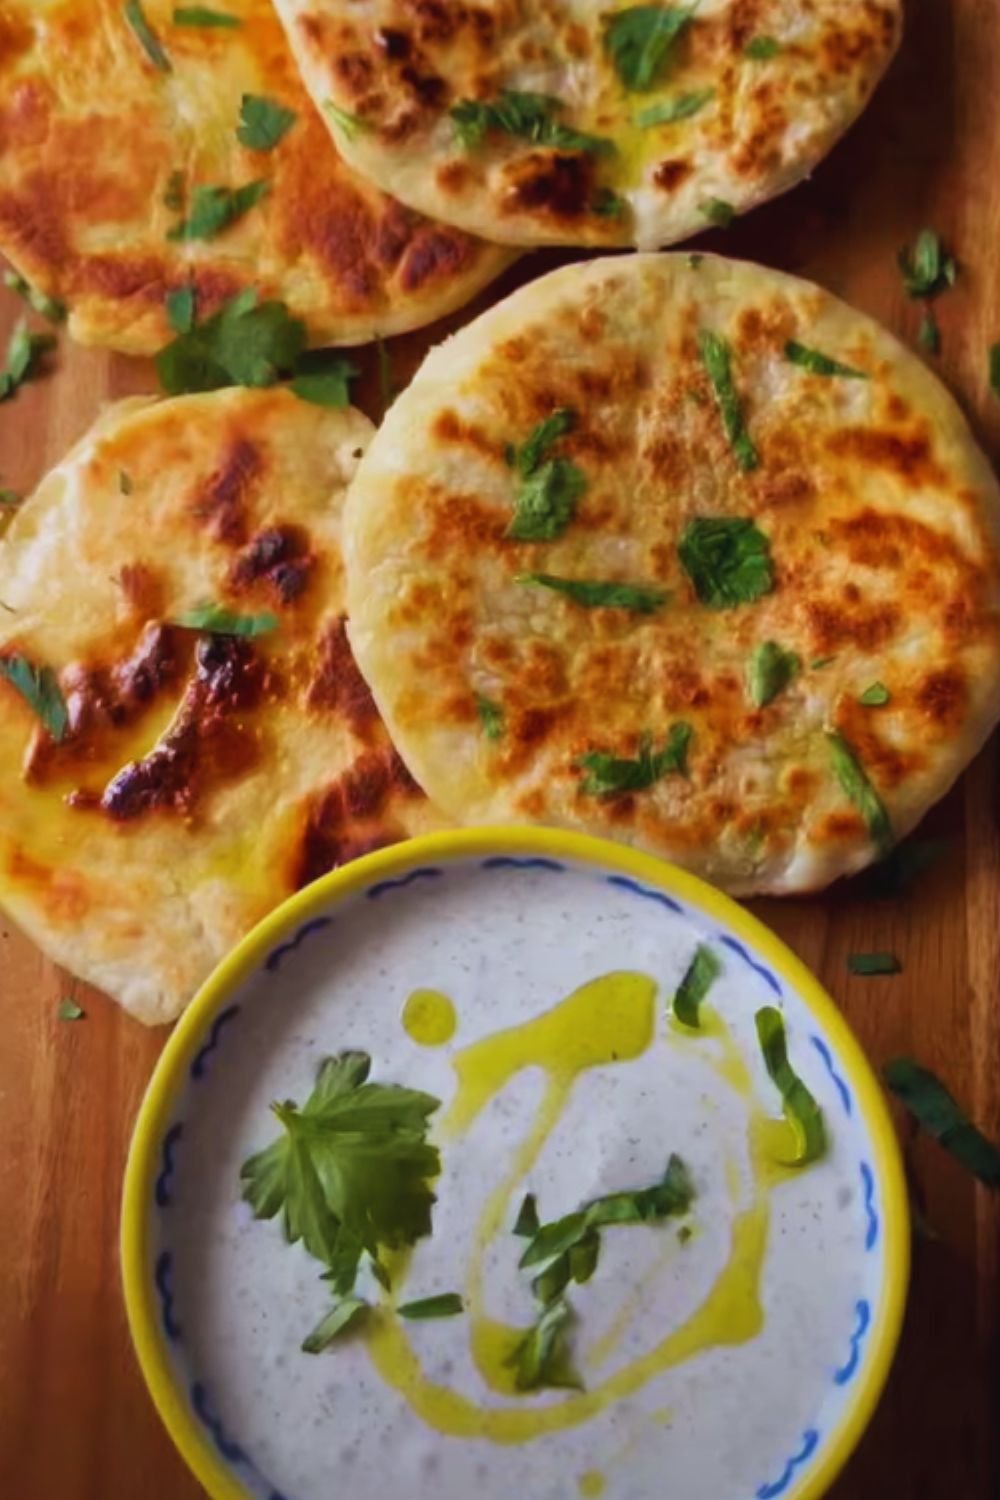
Serving Suggestions
- Stuff with fresh vegetables and hummus
- Use for Mediterranean-style sandwiches
- Serve alongside soups and stews
- Make mini pizzas
- Use as a scoop for dips
Common Questions
Q: Why didn’t my pitas puff up?
A: The most common reason is insufficient oven heat. Ensure your oven is fully preheated and consider using a pizza stone for better heat distribution.
Q: Can I make this recipe with whole wheat flour?
A: Yes, but start by replacing only 1/3 of the all-purpose flour with whole wheat. Too much whole wheat flour can make the pitas dense.
Q: How do I store leftover pita bread?
A: Cool completely, then store in an airtight container. They’ll keep at room temperature for 2 days or in the freezer for up to 3 months.
Q: Can I make the dough ahead of time?
A: Yes, you can refrigerate the dough after the first rise for up to 24 hours. Let it come to room temperature before shaping.
Nutritional Information
(Per pita)
| Nutrient | Amount |
|---|---|
| Calories | 165 |
| Total Fat | 3g |
| Carbohydrates | 30g |
| Protein | 5g |
| Fiber | 1g |
| Sodium | 440mg |
Pro Tips
- Use a kitchen scale for precise measurements
- Don’t skip the resting times
- Roll pitas evenly for uniform cooking
- Watch closely during baking – they cook quickly
- Keep pitas covered while working with remaining dough
Remember, making perfect pita bread takes practice. Don’t get discouraged if your first batch isn’t perfect – each time you make them, you’ll get better at judging the dough consistency and timing. The most important thing is to enjoy the process and the delicious results!