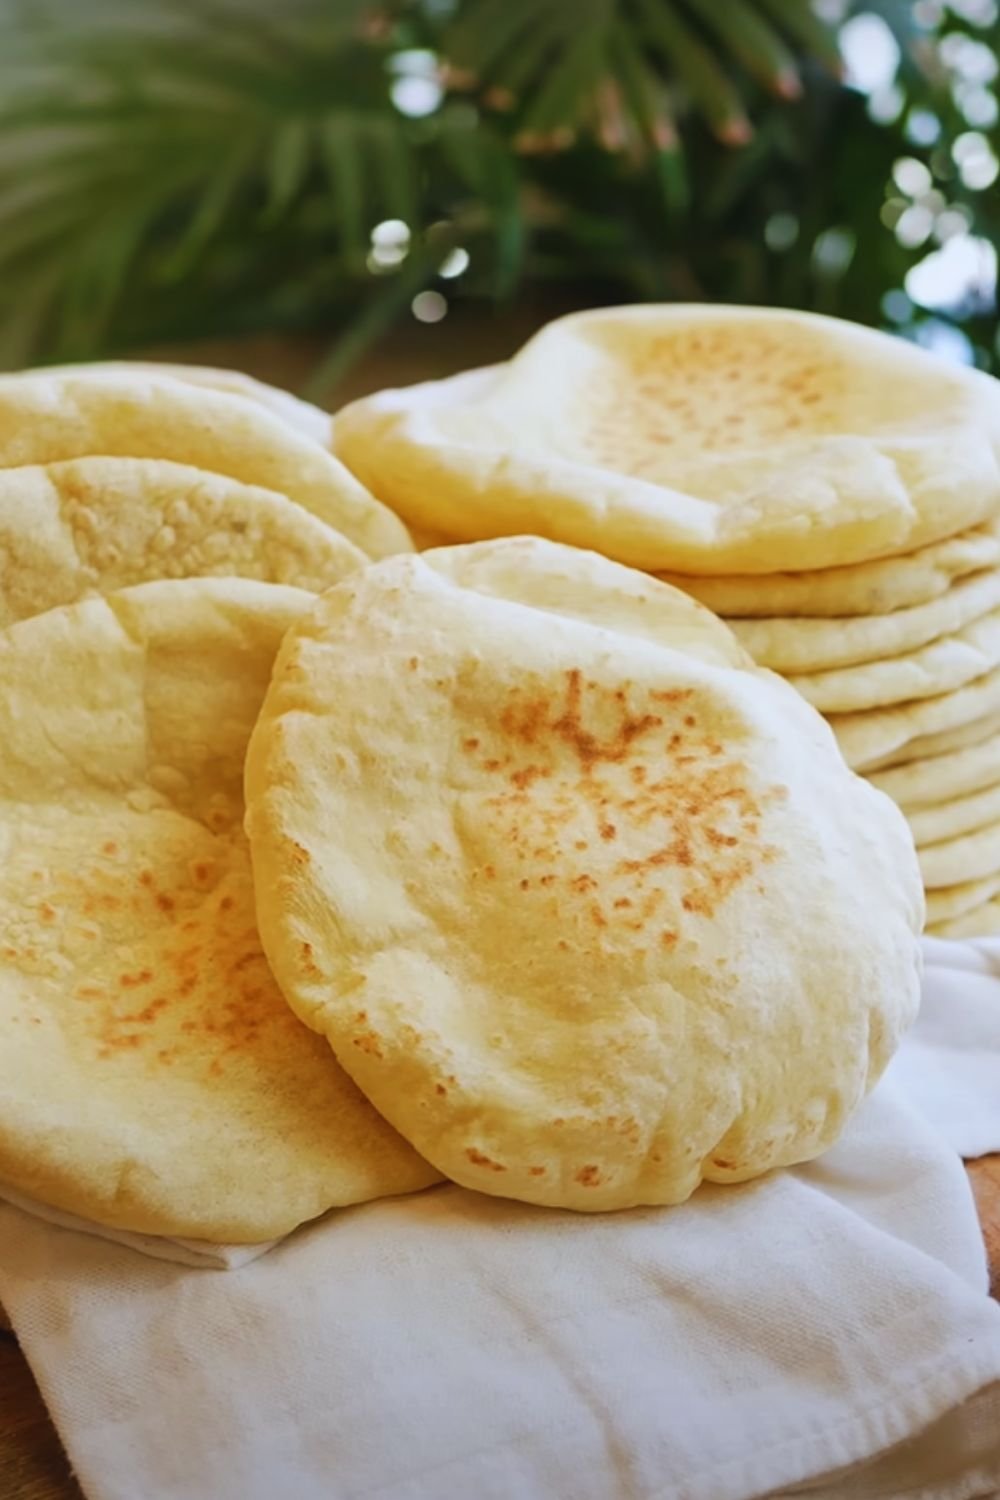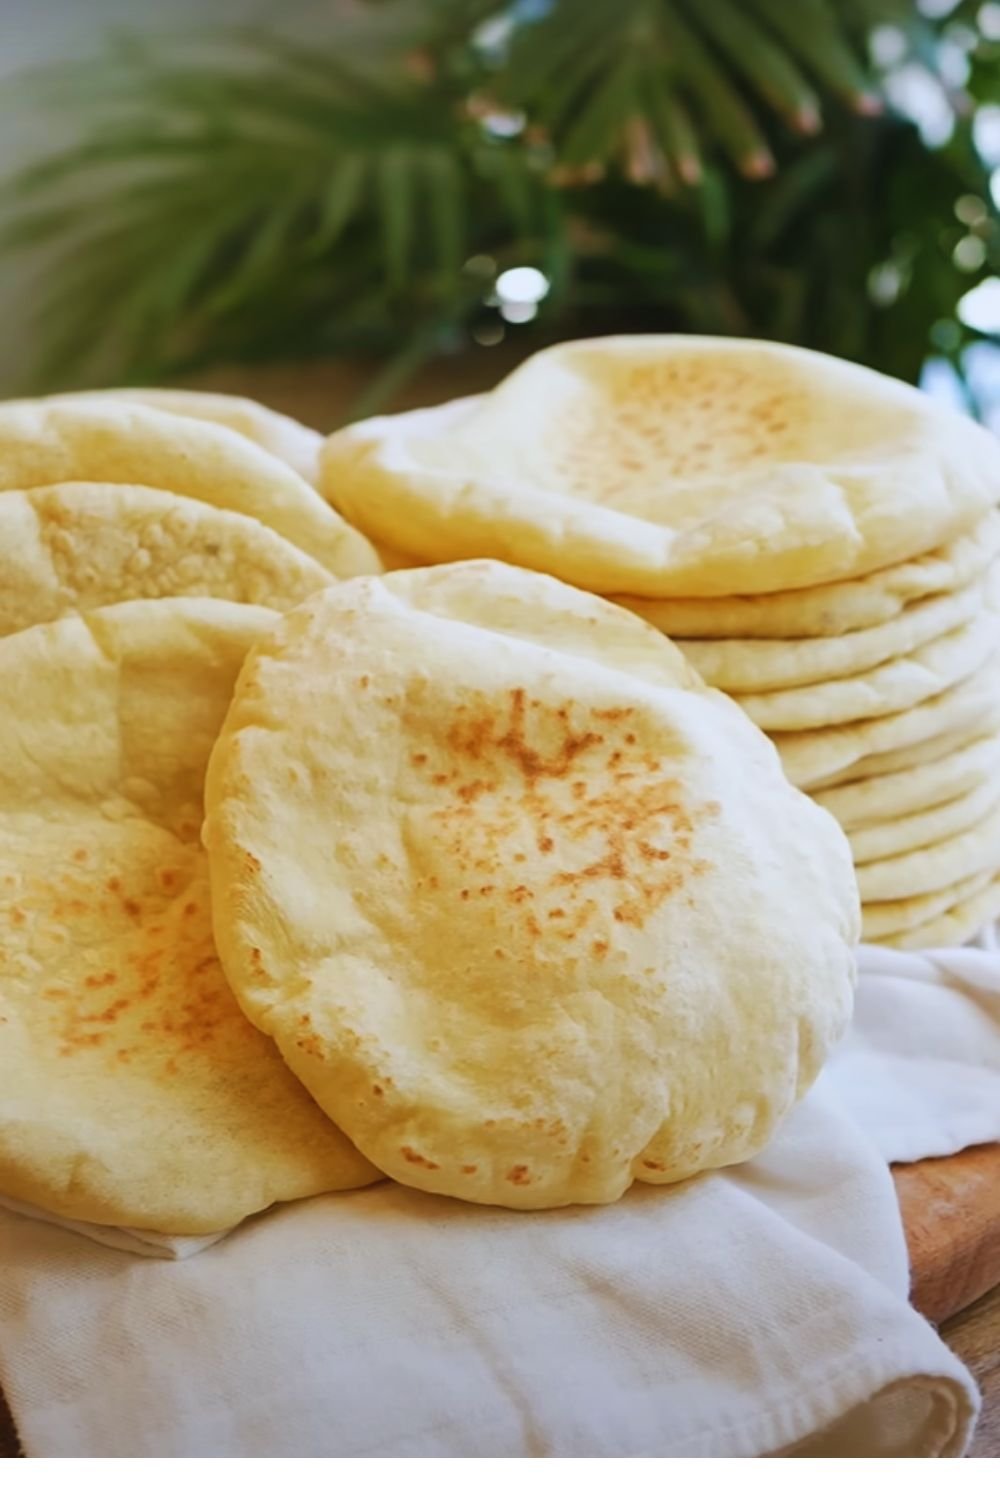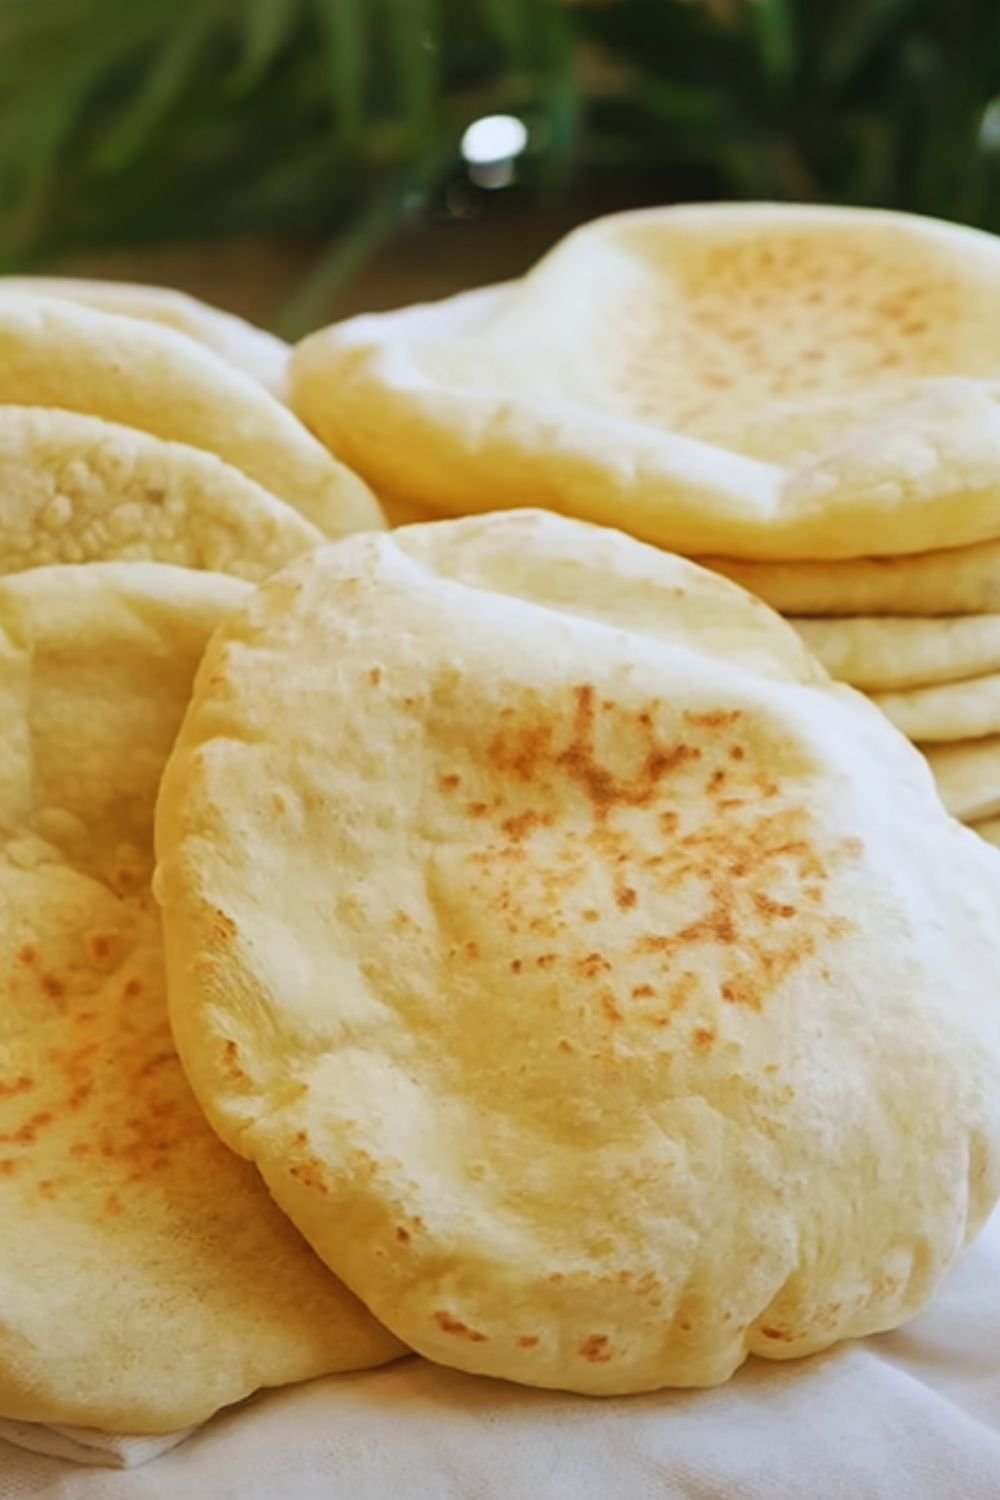
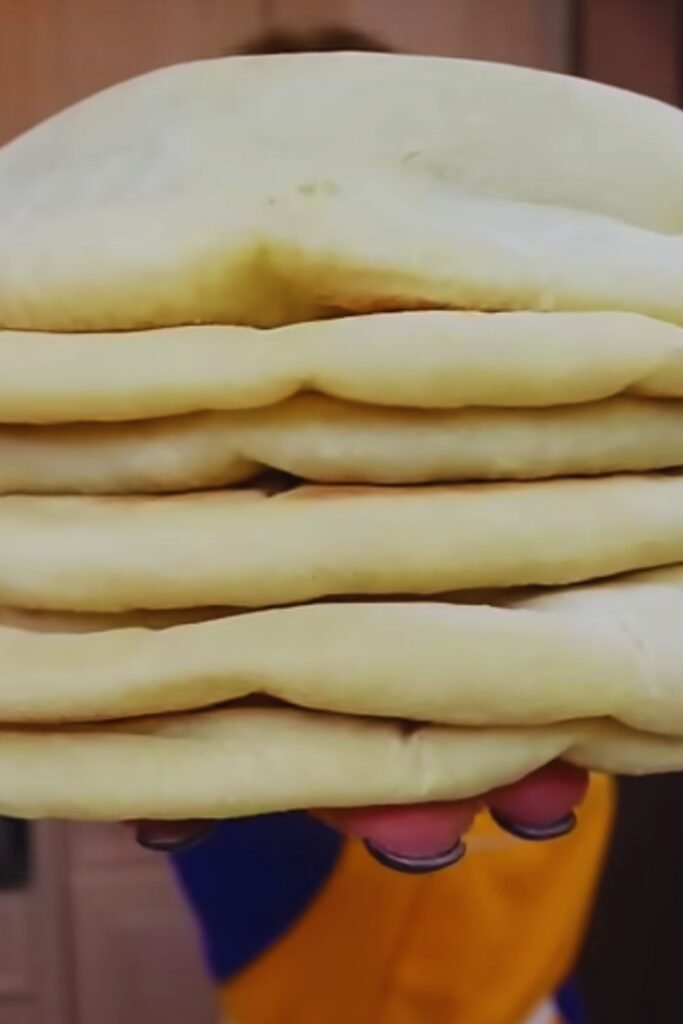
There’s something magical about watching pita bread puff up in the oven, creating that perfect pocket that’s ready to be filled with your favorite ingredients. As someone who’s been baking bread for over a decade, I can tell you that making pita bread at home is not just rewarding – it’s a game-changer for your Mediterranean meals. Today, I’m sharing my foolproof method for creating soft, pillowy pita bread that will rival any bakery’s version.
Why Make Pita Bread at Home?
Before we dive into the recipe, let me share why I absolutely love making pita bread from scratch. The difference between homemade and store-bought pita is like night and day. When fresh from your oven, these flatbreads are incredibly tender, with a subtle wheaty aroma that you just can’t get from packaged versions. Plus, you’ll know exactly what goes into your bread – no preservatives or unnecessary additives.
Essential Ingredients
For this recipe, you’ll need:
| Ingredient | Amount | Notes |
|---|---|---|
| All-purpose flour | 3 cups (375g) | Unbleached preferred |
| Active dry yeast | 2¼ teaspoons (7g) | Or 1 packet |
| Warm water | 1 cup (240ml) | 105-110°F (40-43°C) |
| Extra virgin olive oil | 2 tablespoons (30ml) | Plus more for coating |
| Salt | 1½ teaspoons (9g) | Sea salt preferred |
| Sugar | 1 teaspoon (4g) | To feed the yeast |
Essential Equipment
| Equipment | Purpose |
|---|---|
| Stand mixer (or large bowl) | For mixing and kneading |
| Baking stone or sheet | For baking |
| Rolling pin | For shaping |
| Clean kitchen towels | For covering dough |
| Measuring tools | For accuracy |
The Science Behind Perfect Pita
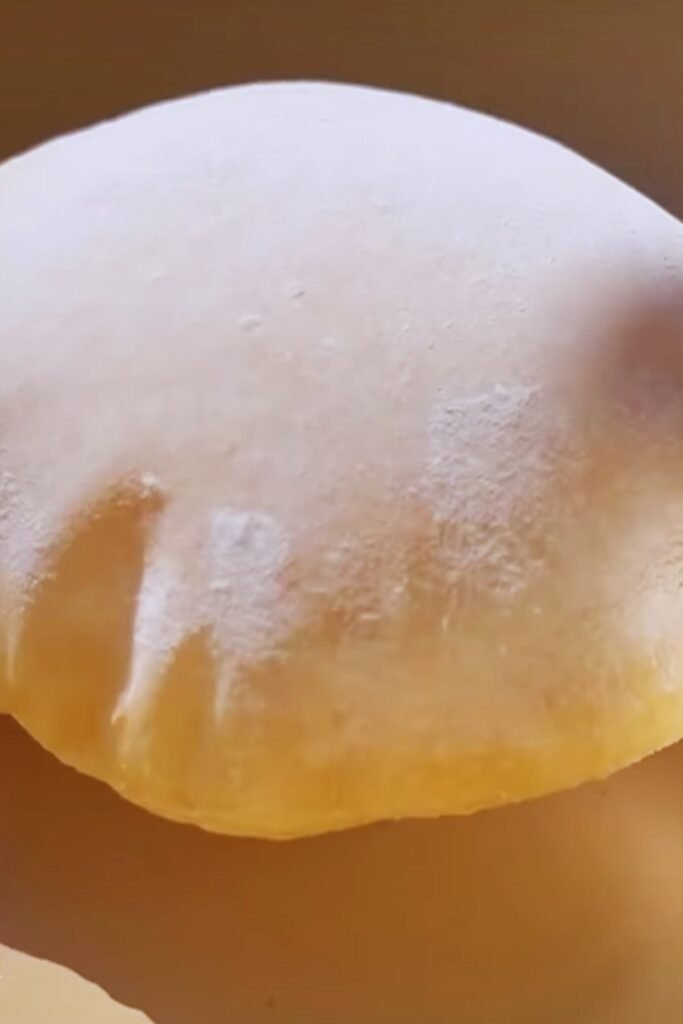
Understanding the science behind pita bread has helped me perfect my technique over the years. The signature pocket forms when the moisture in the dough turns to steam during baking. This steam expansion causes the dough to separate into two layers, creating that characteristic pocket. Three key factors influence this process:
- Dough hydration
- Oven temperature
- Rolling technique
Step-by-Step Instructions
1. Preparing the Dough
| Step | Time | Temperature |
|---|---|---|
| Bloom yeast | 5-10 minutes | 105-110°F |
| Initial mix | 5 minutes | Room temp |
| First rise | 60-90 minutes | 75-80°F |
| Shape and rest | 30 minutes | Room temp |
| Final proof | 30 minutes | Room temp |
- Start by blooming your yeast:
- Combine warm water and sugar in a bowl
- Sprinkle yeast over the surface
- Let stand until foamy (5-10 minutes)
- Create the dough:
- Mix flour and salt in your stand mixer bowl
- Add olive oil to the bloomed yeast mixture
- Combine wet and dry ingredients
- Knead for 8-10 minutes until smooth and elastic
2. First Rise and Shaping
| Stage | Visual Cue | Touch Test |
|---|---|---|
| First rise complete | Doubled in size | Dough springs back slowly |
| Ready to shape | Smooth surface | Slightly tacky but not sticky |
| Final proof | Puffed up | Light and airy |
- First rise:
- Place dough in an oiled bowl
- Cover with a damp towel
- Let rise in a warm spot for 1-1.5 hours
- Divide and shape:
- Turn dough onto a floured surface
- Divide into 8 equal pieces
- Shape each piece into a ball
- Rest for 10 minutes
3. Rolling and Baking
| Baking Temperature | Time | Position |
|---|---|---|
| 500°F (260°C) | 3-4 minutes | Middle rack |
- Prepare your oven:
- Place baking stone or sheet in the oven
- Preheat to 500°F (260°C)
- Allow stone to heat for at least 30 minutes
- Roll out pitas:
- Roll each ball into a 1/4-inch thick circle
- Keep unused dough covered
- Maintain even thickness
- Bake:
- Place pitas on hot stone
- Watch for puffing (2-3 minutes)
- Flip and finish (1-2 minutes)
Troubleshooting Guide
| Problem | Cause | Solution |
|---|---|---|
| Pitas don’t puff | Oven not hot enough | Ensure proper preheating |
| Uneven puffing | Inconsistent thickness | Roll more carefully |
| Tough texture | Overworked dough | Reduce kneading time |
| Dry pitas | Overbaking | Reduce cooking time |
Storage and Reheating
| Storage Method | Duration | Notes |
|---|---|---|
| Room temperature | 2 days | In sealed bag |
| Refrigerator | 1 week | Wrap well |
| Freezer | 3 months | Double wrap |
Serving Suggestions
Here are my favorite ways to enjoy fresh pita bread:
- Stuff with falafel, hummus, and fresh vegetables
- Use as a base for Mediterranean pizzas
- Serve alongside Greek salad
- Dip in tzatziki or baba ganoush
- Create breakfast pockets with eggs and herbs
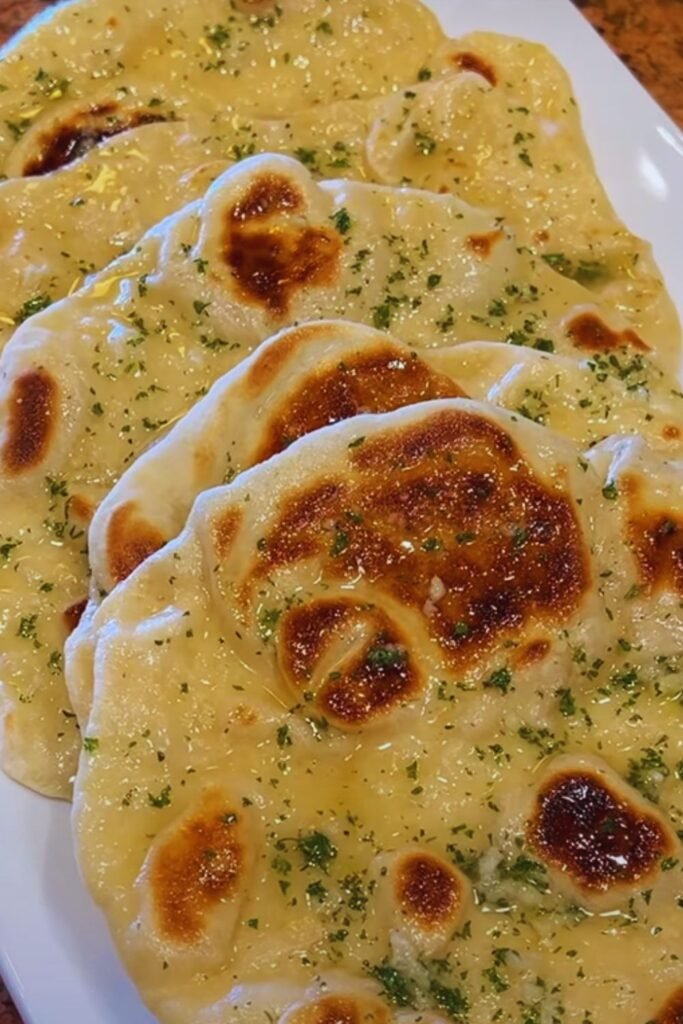
Recipe Variations
| Variation | Ingredients to Add/Replace | Notes |
|---|---|---|
| Whole Wheat | Replace 50% flour with whole wheat | May need extra water |
| Herb-infused | Add 2 tbsp fresh herbs | Mix into dough |
| Multigrain | Add 1/4 cup mixed seeds | Sprinkle on top |
| Garlic | Add 2 cloves roasted garlic | Mix into dough |
Frequently Asked Questions
Q: Why didn’t my pitas puff up?
A: The most common reasons are insufficient oven heat or uneven rolling. Ensure your oven is fully preheated and your pitas are rolled to an even thickness.
Q: Can I make this without a stand mixer?
A: Absolutely! You can mix and knead by hand for 10-12 minutes until the dough is smooth and elastic.
Q: How do I keep my pitas soft?
A: Store them in an airtight container while still slightly warm. The residual steam will keep them soft.
Q: Can I freeze the dough?
A: Yes, freeze after the first rise. Thaw overnight in the refrigerator before shaping and baking.
Q: Why are my pitas dry?
A: They might be overbaked. Remember, they only need 3-4 minutes total in a hot oven.
Nutritional Information
| Nutrient | Amount per Pita |
|---|---|
| Calories | 165 |
| Carbohydrates | 31g |
| Protein | 5g |
| Fat | 2g |
| Fiber | 1g |
| Sodium | 220mg |
Tips for Success
- Temperature matters:
- Use properly warmed water for yeast
- Ensure oven is fully preheated
- Don’t overproof the dough
- Technique tips:
- Roll from the center outward
- Maintain even thickness
- Don’t overwork the dough
- Keep unused dough covered
- Storage wisdom:
- Cool completely before storing
- Freeze within 24 hours if not using
- Reheat briefly before serving
Remember, practice makes perfect with pita bread. Don’t be discouraged if your first few attempts aren’t restaurant-quality – each batch will teach you something new about the process. The joy of pulling perfectly puffed pitas from your oven is worth the learning curve!