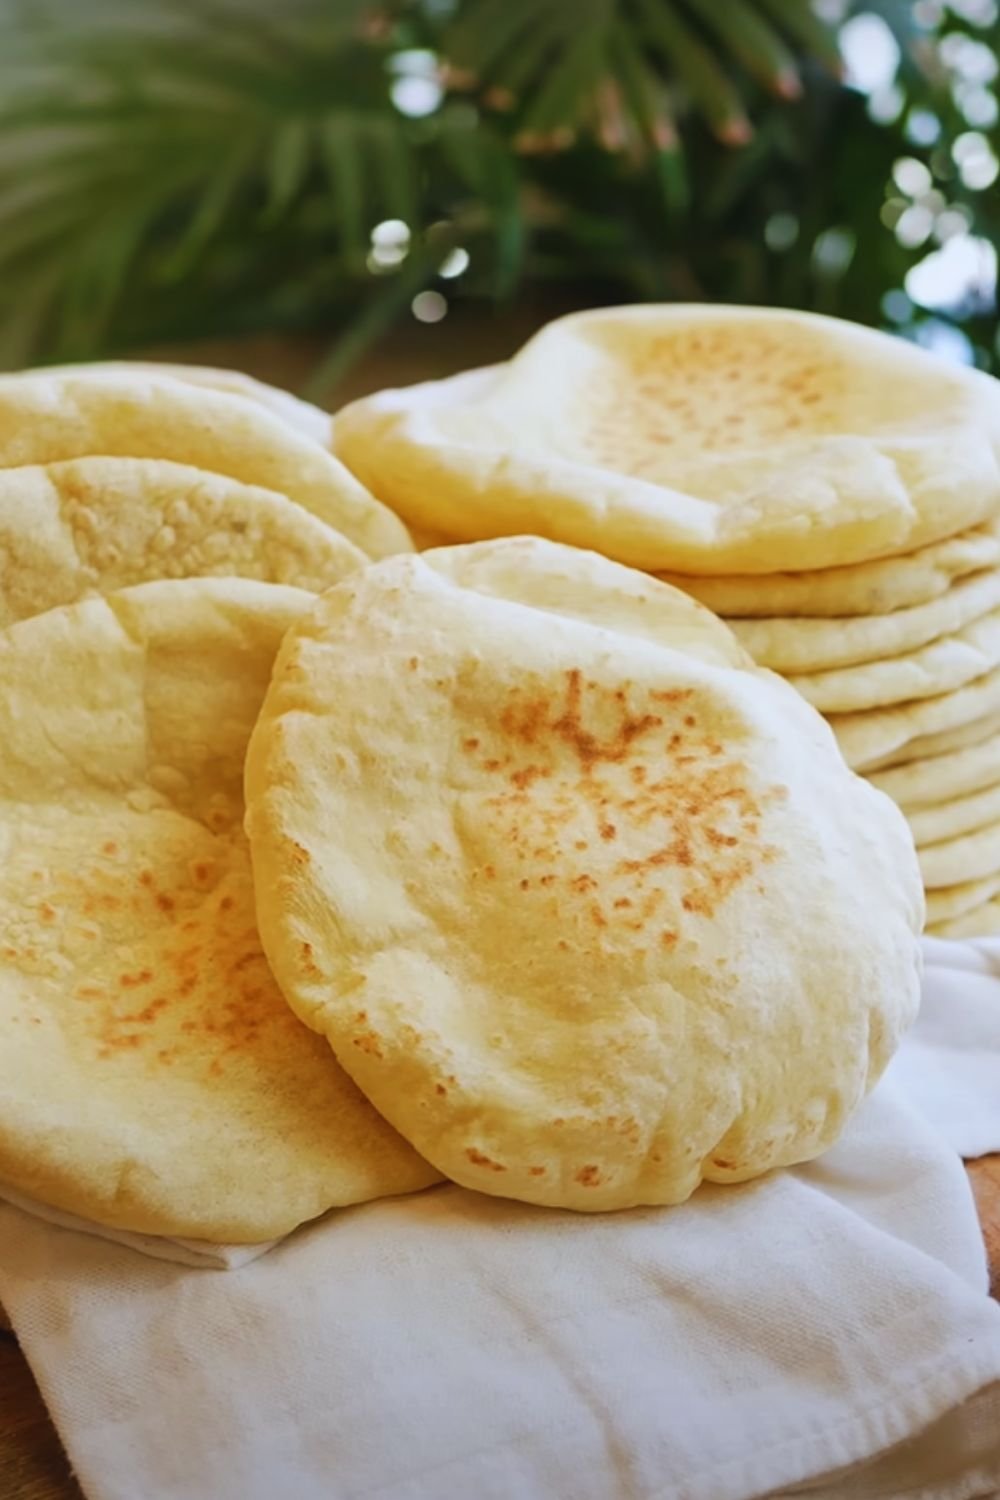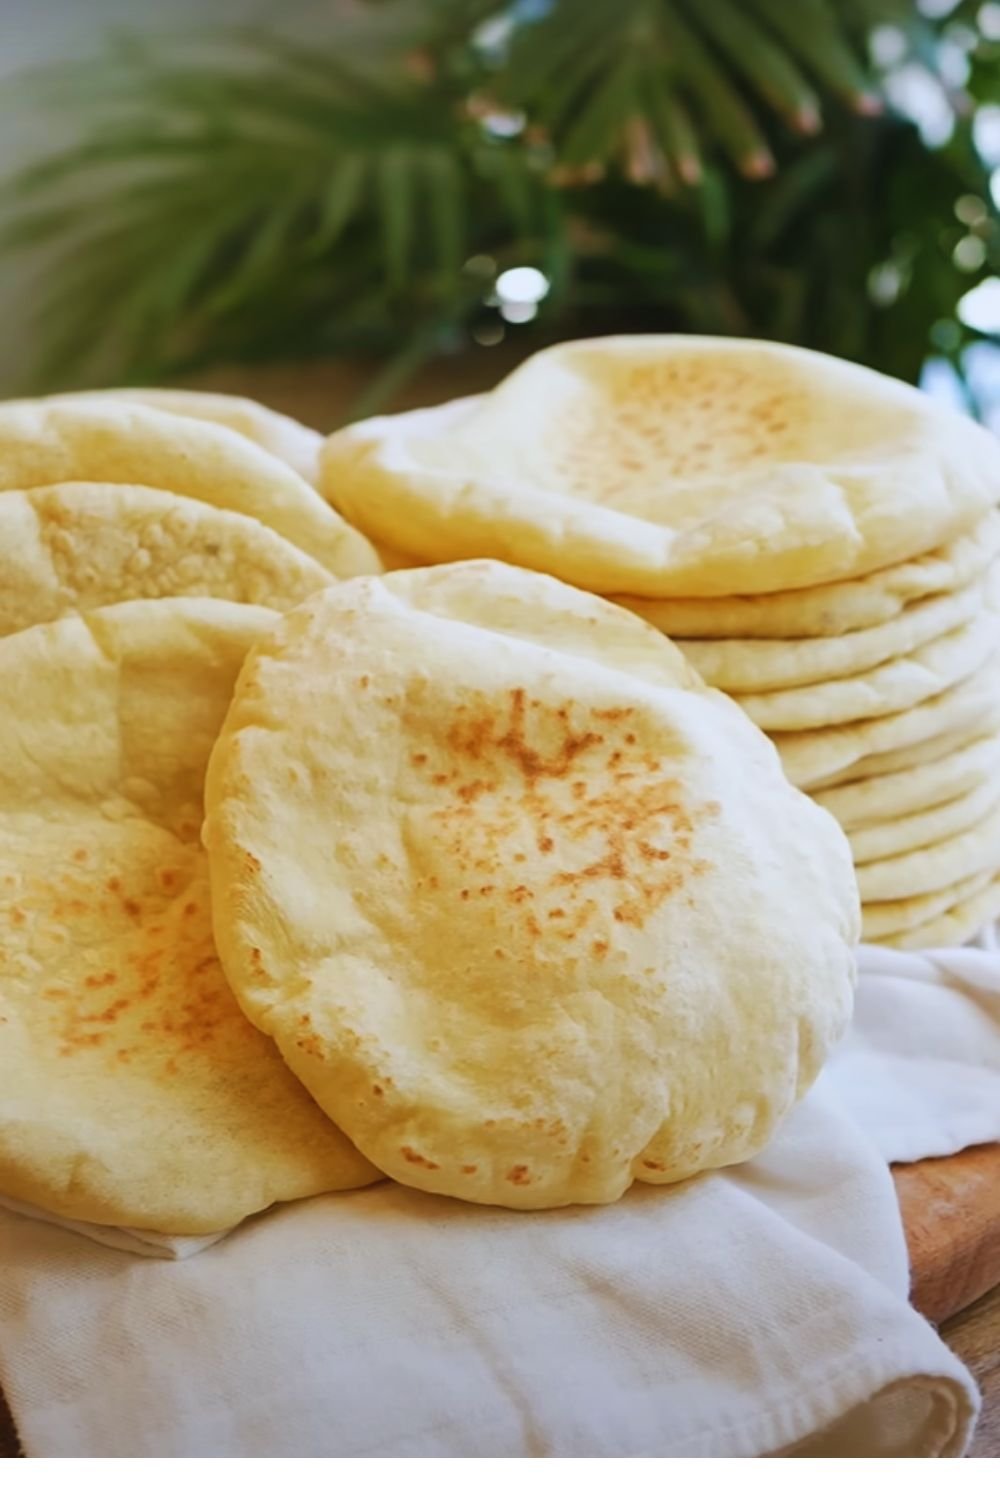
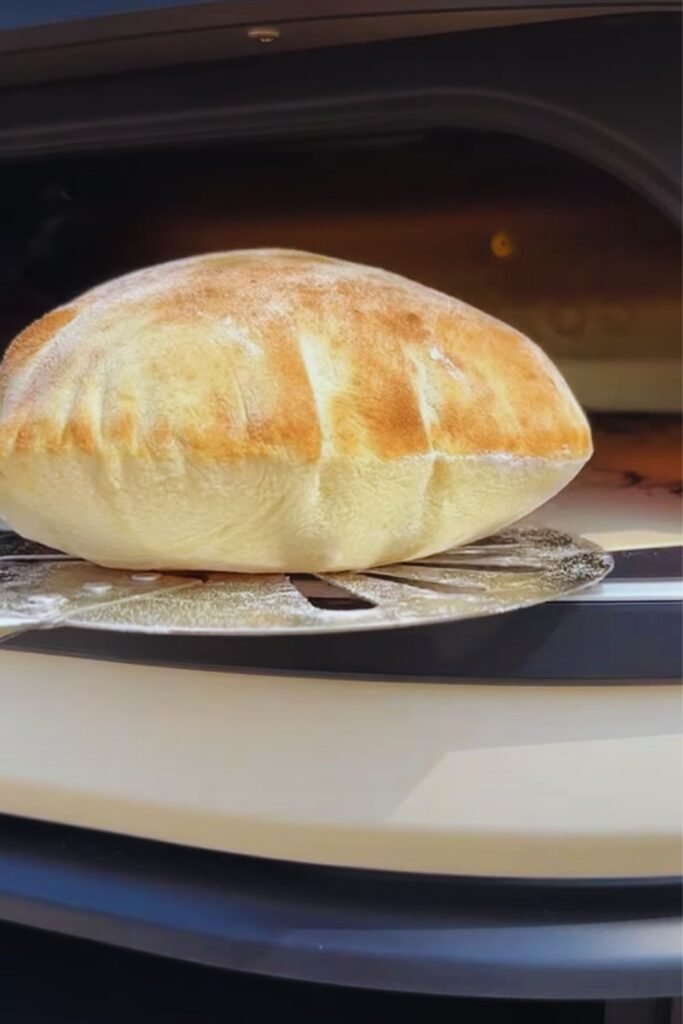
There’s something magical about watching pita bread puff up in the oven, creating that perfect pocket that’s ready to be filled with your favorite ingredients. Today, I’m excited to share my foolproof method for making authentic pita bread at home. After years of experimenting with different techniques, I’ve perfected this recipe that delivers soft, chewy pitas with reliable pockets every time.
Introduction
Pita bread originated in the Middle East over 4,000 years ago and remains a staple in Mediterranean and Middle Eastern cuisine. This versatile flatbread is distinguished by its interior pocket, which forms during baking when the dough separates into two layers. The pocket makes pita perfect for sandwiches, but it’s equally delicious torn into pieces and used for dipping.
Essential Equipment
Before we begin, ensure you have these tools ready:
| Equipment | Purpose | Recommended Type |
|---|---|---|
| Baking Stone/Sheet | For even heat distribution | Heavy-duty steel or ceramic |
| Stand Mixer (optional) | For kneading dough | Any with dough hook attachment |
| Rolling Pin | For shaping pitas | Wooden or marble |
| Clean Kitchen Towels | For covering dough | Lint-free cotton |
| Measuring Tools | For accurate portions | Digital scale preferred |
| Large Bowl | For dough rising | Glass or stainless steel |
Ingredients
For 8 medium-sized pitas:
| Ingredient | Amount | Notes |
|---|---|---|
| All-purpose flour | 3 cups (375g) | Unbleached preferred |
| Active dry yeast | 2¼ tsp (7g) | Or 1 packet |
| Warm water | 1 cup (240ml) | 105-110°F (40-43°C) |
| Sugar | 1 tsp (4g) | For activating yeast |
| Salt | 1½ tsp (9g) | Sea salt preferred |
| Olive oil | 2 tbsp (30ml) | Extra virgin |
| Extra flour | As needed | For dusting |
Step-by-Step Instructions
1. Prepare the Yeast Mixture
First, we’ll activate the yeast:
- Combine warm water and sugar in a bowl
- Sprinkle yeast over water
- Let stand for 5-10 minutes until foamy
- If no foam appears, your yeast might be dead – start over with fresh yeast
2. Make the Dough
Now for the main event:
- In a large bowl, combine:
- 3 cups flour
- Salt
- Activated yeast mixture
- Olive oil
- Mix until a shaggy dough forms
- Knead for 8-10 minutes until smooth and elastic
- Form into a ball
3. First Rise
Proper rising is crucial for perfect pitas:
- Place dough in oiled bowl
- Cover with damp towel
- Let rise 1-1½ hours until doubled
- Dough should be puffy and spring back when poked
4. Shape and Second Rise
This stage requires patience and attention to detail:
- Punch down dough
- Divide into 8 equal pieces
- Form each piece into a ball
- Cover and rest 20 minutes
- Roll each ball into 1/4-inch thick circle
- Keep unused dough covered while working
5. Baking Process
| Temperature | Time | Signs of Readiness |
|---|---|---|
| 450°F (230°C) | 3-4 minutes | Puffed and lightly golden |
| Preheat time | 30 minutes | Stone/sheet very hot |
| Rest time | 5 minutes | Before cutting |
Critical steps for perfect pitas:
- Preheat oven with stone/sheet inside
- Place pitas on hot surface
- Watch for puffing (usually within 2 minutes)
- Remove when lightly golden
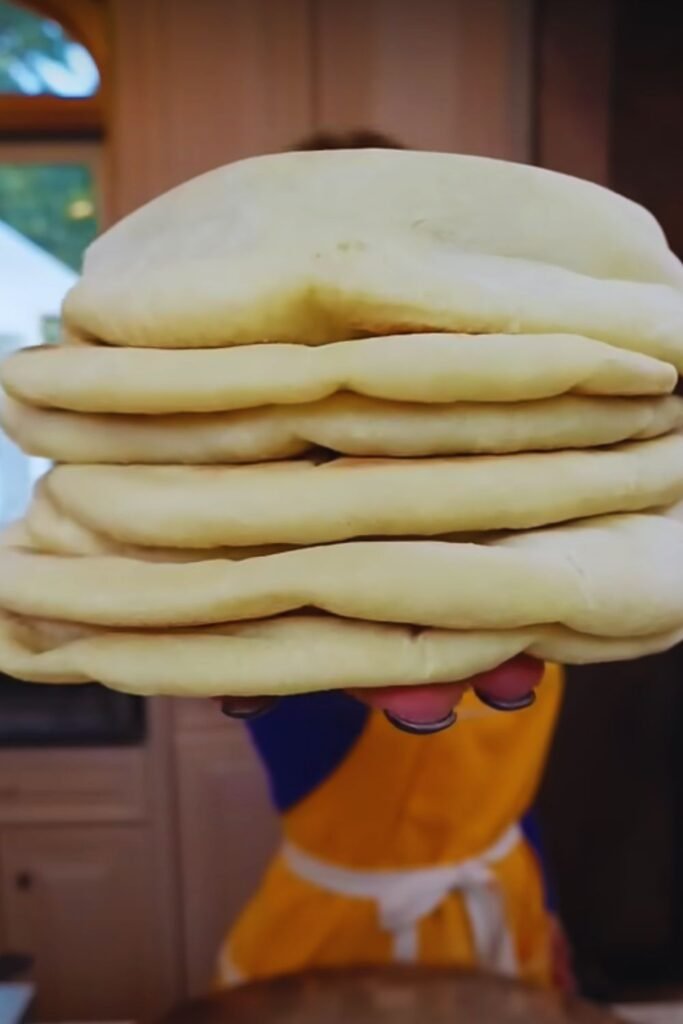
- Stack and cover immediately
Troubleshooting Guide
| Problem | Possible Cause | Solution |
|---|---|---|
| No pocket forms | Dough too thick | Roll thinner, ensure even thickness |
| Dry pitas | Overbaked | Reduce baking time |
| Dense texture | Insufficient kneading | Knead longer for better gluten development |
| Won’t puff | Oven not hot enough | Ensure proper preheating |
Storage and Reheating
Best practices for keeping your pitas fresh:
| Storage Method | Duration | Notes |
|---|---|---|
| Room temperature | 2 days | In sealed bag |
| Refrigerator | 1 week | Wrap well |
| Freezer | 3 months | Double wrap |
Serving Suggestions
Delicious ways to enjoy your homemade pitas:
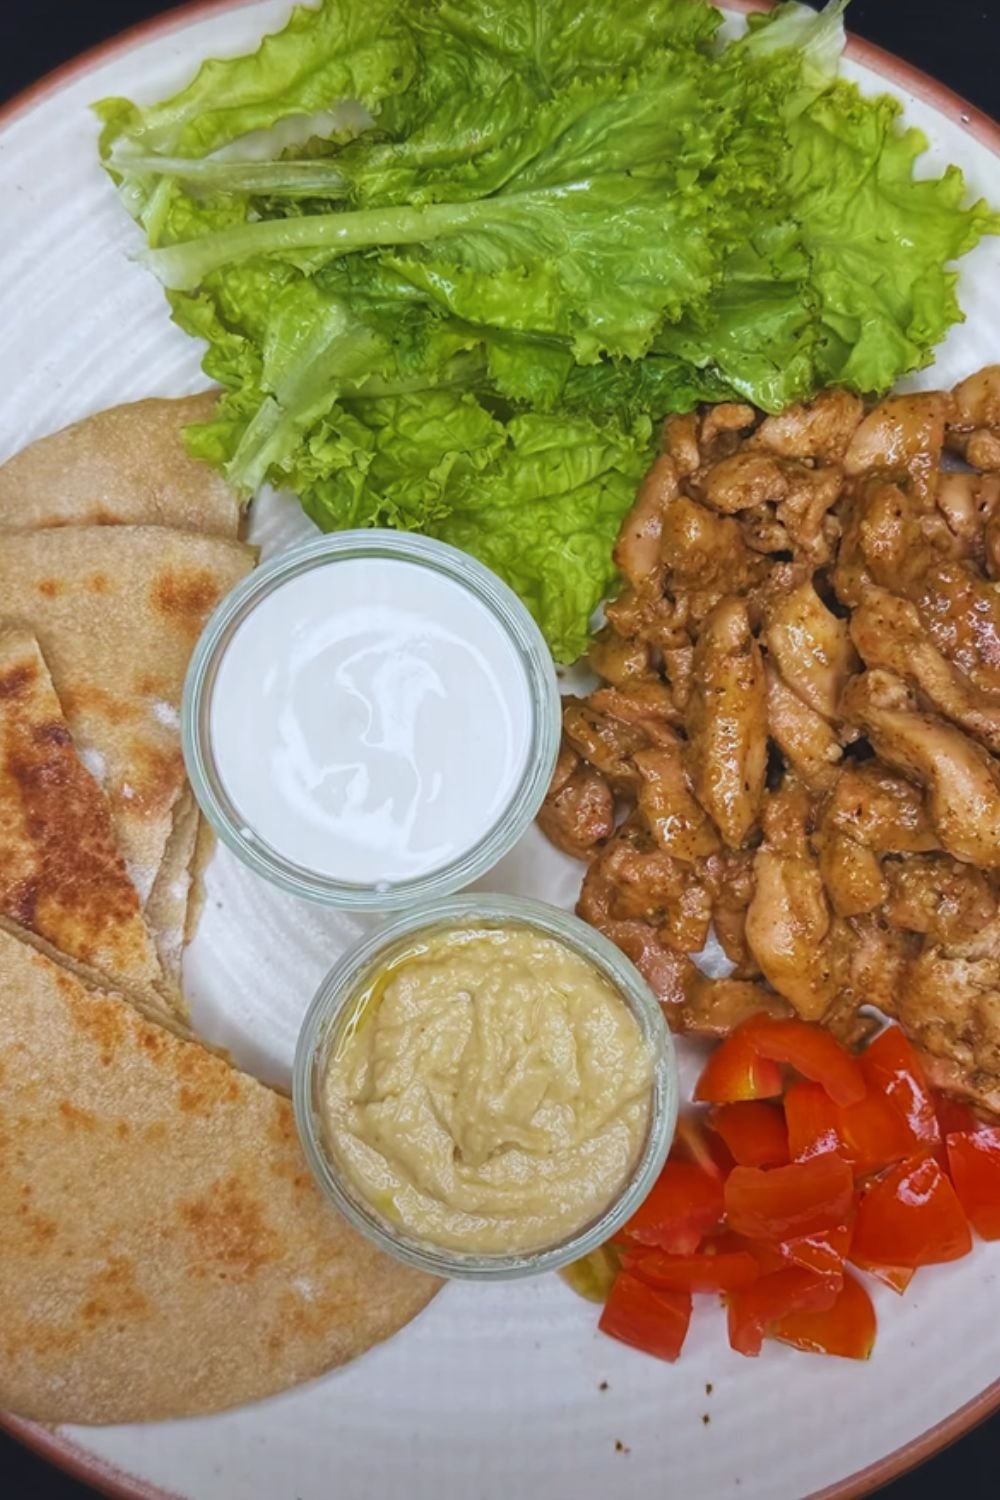
- Traditional Fillings:
- Falafel with tahini sauce
- Hummus and fresh vegetables
- Grilled chicken with tzatziki
- Modern Twists:
- Breakfast pitas with eggs and avocado
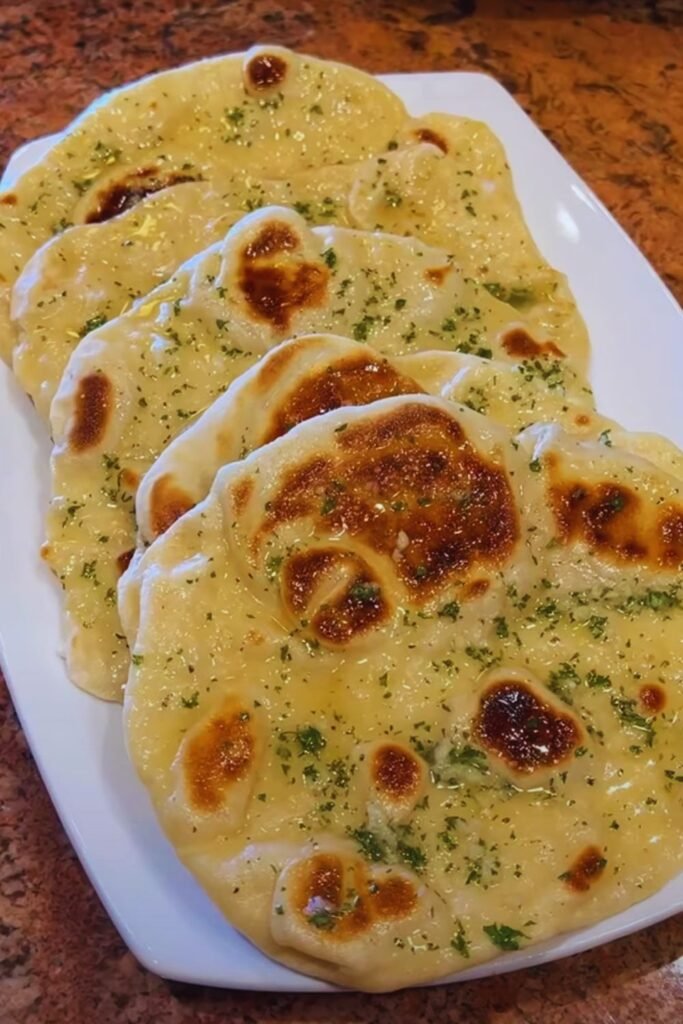
- Mediterranean pizza base
- Crispy pita chips for dips
Frequently Asked Questions
Q: Why didn’t my pitas form pockets?
A: This typically happens when the oven isn’t hot enough or the dough is rolled unevenly. Ensure your oven is fully preheated and maintain consistent thickness when rolling.
Q: Can I use whole wheat flour?
A: Yes, but start by substituting only half the all-purpose flour with whole wheat. 100% whole wheat can make dense pitas.
Q: How do I prevent my pitas from drying out?
A: Stack and cover them with a clean kitchen towel immediately after baking. The steam will keep them soft and pliable.
Q: Can I make the dough ahead of time?
A: Yes, you can refrigerate the dough after the first rise for up to 24 hours. Let it come to room temperature before shaping.
Q: Why are my pitas tough?
A: Overworking the dough or using too much flour during shaping can lead to tough pitas. Handle the dough gently and use minimal flour for dusting.
Nutritional Information
Per pita (approximate):
| Nutrient | Amount |
|---|---|
| Calories | 165 |
| Protein | 5g |
| Carbohydrates | 33g |
| Fiber | 1.2g |
| Fat | 1.5g |
| Sodium | 440mg |
Making your own pita bread at home is a rewarding experience that delivers fresh, authentic results. With practice, you’ll develop a feel for the dough and create perfect pitas every time. Remember, the key to success lies in proper temperature control and careful attention to thickness when rolling. Happy baking!