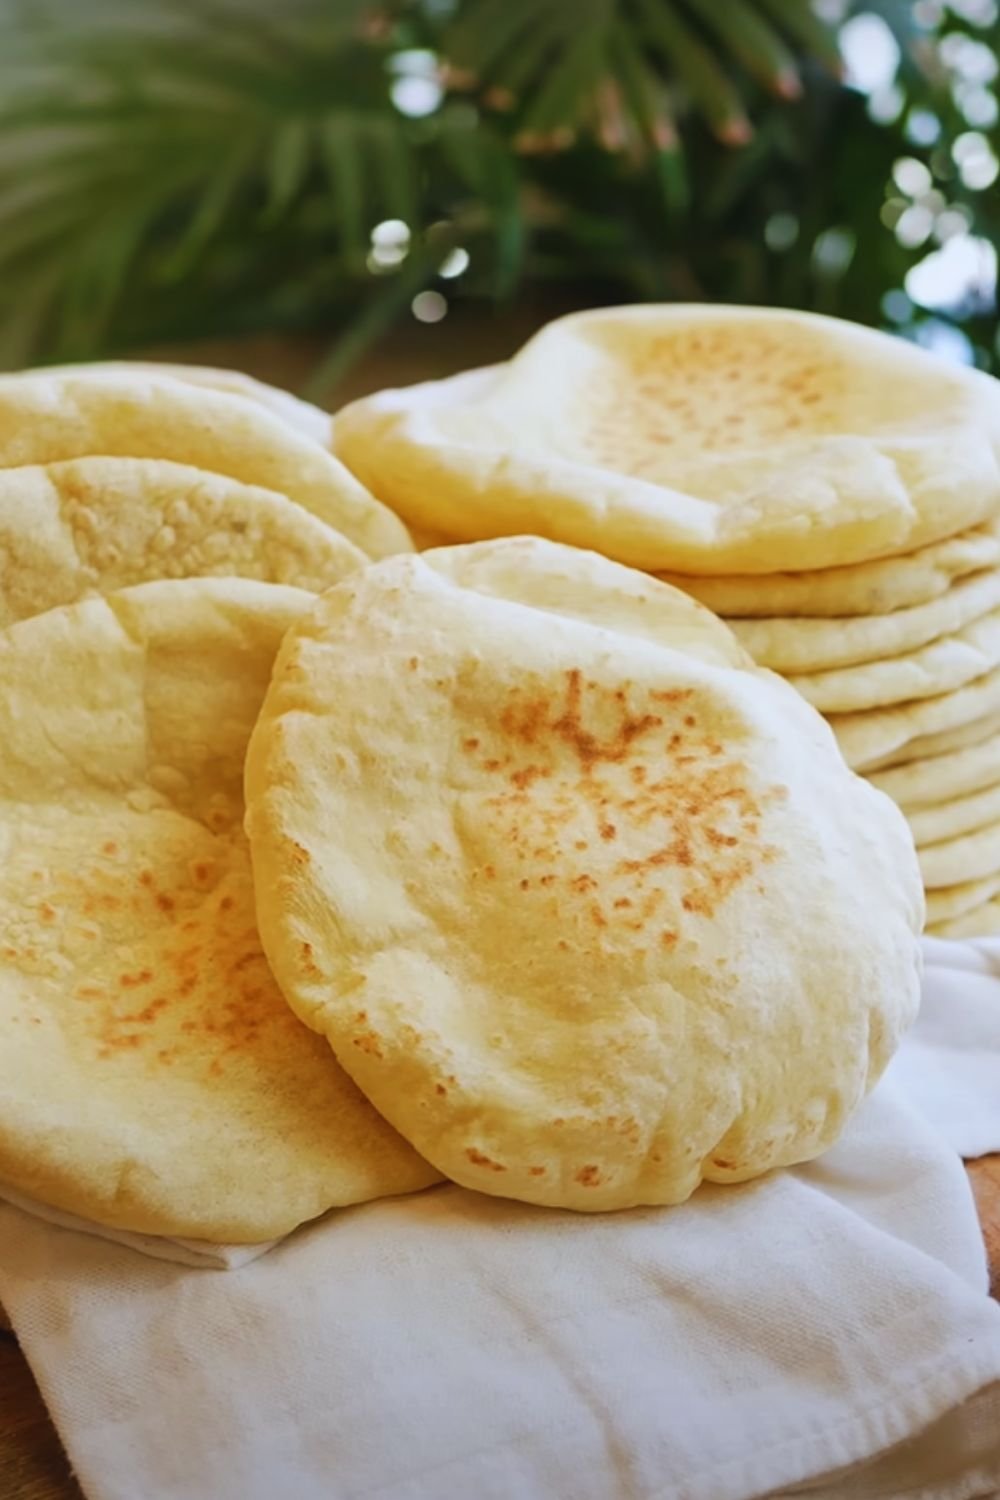
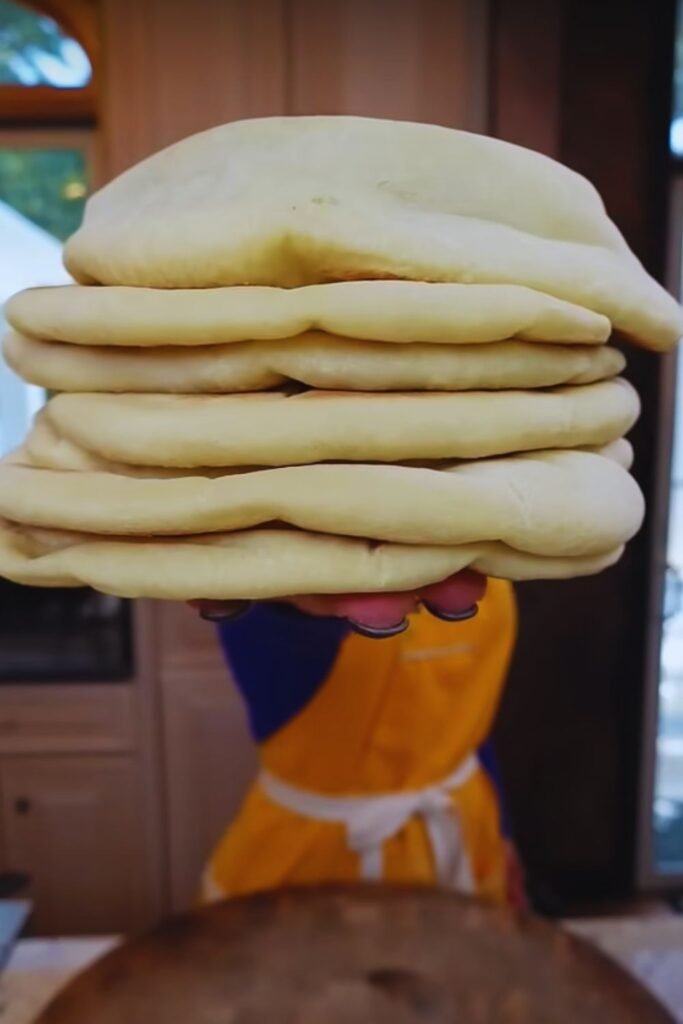
There’s something magical about watching pita bread puff up in the oven, creating that perfect pocket that’s ready to be filled with your favorite ingredients. After years of perfecting this recipe, I’m excited to share my foolproof method for making restaurant-quality pita bread right in your home kitchen.
The Secret Behind Perfect Pita Bread
Before we dive into the recipe, let’s understand what makes pita bread special. The signature pocket forms when the dough’s water content turns to steam during baking, causing the two layers to separate. The key lies in proper dough development and the right baking temperature.
Essential Ingredients
| Ingredient | Amount | Notes |
|---|---|---|
| Bread flour | 3 cups (375g) | High protein content (12-14%) |
| Active dry yeast | 2¼ tsp (7g) | One standard packet |
| Warm water | 1 cup + 2 tbsp (265ml) | Temperature: 105-110°F (40-43°C) |
| Sugar | 1 tsp (4g) | Helps activate yeast |
| Salt | 1½ tsp (9g) | Fine sea salt preferred |
| Extra virgin olive oil | 2 tbsp (30ml) | Plus more for coating |
Equipment Needed
| Item | Purpose |
|---|---|
| Stand mixer (or large bowl) | For mixing and kneading |
| Baking stone or sheet | For even heat distribution |
| Kitchen scale | For precise measurements |
| Rolling pin | For shaping pitas |
| Clean kitchen towels | For covering dough |
Step-by-Step Instructions
1. Activating the Yeast
- In a small bowl, combine:
- Warm water (105-110°F)
- Sugar
- Active dry yeast
- Let stand for 5-10 minutes until foamy
- If no foam appears, your yeast might be dead – start over with fresh yeast
2. Making the Dough
- In a stand mixer bowl, combine:
- Bread flour
- Salt
- Add the activated yeast mixture and olive oil
- Mix with dough hook on low speed for 2 minutes
- Increase to medium speed and knead for 6-8 minutes
- The dough should be smooth and slightly tacky
3. First Rise
Temperature and timing are crucial for proper fermentation. Here’s my proven method:
| Temperature | Rise Time |
|---|---|
| 70°F (21°C) | 90 minutes |
| 75°F (24°C) | 60 minutes |
| 80°F (27°C) | 45 minutes |
- Place dough in an oiled bowl
- Cover with a damp kitchen towel
- Let rise until doubled in size
- Perform one gentle punch-down
4. Shaping and Second Rise
- Divide dough into 8 equal portions (about 85g each)
- Shape into balls
- Rest covered for 20 minutes
- Roll each ball into a 6-inch circle (⅛ inch thick)
- Rest covered for 30 minutes
5. Baking Perfect Pitas
| Oven Setup | Temperature | Time |
|---|---|---|
| With baking stone | 500°F (260°C) | 3-4 minutes |
| With baking sheet | 475°F (246°C) | 4-5 minutes |
- Preheat oven for at least 30 minutes
- Place pitas directly on hot stone/sheet
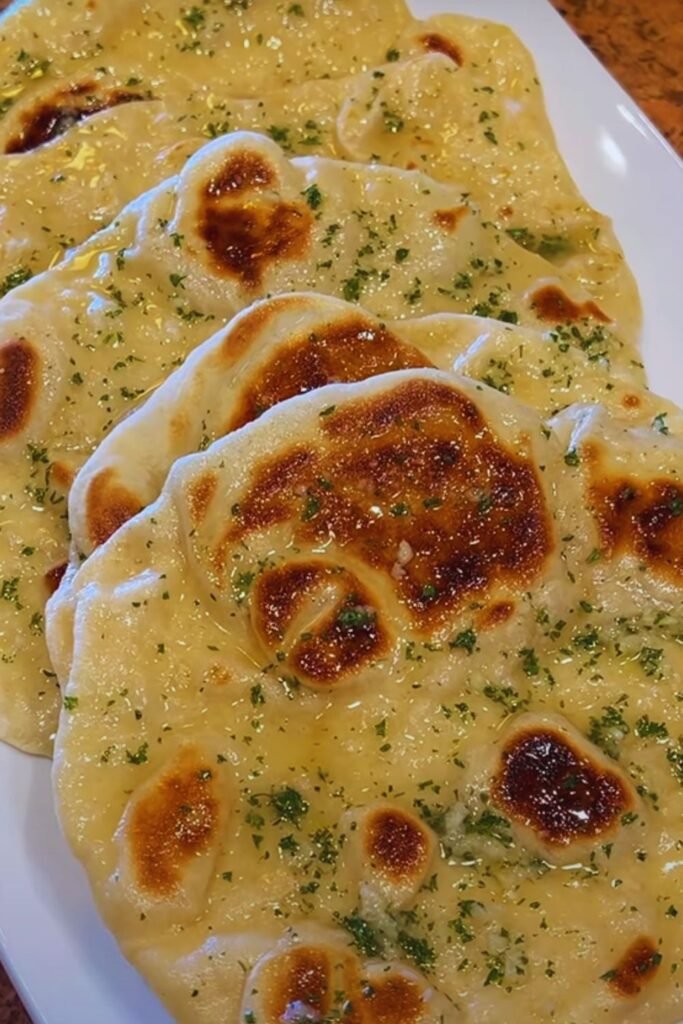
- Bake until fully puffed and lightly golden
- Cover with a clean kitchen towel while cooling
Troubleshooting Guide
| Problem | Cause | Solution |
|---|---|---|
| Pitas don’t puff | Too thick or uneven | Roll to uniform ⅛ inch thickness |
| Tough texture | Overworked dough | Reduce kneading time |
| Dry pitas | Overbaked | Reduce baking time by 30 seconds |
| Dense texture | Insufficient rise | Extend rise time, check yeast freshness |
Storage and Reheating
| Method | Duration | Notes |
|---|---|---|
| Room temperature | 2 days | In sealed bag |
| Refrigerator | 1 week | Wrap well |
| Freezer | 3 months | Double wrap |
To reheat:
- Sprinkle with water
- Wrap in foil
- Heat at 350°F (175°C) for 5-7 minutes
Serving Suggestions
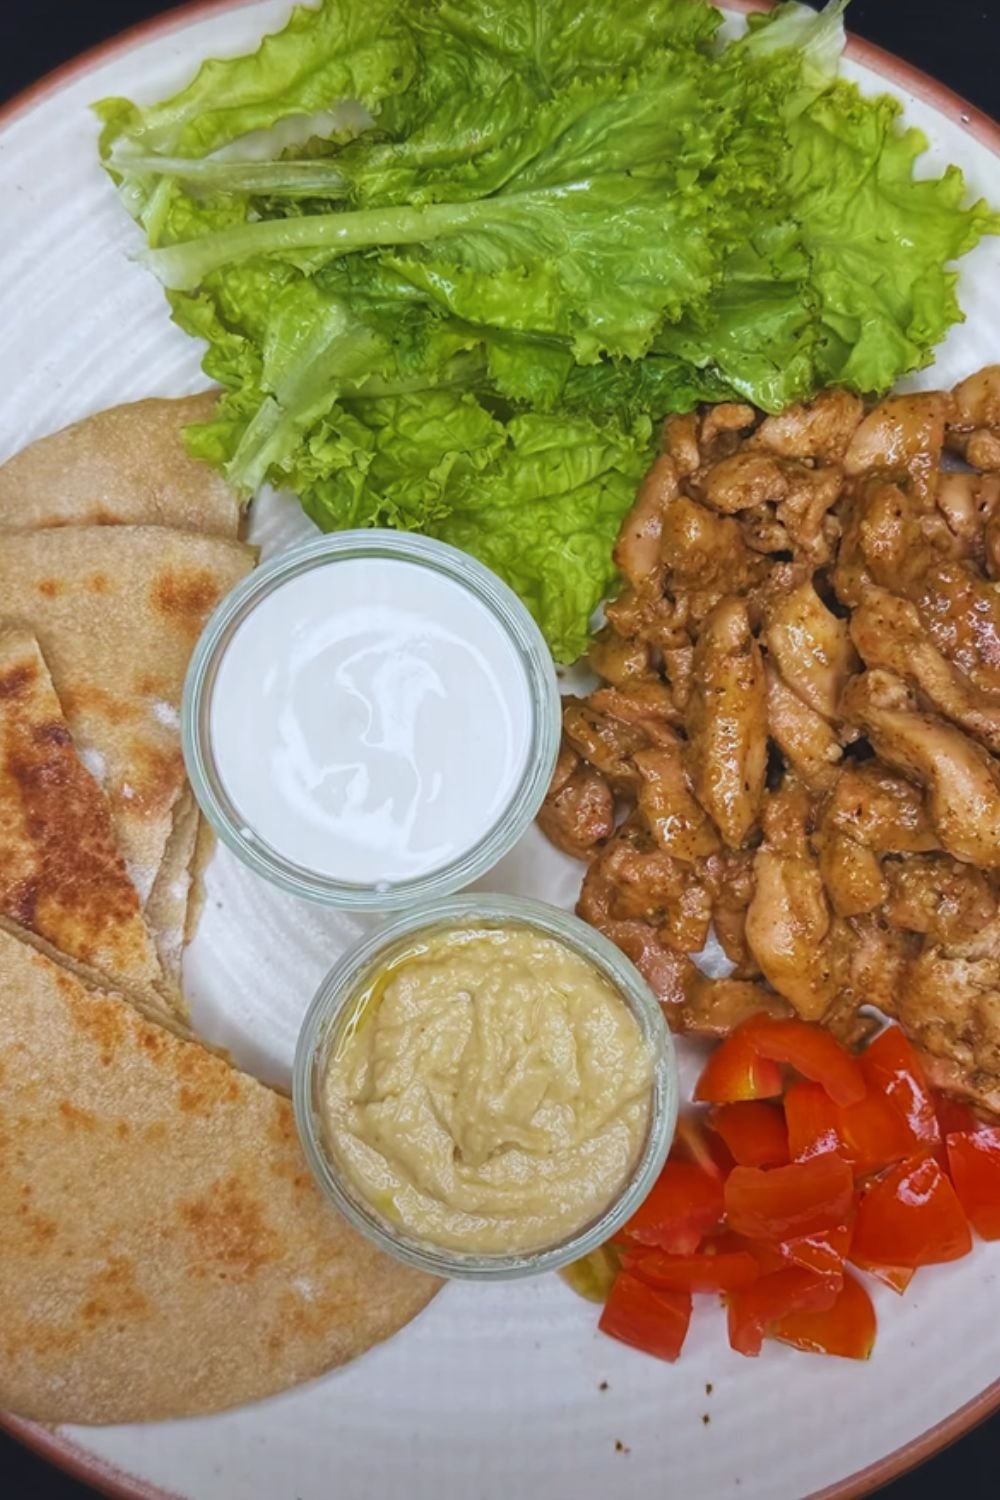
These homemade pitas are perfect for:
- Fresh falafel wraps
- Greek salad pockets
- Hummus and vegetables
- Grilled chicken shawarma
- Mediterranean mezze platters
- Breakfast sandwiches
Frequently Asked Questions
Q: Can I use all-purpose flour instead of bread flour?
Yes, but the texture won’t be as chewy and the pockets might not form as reliably. If using all-purpose flour, reduce water by 2 tablespoons.
Q: Why didn’t my pitas puff up?
The most common reasons are: uneven rolling, insufficient oven temperature, or expired yeast. Ensure your oven is fully preheated and your dough is rolled to an even thickness.
Q: Can I make these whole wheat?
Yes! Replace up to 50% of the bread flour with whole wheat flour. Add an extra 2 tablespoons of water to compensate for the higher absorption.
Q: How do I prevent my pitas from drying out?
Stack and wrap them in a clean kitchen towel immediately after baking. This traps the steam and keeps them soft and pliable.
Q: Can I make the dough ahead of time?
Yes, you can refrigerate the dough after the first rise for up to 24 hours. Let it come to room temperature before shaping.
Health Benefits
| Nutrient | Amount per Pita | % Daily Value |
|---|---|---|
| Calories | 165 | – |
| Protein | 5g | 10% |
| Fiber | 2g | 8% |
| Iron | 2mg | 11% |
| Calcium | 15mg | 2% |
Making pita bread at home isn’t just about saving money or ensuring quality – it’s about connecting with one of humanity’s oldest and most beloved foods. With practice and attention to detail, you’ll be making professional-quality pita bread that would make any Mediterranean baker proud.