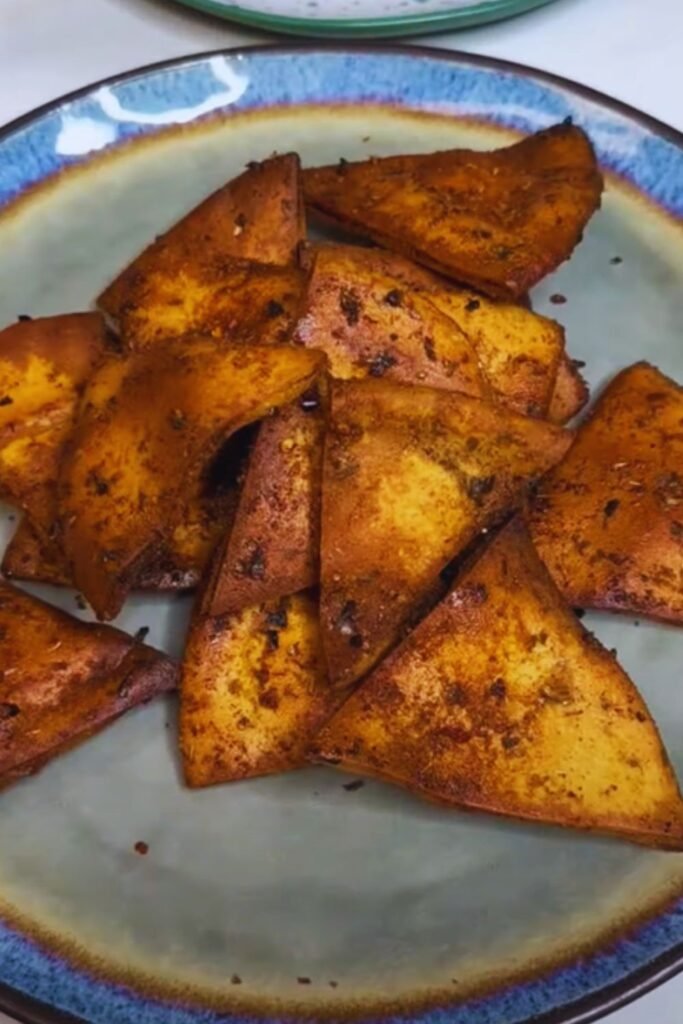
Have you ever found yourself craving something crunchy but wanted a healthier alternative to regular potato chips? Well, you’re in luck! Today, I’m going to share my favorite recipe for homemade pita chips. As someone who’s been baking these crispy delights for over a decade, I can tell you that once you try making your own, you’ll never go back to store-bought versions.
What Makes Homemade Pita Chips Special?
When I first started making pita chips at home, I was amazed by how simple and rewarding the process was. These aren’t just any ordinary chips – they’re versatile, customizable, and perfect for everything from casual snacking to elegant entertaining. Plus, they’re significantly more economical than pre-packaged options, and you have complete control over the ingredients.
Essential Ingredients
To create the perfect batch of pita chips, you’ll need:
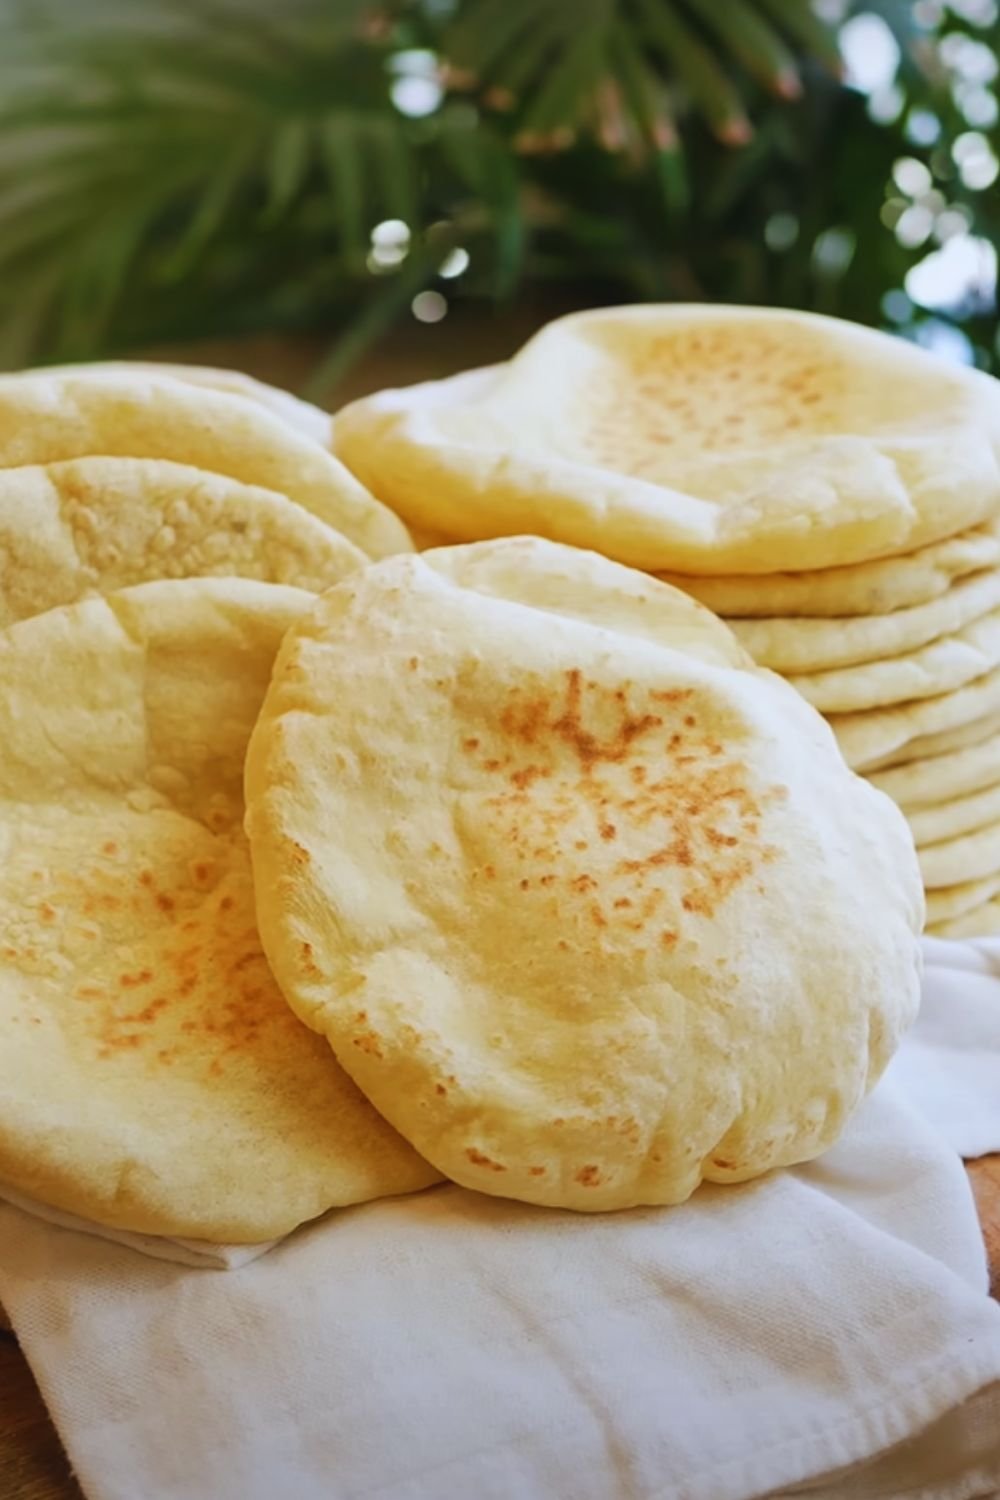
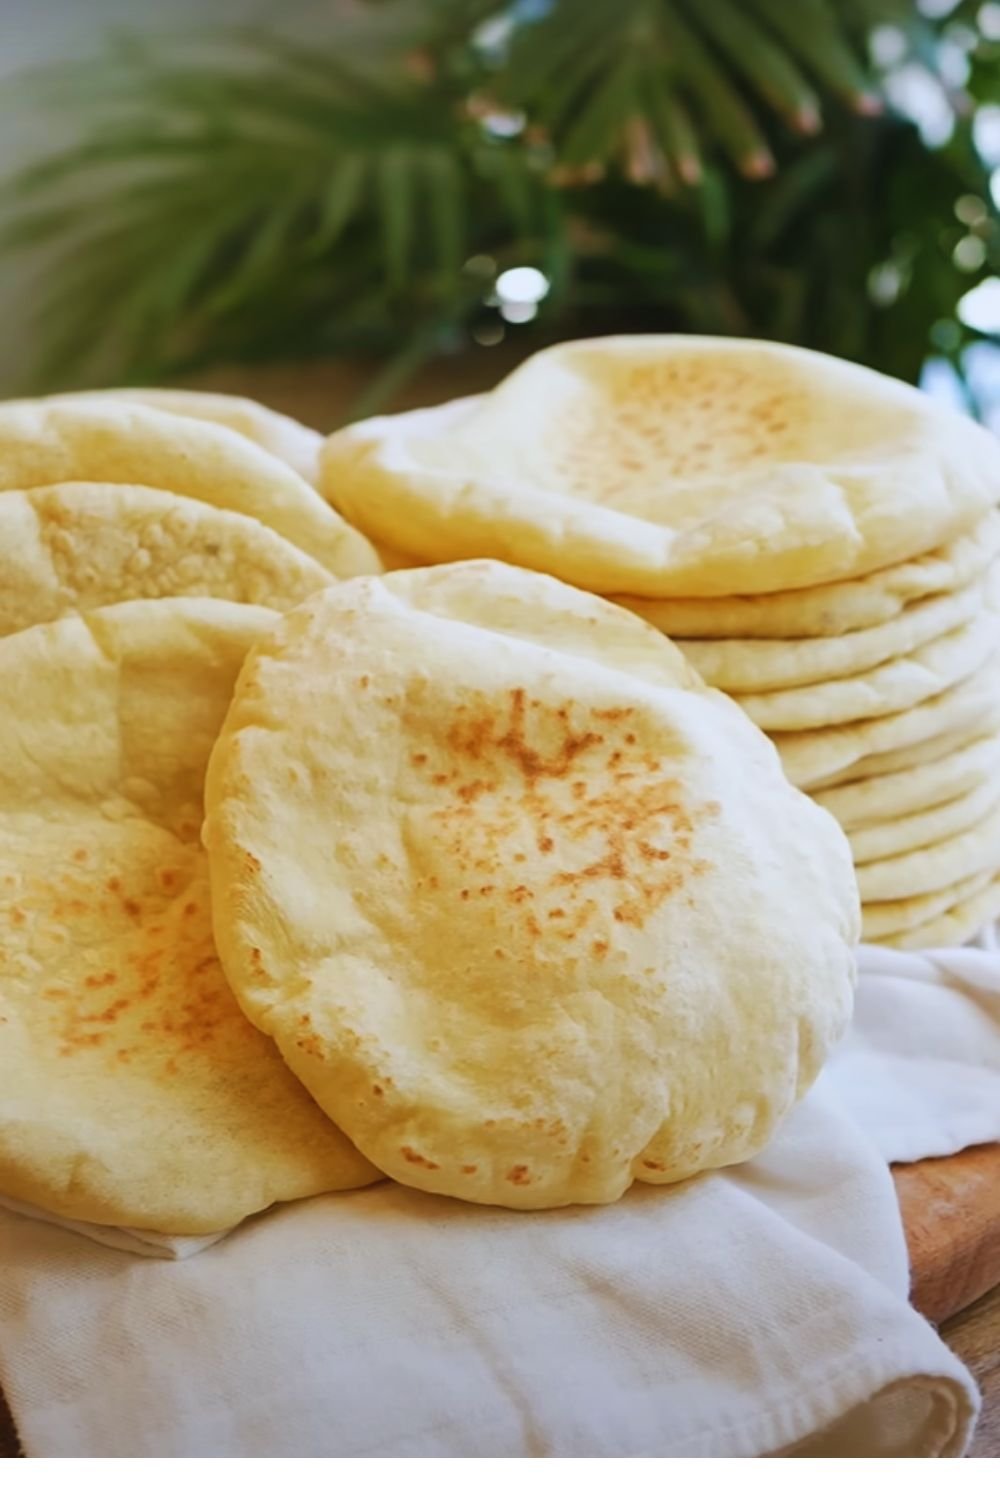
- 6 whole pita breads (white or whole wheat)
- ¼ cup extra virgin olive oil
- 1 teaspoon sea salt
- Optional seasonings (more on this below!)
Equipment Needed
- Sharp knife or kitchen scissors
- Large baking sheet
- Pastry brush
- Parchment paper
- Cooling rack
The Step-by-Step Process
1. Preparation (15 minutes)
I always start by preheating my oven to 375°F (190°C). This temperature creates the perfect balance of crispiness without burning. While the oven heats up, I line my baking sheets with parchment paper.
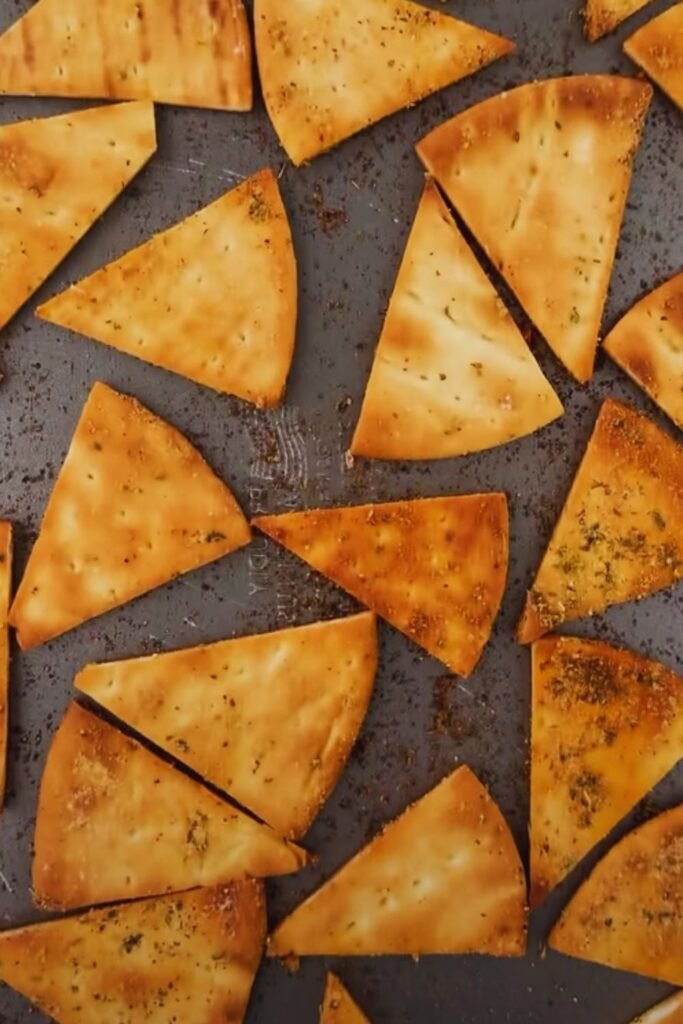
2. Cutting the Pita (10 minutes)
Here’s my tried-and-true method:
- Split each pita bread into two thin rounds
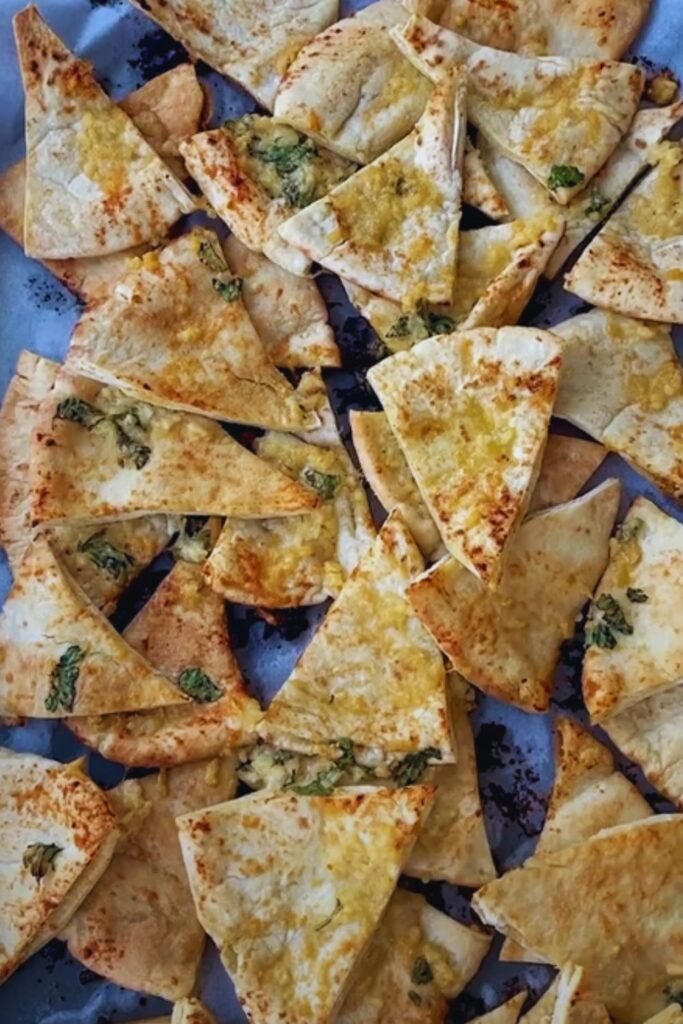
- Stack the rounds and cut them into 8 triangles
- Arrange the triangles in a single layer on the prepared baking sheets
Pro Tip: I’ve found that cutting the pita while it’s slightly chilled makes it easier to get clean edges.
3. Seasoning (5 minutes)
This is where the magic happens! First, brush each triangle with olive oil. Then, sprinkle with your chosen seasonings. Here are some of my favorite combinations:
Classic Seasoning Options:
- Sea salt and black pepper
- Garlic powder and oregano
- Za’atar blend
- Sumac and thyme
- Rosemary and sea salt
Specialty Variations:
- Cinnamon sugar (for sweet chips)
- Curry powder blend
- Ranch seasoning
- Italian herb mix
- Chili lime
4. Baking Process (12-15 minutes)
The key to perfect pita chips lies in careful baking. Here’s my foolproof method:
- Bake for 6-7 minutes
- Rotate the baking sheet
- Continue baking for another 5-8 minutes until golden brown
Critical Temperature Guide:
| Stage | Temperature | Time | Visual Cues |
|---|---|---|---|
| Initial Bake | 375°F | 6-7 mins | Edges starting to curl |
| Final Crisp | 375°F | 5-8 mins | Golden brown color |
| Cooling | Room temp | 10-15 mins | Chips become crispy |
Storage and Serving
Storage Tips
I’ve learned that proper storage is crucial for maintaining crispiness. Here’s what works best:
- Cool completely before storing
- Use an airtight container
- Add a paper towel to absorb moisture
- Store at room temperature
- Will keep fresh for up to 2 weeks
Perfect Pairings
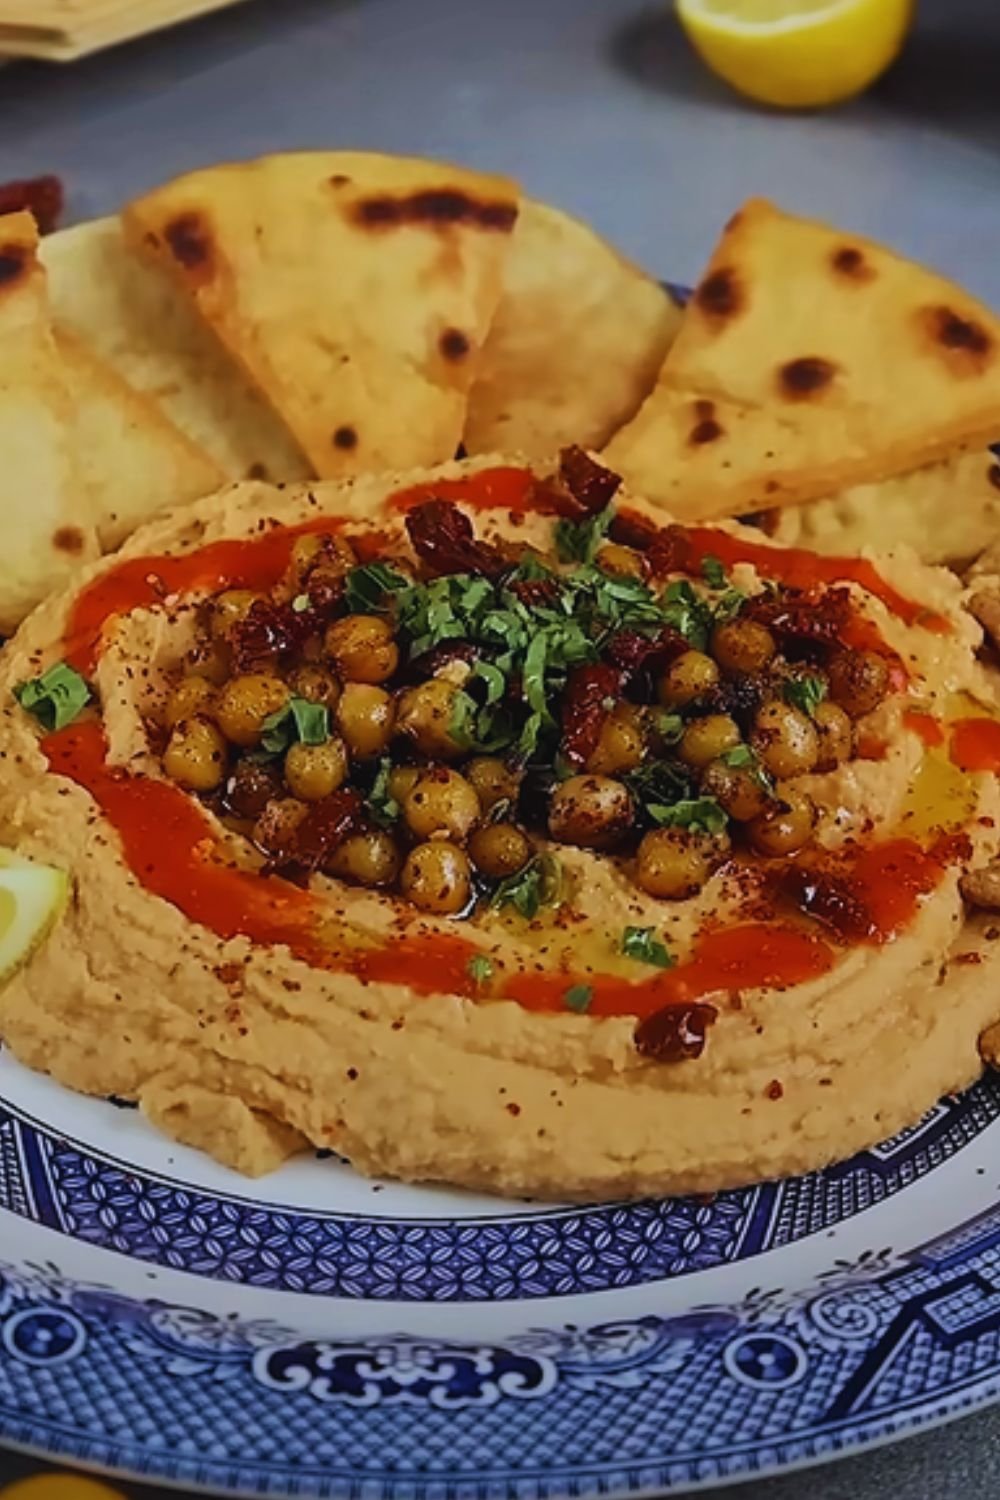
These homemade pita chips shine when served with:
- Classic hummus
- Baba ganoush
- Greek yogurt dip
- Fresh guacamole
- Mediterranean salsa
- Spinach and artichoke dip
- Roasted red pepper spread
Troubleshooting Common Issues
Sometimes things don’t go as planned. Here’s how I handle common problems:
Uneven Browning
Solution: Rotate baking sheets halfway through and ensure chips are cut to uniform thickness.
Too Soft or Too Crispy
| Issue | Cause | Solution |
|---|---|---|
| Too Soft | Undercooked | Extend baking time by 2-3 minutes |
| Too Crispy | Overcooked | Reduce baking time or temperature |
| Chewy Center | Too thick | Cut pitas thinner next time |
Burning Before Crisping
If your chips are burning before getting crispy, try:
- Reducing oven temperature to 350°F
- Moving rack to middle position
- Using lighter colored baking sheets
Nutritional Information
Per serving (10 chips):
- Calories: 130
- Total Fat: 4g
- Saturated Fat: 0.5g
- Sodium: 180mg
- Total Carbohydrates: 20g
- Dietary Fiber: 1g
- Protein: 4g
Frequently Asked Questions
Q: Can I make these ahead for a party?
A: Yes! They can be made up to 2 weeks in advance if stored properly in an airtight container.
Q: What type of pita bread works best?
A: Both white and whole wheat work well, but I prefer whole wheat for extra nutrition and a nuttier flavor.
Q: My chips came out too hard. What went wrong?
A: This usually happens when the oven temperature is too high or they’re baked too long. Try reducing the temperature or shortening the baking time.
Q: Can I use olive oil spray instead of brushing with oil?
A: Yes, but I find that brushing allows for better control and more even coverage.
Q: Are these healthier than store-bought chips?
A: Generally yes, as you control the amount of oil and salt, plus there are no preservatives or artificial ingredients.
Cost Comparison
Let’s break down the economics:
| Item | Store-Bought | Homemade |
|---|---|---|
| Cost per serving | $3.99/bag | $1.20/batch |
| Servings per batch | 4-5 | 6-8 |
| Shelf life | 6 months | 2 weeks |
| Control over ingredients | No | Yes |
Environmental Impact
Making your own pita chips isn’t just good for your wallet – it’s better for the environment too. By making them at home, you:
- Reduce packaging waste
- Control portion sizes
- Use fresher ingredients
- Minimize food additives
- Support local bakeries when buying pita bread
Special Dietary Considerations
These homemade pita chips can be adapted for various dietary needs:
| Diet Type | Modifications |
|---|---|
| Gluten-Free | Use GF pita bread |
| Low-Sodium | Reduce or omit salt |
| Vegan | Already compliant |
| Low-Fat | Use less oil |
| Keto | Not recommended |
Tips for Success
After years of making these chips, here are my top tips:
- Start with fresh pita bread
- Cut pieces uniformly
- Don’t overcrowd the baking sheet
- Watch carefully during final minutes
- Cool completely before storing
- Experiment with seasonings
- Use high-quality olive oil
- Store with paper towels
- Rotate pans during baking
- Let cool on rack, not pan
Remember, perfection comes with practice. Don’t be discouraged if your first batch isn’t restaurant-quality – each time you make them, you’ll get better at judging the perfect timing and seasoning for your taste.
These homemade pita chips have become a staple in my kitchen, and I hope they’ll become one in yours too. They’re perfect for entertaining, healthy snacking, or adding crunch to your favorite soups and salads. Give them a try, and I’m sure you’ll be amazed at how simple and delicious they are!