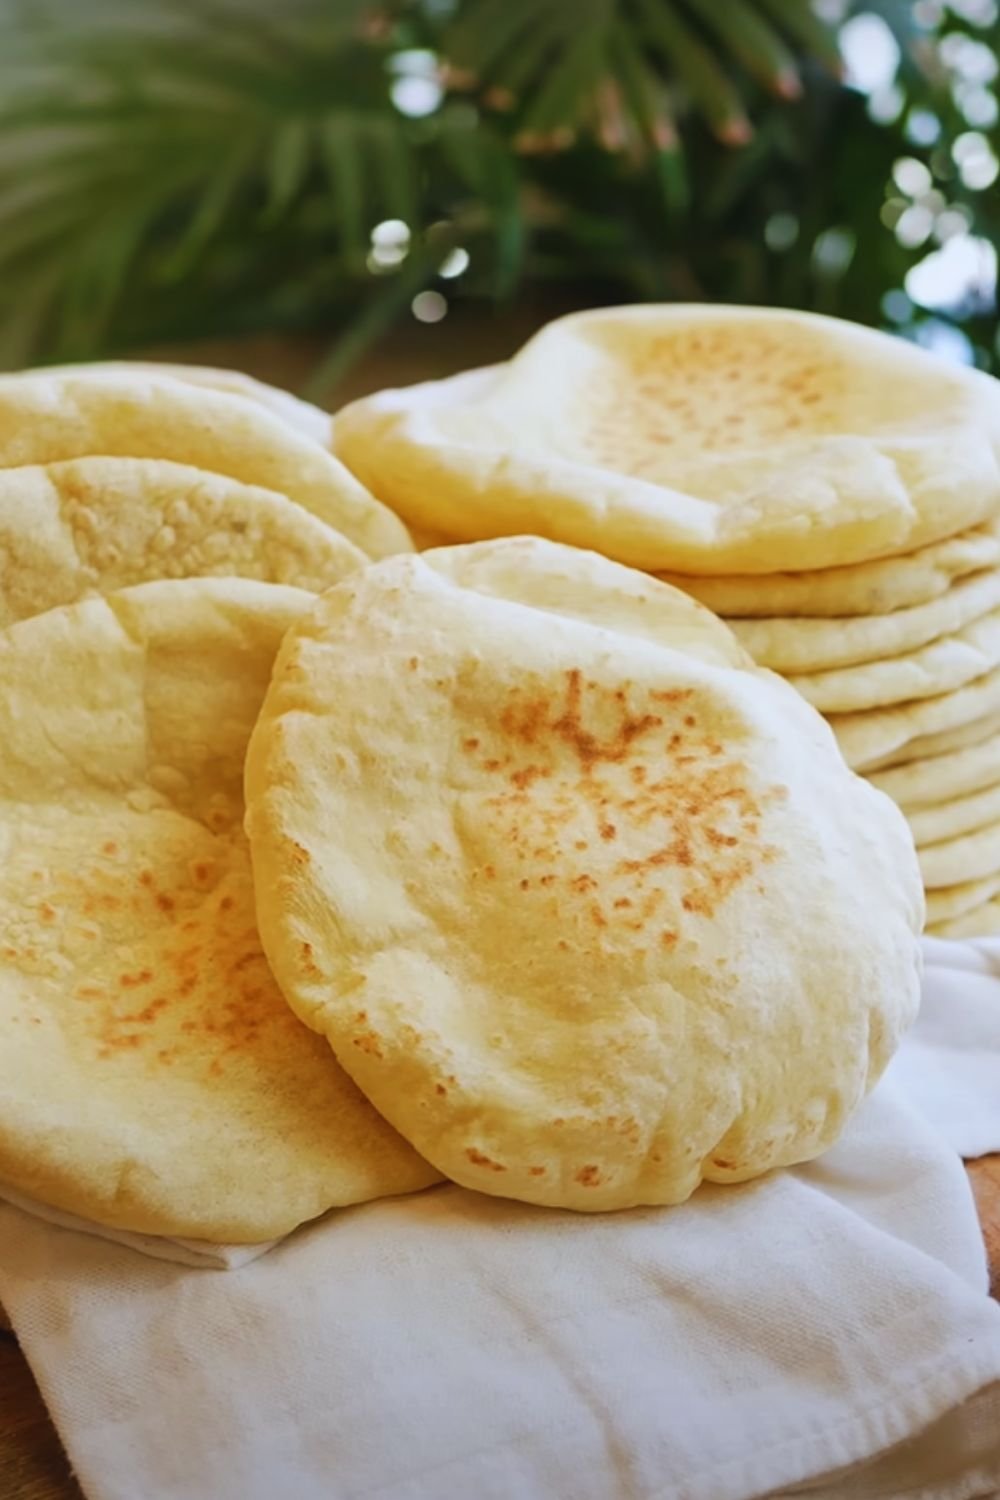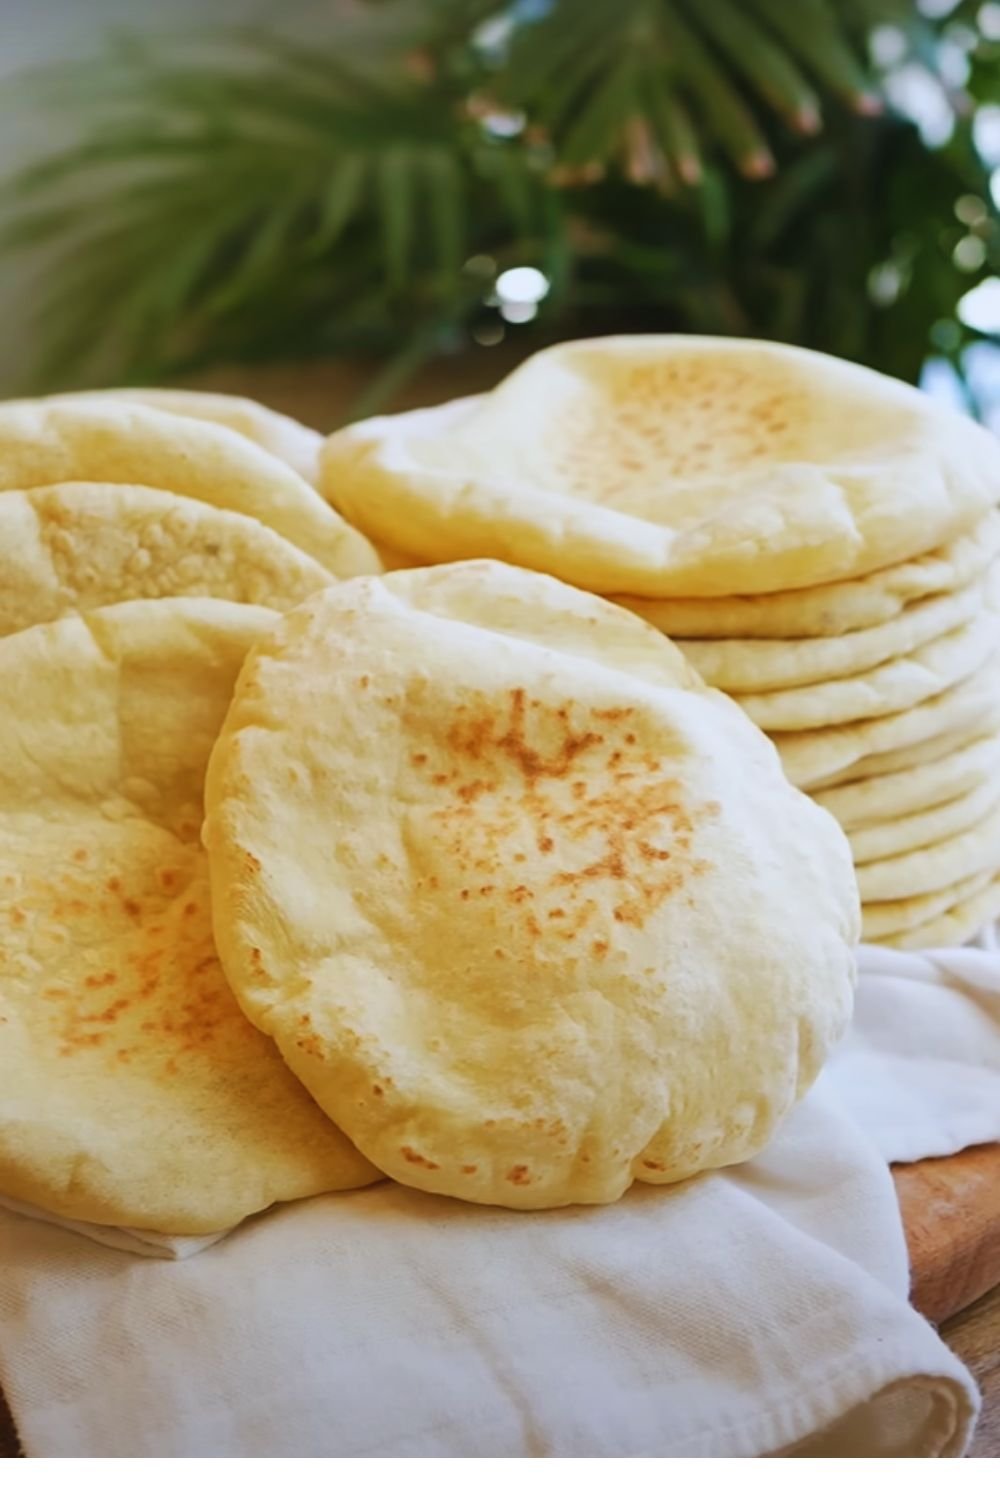
Have you ever craved that perfect, pillowy pita bread but felt intimidated by traditional baking methods? Well, I’ve got exciting news for you! Today, I’m sharing my foolproof no-bake pita bread recipe that will revolutionize how you make this Middle Eastern staple. As someone who’s spent years perfecting this technique, I can assure you that this method delivers consistently excellent results without needing an oven.
The Magic Behind No-Bake Pitas
Before we dive into the recipe, let me share why this method is truly special. Traditional pita making requires careful temperature control and perfect timing in an oven. However, I’ve discovered that using a stovetop method not only simplifies the process but also gives you more control over the puffing – that magical moment when your pita develops its signature pocket.
Essential Ingredients
| Ingredient | Amount | Notes |
|---|---|---|
| All-purpose flour | 3 cups (375g) | Room temperature |
| Active dry yeast | 2¼ teaspoons (7g) | One standard packet |
| Warm water | 1 cup (240ml) | 105-110°F (40-43°C) |
| Sugar | 1 teaspoon (4g) | To activate yeast |
| Salt | 1½ teaspoons (9g) | Fine sea salt preferred |
| Olive oil | 2 tablespoons (30ml) | Extra virgin |
| Additional flour | As needed | For dusting |
Equipment Needed
| Item | Purpose | Alternative |
|---|---|---|
| Large skillet or griddle | Cooking surface | Cast iron pan |
| Rolling pin | Shaping dough | Wine bottle (clean) |
| Kitchen towel | Covering dough | Plastic wrap |
| Mixing bowl | Dough preparation | Large container |
| Measuring tools | Precise portions | Kitchen scale |
Step-by-Step Instructions
1. Preparing the Yeast Mixture
- In a small bowl, combine:
- Warm water (ensure it’s not too hot)
- Sugar
- Active dry yeast
- Let it sit for 5-10 minutes until foamy
- Watch for bubbling – this confirms your yeast is active
2. Making the Dough
- In a large mixing bowl, combine:
- All-purpose flour
- Salt
- Create a well in the center
- Add:
- Activated yeast mixture
- Olive oil
- Mix until a shaggy dough forms
- Knead for 8-10 minutes until smooth and elastic
3. First Rise
- Place dough in an oiled bowl
- Cover with a damp kitchen towel
- Let rise for 1 hour or until doubled
- Look for these signs of proper rising:
- Doubled in size
- Springy to touch
- Visible air bubbles
4. Shaping and Second Rise
- Divide dough into 8 equal portions
- Shape each into a ball
- Cover and rest for 15 minutes
- Roll each ball into a 6-inch circle
- Keep thickness even (about ¼ inch)
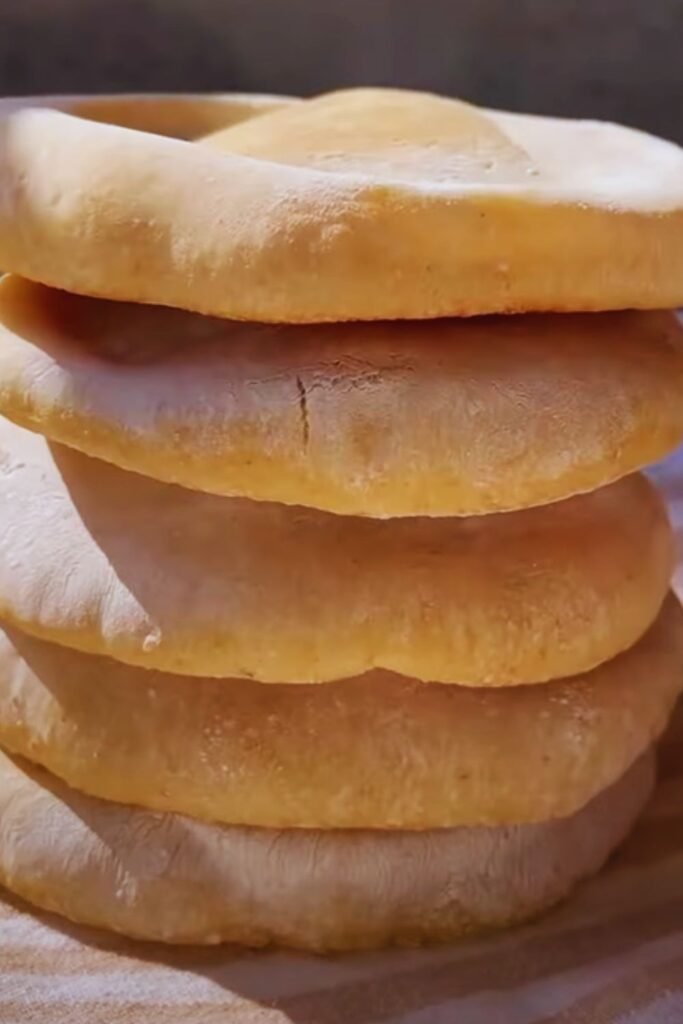
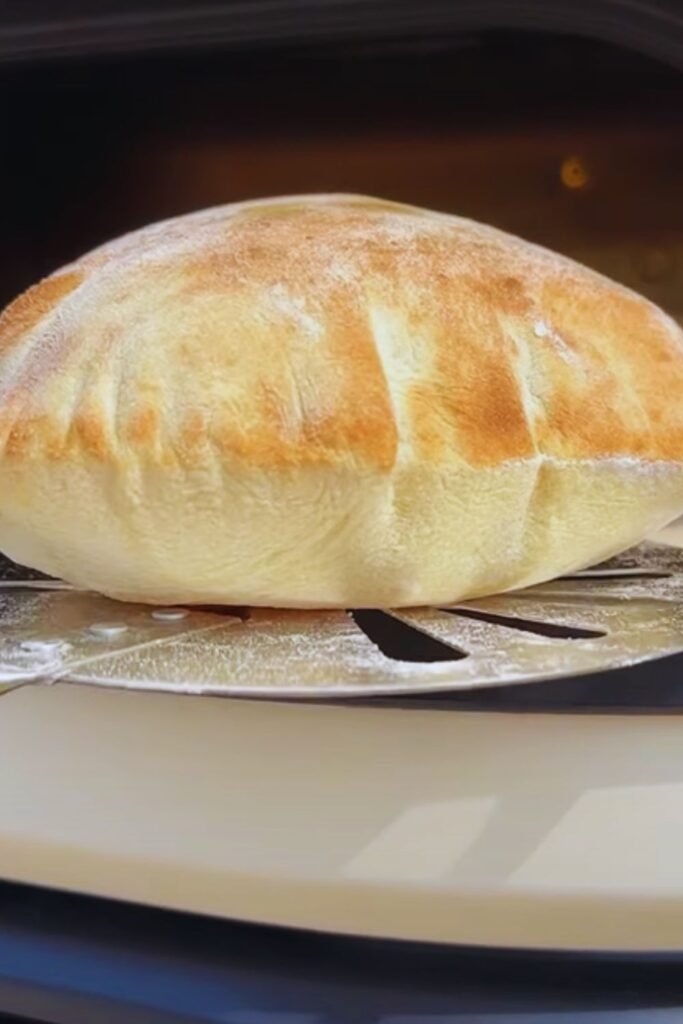
5. Cooking Process
- Heat skillet over medium-high heat
- Place pita on hot surface
- Cook for 1-2 minutes until bubbles form
- Flip and cook for another minute
- Keep warm in a kitchen towel
Troubleshooting Guide
| Problem | Cause | Solution |
|---|---|---|
| Pita doesn’t puff | Too thick or uneven | Roll more evenly |
| Dough too sticky | Excess moisture | Add flour gradually |
| Burns quickly | Too high heat | Reduce temperature |
| Tough texture | Overworked dough | Knead less |
| Won’t rise | Dead yeast | Check yeast freshness |
Storage and Reheating
| Method | Duration | Notes |
|---|---|---|
| Room temperature | 2 days | In sealed bag |
| Refrigerator | 1 week | Wrap well |
| Freezer | 3 months | Double wrap |
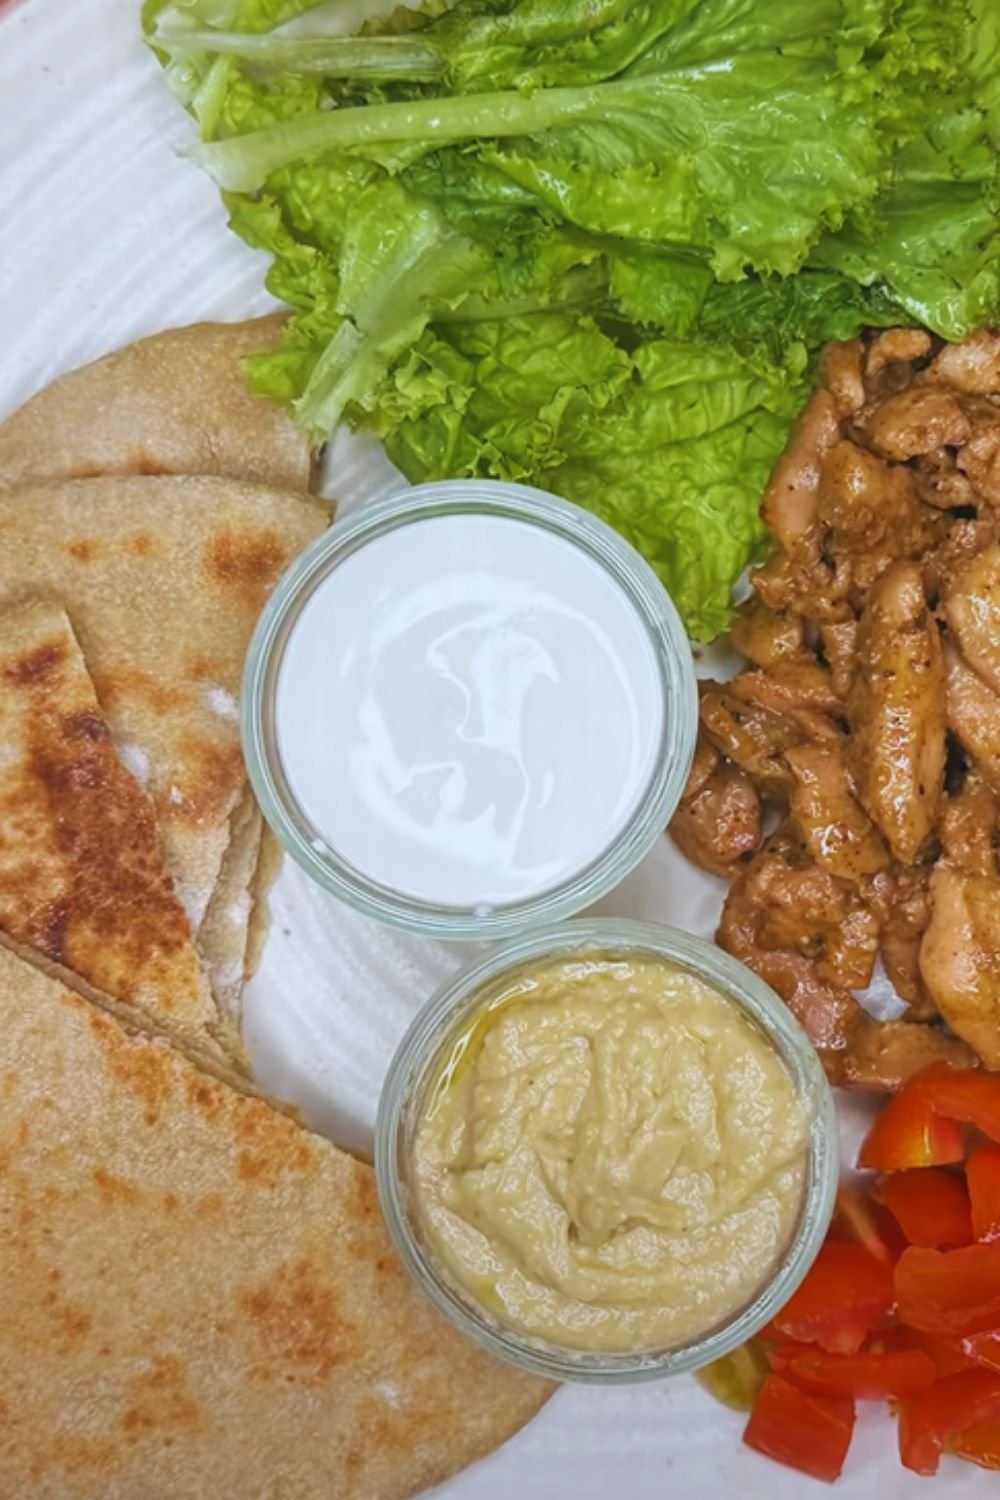
Serving Suggestions
I love serving these fresh pitas with:
- Homemade hummus
- Greek salad
- Grilled vegetables
- Falafel
- Tzatziki sauce
- Baba ganoush
- Fresh tabbouleh
- Shakshuka
Nutritional Information
(Per pita)
| Nutrient | Amount |
|---|---|
| Calories | 215 |
| Protein | 6g |
| Carbohydrates | 41g |
| Fiber | 2g |
| Fat | 3g |
| Sodium | 440mg |
Common Questions & Answers
Q: Why doesn’t my pita puff up properly?
A: The key to proper puffing lies in even rolling thickness and the right temperature. Make sure your skillet is properly preheated and your dough is rolled to an even ¼ inch thickness.
Q: Can I use whole wheat flour?
A: Yes! You can replace up to 50% of the all-purpose flour with whole wheat flour. Keep in mind this will result in a denser pita with less puff.
Q: How do I prevent my pitas from drying out?
A: Store them in an airtight container or zip-top bag as soon as they cool. For longer storage, freeze them with parchment paper between each pita.
Q: Can I make the dough ahead of time?
A: Absolutely! You can refrigerate the dough after the first rise for up to 24 hours. Let it come to room temperature before shaping.
Q: Why is my dough too sticky?
A: Humidity can affect flour absorption. Add flour gradually during kneading until the dough is smooth but not dry.
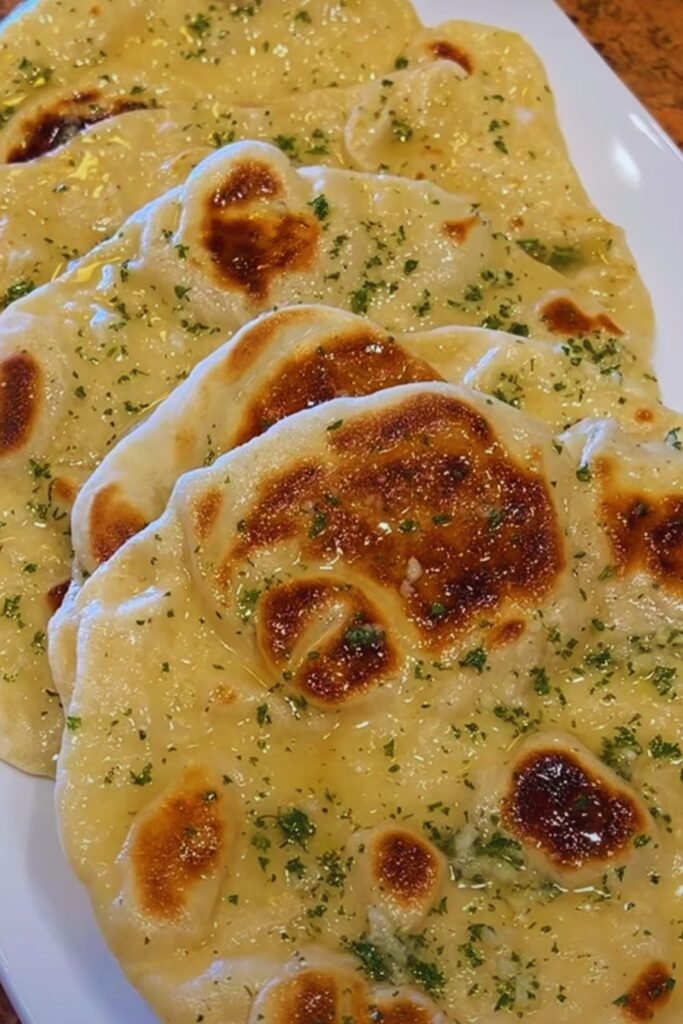
Recipe Variations
- Herb-Infused Pitas
- Add 2 tablespoons fresh herbs
- Mix in roasted garlic
- Incorporate za’atar seasoning
- Protein-Enriched Version
- Add 2 tablespoons vital wheat gluten
- Mix in greek yogurt
- Include ground flaxseed
- Mediterranean Style
- Add sun-dried tomatoes
- Mix in olives
- Include fresh rosemary
Remember, the beauty of this recipe lies in its simplicity and versatility. I’ve made these pitas countless times, and each batch brings its own joy and learning experience. Whether you’re a beginner or an experienced baker, this no-bake method offers a foolproof way to create perfect pitas every time.
Tips for Perfect Pitas
- Temperature Control
- Keep heat consistent
- Watch for proper browning
- Adjust as needed
- Dough Handling
- Don’t overwork
- Keep slightly tacky
- Rest as directed
- Storage Solutions
- Cool completely
- Store properly
- Reheat gently
With practice, you’ll develop an intuition for the perfect consistency and cooking time. Happy cooking!