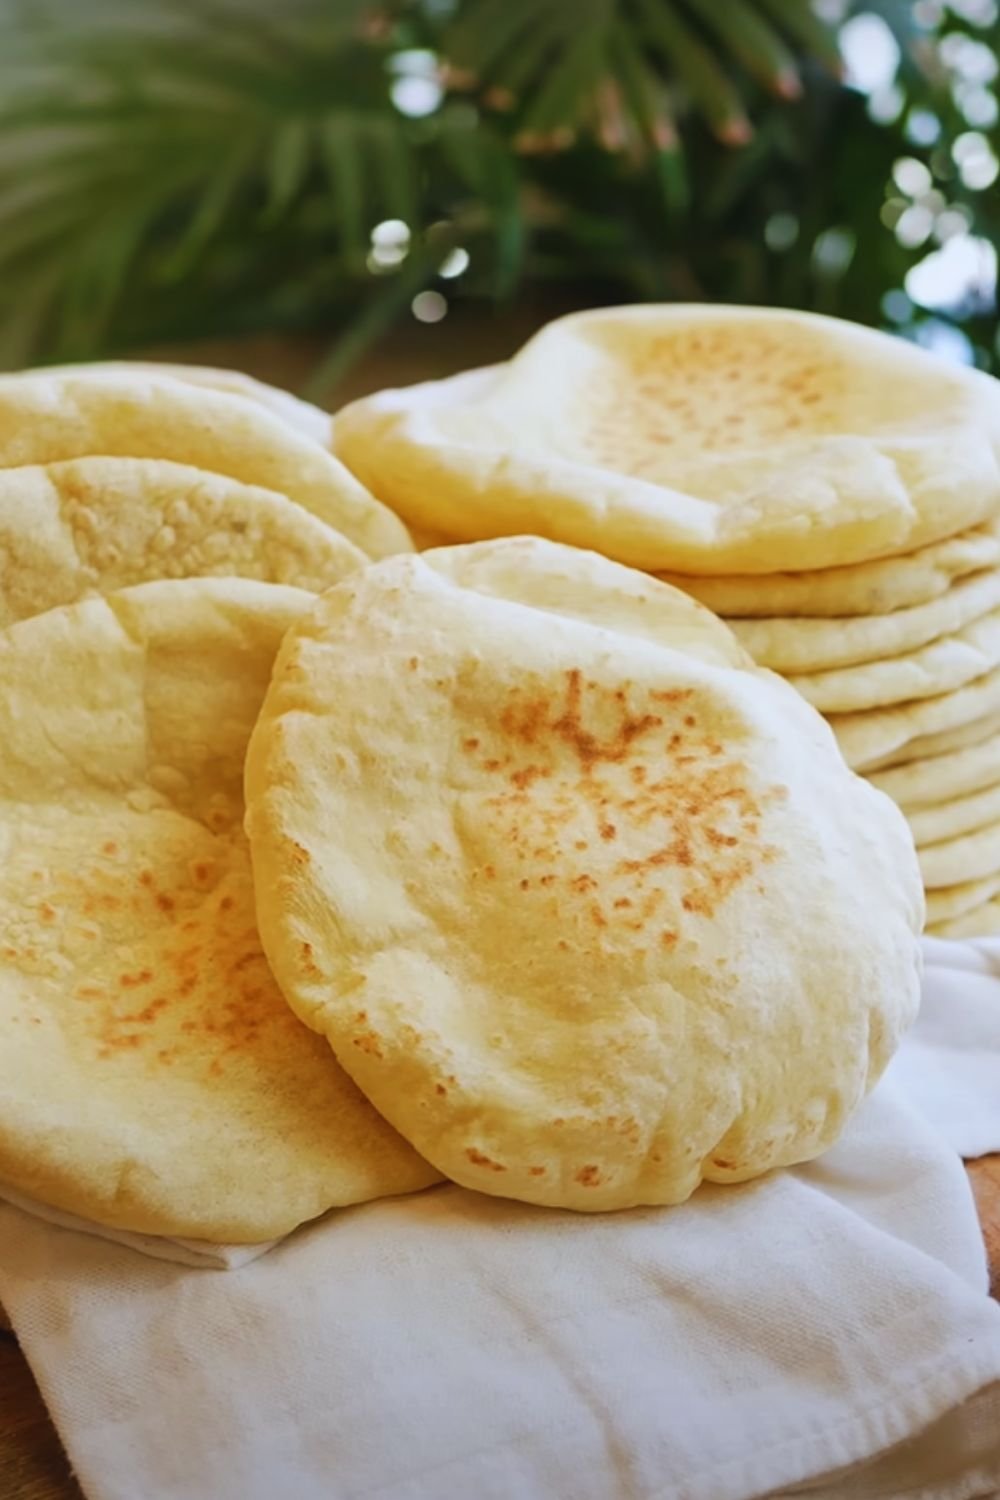
There’s something magical about watching pita bread puff up in the oven, creating that perfect pocket ready to be filled with your favorite ingredients. Today, I’m sharing my tried-and-tested recipe for making authentic pita bread at home. After years of experimenting with different techniques, I’ve perfected this recipe to achieve that ideal combination of chewy texture and pillowy softness.
Why Make Your Own Pita Bread?
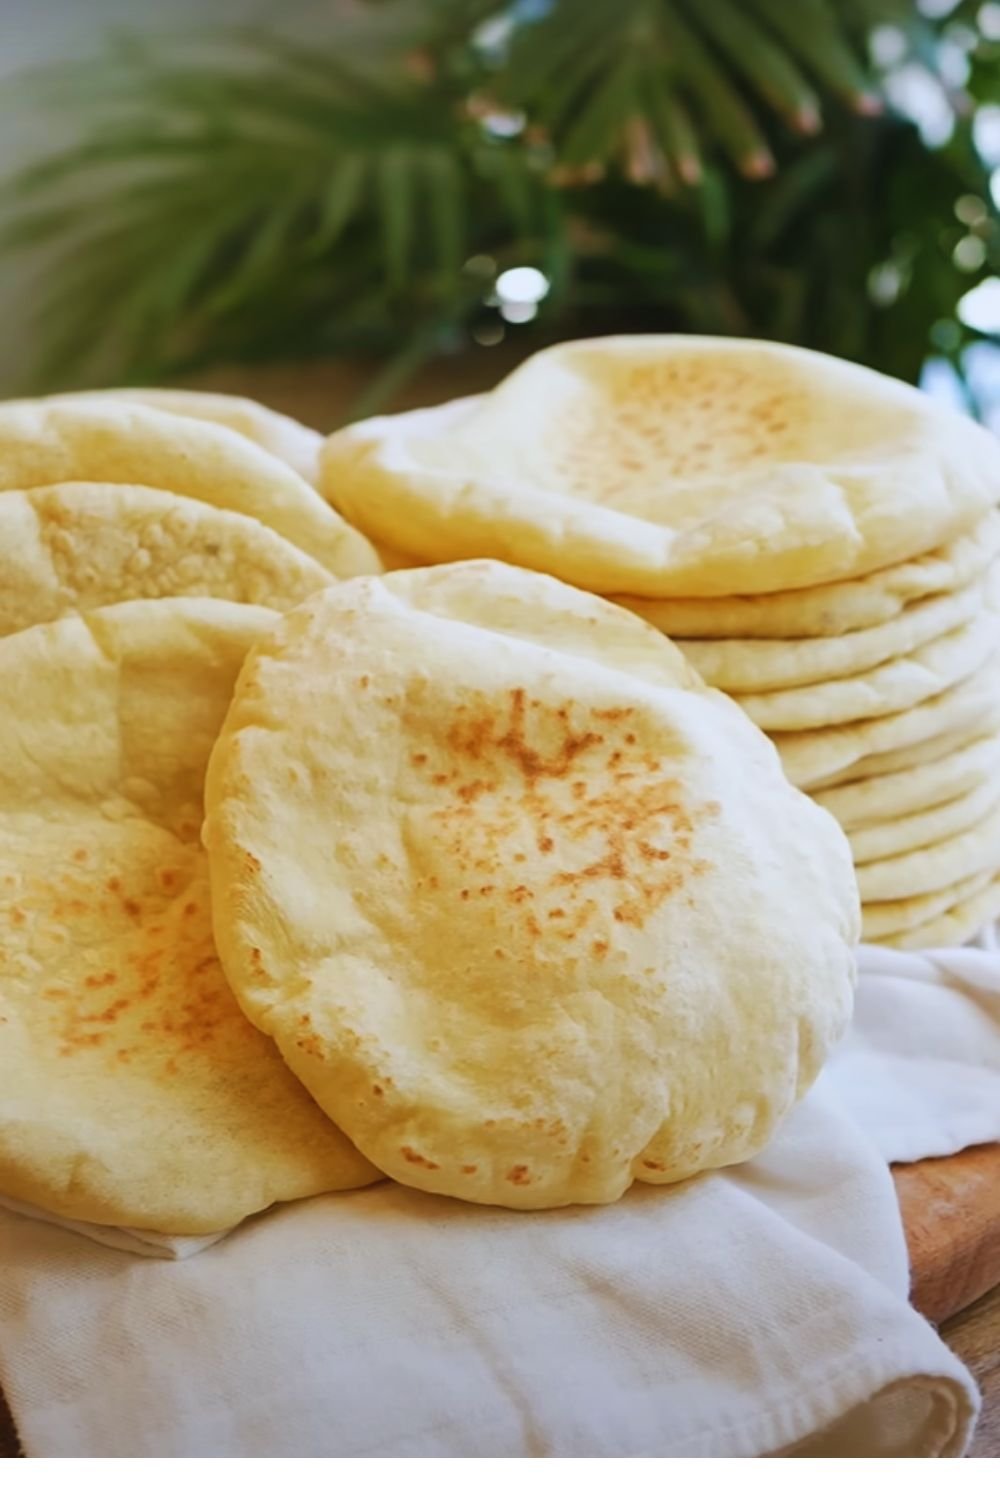
Before we dive into the recipe, let me tell you why making pita bread at home is worth your time. Store-bought pita can often be dry and lacking in flavor. When you make it fresh, you’ll experience:
- A wonderfully chewy texture with the perfect amount of spring
- That irreplaceable aroma of freshly baked bread filling your kitchen
- The satisfaction of creating perfectly sized pockets every time
- Complete control over ingredients, ensuring no preservatives or additives
- Significant cost savings, especially if you regularly use pita bread
Essential Ingredients
For this recipe, you’ll need:
| Ingredient | Amount | Notes |
|---|---|---|
| All-purpose flour | 3 cups (375g) | Unbleached preferred |
| Active dry yeast | 2¼ teaspoons (7g) | Or 1 packet |
| Sugar | 1 teaspoon (4g) | To activate yeast |
| Salt | 1½ teaspoons (9g) | Fine sea salt recommended |
| Warm water | 1¼ cups (295ml) | 105-110°F (40-43°C) |
| Olive oil | 2 tablespoons (30ml) | Extra virgin |
Essential Equipment
| Equipment | Purpose |
|---|---|
| Large mixing bowl | For dough preparation |
| Kitchen scale | For precise measurements |
| Baking stone/sheet | For even heat distribution |
| Clean kitchen towel | For covering dough while rising |
| Rolling pin | For shaping pitas |
| Thermometer | For water temperature |
The Step-by-Step Process
1. Preparing the Dough
The foundation of perfect pita bread lies in proper dough preparation. Here’s my detailed process:
- Combine warm water (105-110°F) with sugar and yeast in a small bowl
- Let it stand for 5-10 minutes until foamy
- In a large bowl, mix flour and salt
- Add olive oil to the yeast mixture
- Create a well in the flour and pour in the liquid
- Mix until a shaggy dough forms
- Knead for 8-10 minutes until smooth and elastic
- Form into a ball and oil the surface lightly
2. First Rise
The first rise is crucial for developing flavor and structure:
- Place dough in an oiled bowl
- Cover with a damp kitchen towel
- Let rise in a warm spot (75-80°F) for 1-1½ hours
- Dough should double in size
- Punch down gently after rising
3. Shaping and Second Rise
Getting the shape right ensures proper pocket formation:
- Divide dough into 8 equal pieces (about 85g each)
- Shape each piece into a ball
- Let rest covered for 20 minutes
- Roll each ball into a 6-inch circle, ¼-inch thick
- Keep thickness even throughout
- Cover shaped pitas and let rest 30 minutes
4. Baking Process
Temperature and timing are critical:
| Step | Temperature | Duration |
|---|---|---|
| Preheat oven | 475°F (245°C) | 30 minutes |
| Preheat stone | 475°F (245°C) | In oven |
| Bake each pita | 475°F (245°C) | 3-4 minutes |
Troubleshooting Common Issues
| Problem | Cause | Solution |
|---|---|---|
| No pocket forms | Too thick/uneven | Roll consistently to ¼-inch |
| Dry pita | Overbaked | Reduce baking time |
| Dense texture | Insufficient kneading | Knead longer for development |
| Burnt bottom | Too hot surface | Adjust rack position |
Storage and Reheating
To maintain freshness:
- Cool completely before storing
- Keep in an airtight container
- Store at room temperature for 2 days
- Freeze for up to 3 months
- Reheat in oven wrapped in foil
Serving Suggestions
Here are my favorite ways to serve fresh pita:
- Fill with falafel and tahini sauce
- Use as a base for Mediterranean pizza
- Serve alongside hummus and baba ganoush
- Create healthy sandwich wraps
- Cut into triangles and toast for pita chips
Nutritional Information
Per pita (based on 8 servings):
| Nutrient | Amount |
|---|---|
| Calories | 215 |
| Protein | 6g |
| Carbohydrates | 40g |
| Fiber | 1.5g |
| Fat | 3.8g |
| Sodium | 440mg |
Frequently Asked Questions
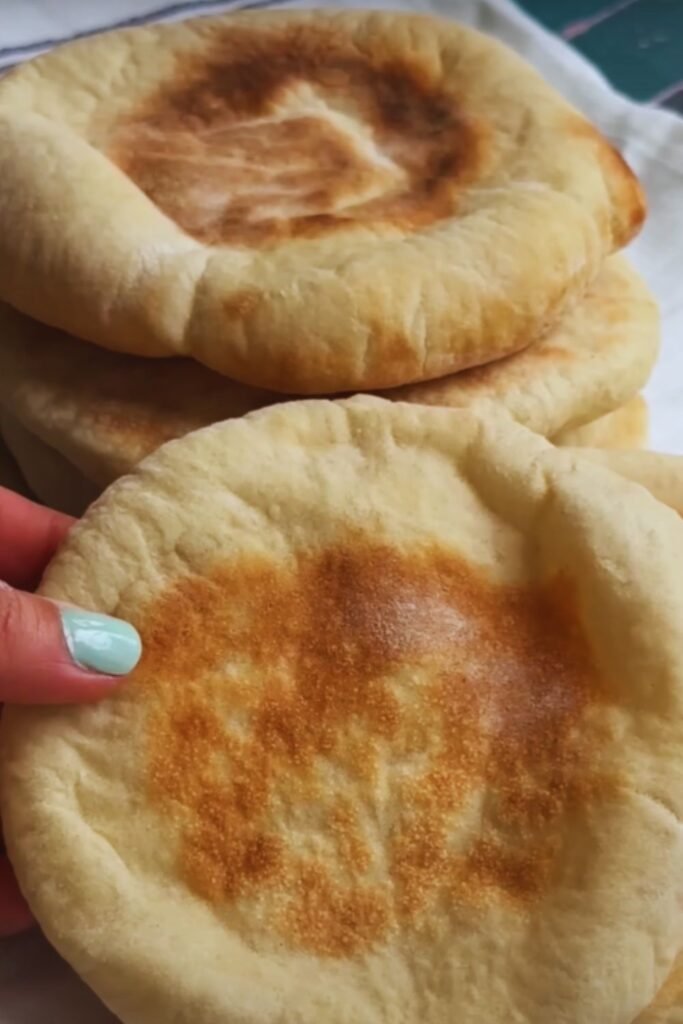
Q: Why didn’t my pita puff up?
A: The most common reason is uneven rolling. Ensure consistent ¼-inch thickness and proper oven temperature.
Q: Can I use whole wheat flour?
A: Yes! Replace up to 50% of the all-purpose flour with whole wheat. You may need slightly more water.
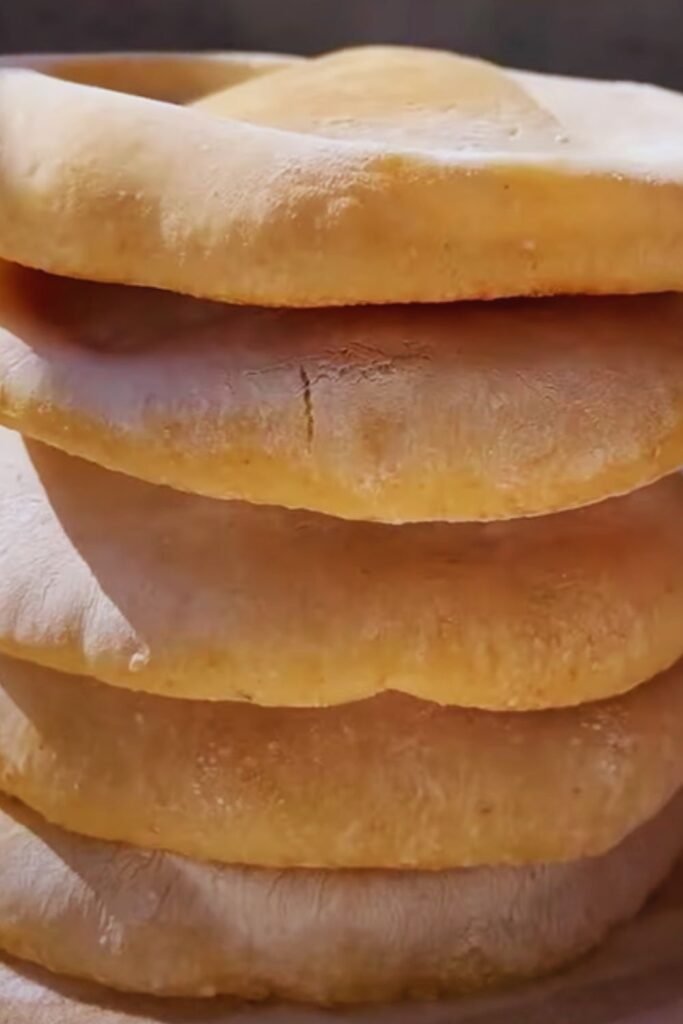
Q: How do I know when the pita is done?
A: Look for light golden spots on both sides and a fully puffed pocket. The pita should be cooked through but still soft.
Q: Can I make the dough ahead of time?
A: Yes! You can refrigerate the dough after the first rise for up to 24 hours. Let it come to room temperature before shaping.
Q: Why is my pita bread tough?
A: Over-kneading or using too much flour during rolling can result in tough pita. Handle the dough gently and use minimal flour for rolling.
Recipe Variations
Feel free to experiment with these variations:
- Add 1 tablespoon of za’atar to the dough
- Incorporate ½ cup of finely chopped fresh herbs
- Use garlic-infused olive oil
- Sprinkle with sesame seeds before baking
- Add 2 tablespoons of ground flax for extra nutrition
Remember, making perfect pita bread takes practice. Don’t get discouraged if your first batch isn’t perfect – each time you make them, you’ll develop a better feel for the dough and timing. The most important thing is to enjoy the process and the delicious results!