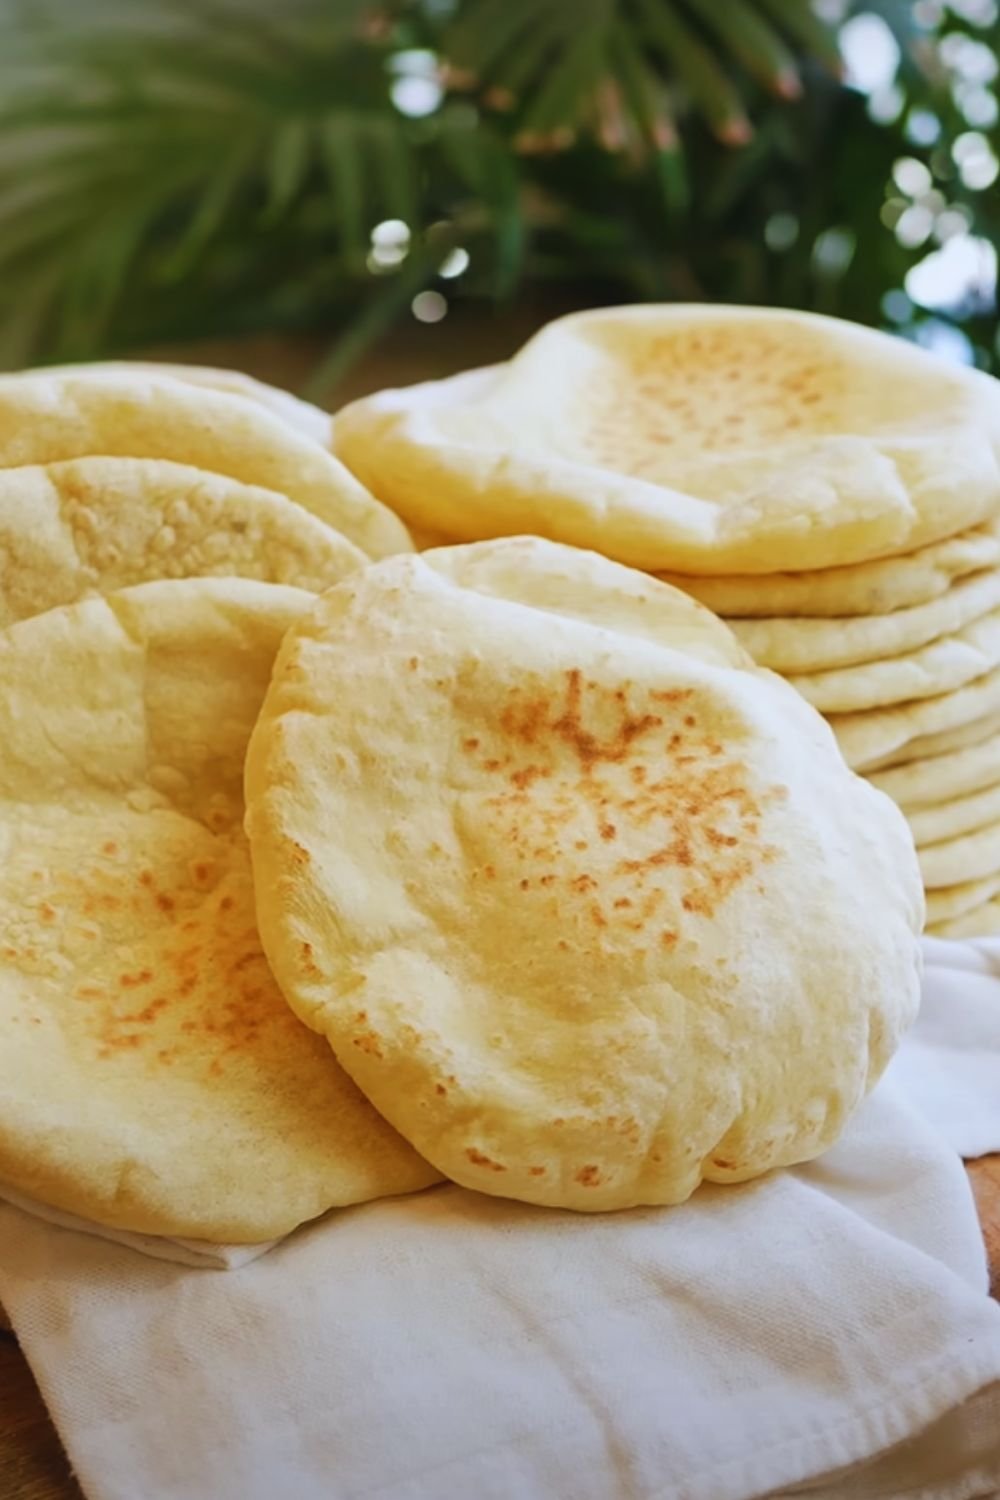
There’s something magical about watching pita bread puff up in the oven, creating that perfect pocket that’s ready to be filled with your favorite ingredients. As someone who’s been baking these Middle Eastern flatbreads for over a decade, I’m excited to share my foolproof recipe and tips that will help you master this ancient art in your modern kitchen.
Why Make Your Own Pita Bread?
Making pita bread at home isn’t just about saving money – it’s about experiencing the joy of creating something fundamental and delicious from scratch. The aroma of freshly baked pita wafting through your kitchen is unmatched, and the taste? Simply incomparable to store-bought versions.
Essential Ingredients
| Ingredient | Amount | Notes |
|---|---|---|
| All-purpose flour | 3 cups (375g) | Protein content 10-12% |
| Active dry yeast | 2¼ teaspoons (7g) | Or 1 packet |
| Warm water | 1 cup (240ml) | Temperature 105-110°F (40-43°C) |
| Sugar | 1 teaspoon (4g) | To activate yeast |
| Salt | 1½ teaspoons (9g) | Fine sea salt preferred |
| Olive oil | 2 tablespoons (30ml) | Extra virgin |

Equipment Needed
| Essential Tools | Purpose | Recommended Type |
|---|---|---|
| Baking stone/sheet | For even heat distribution | Pizza stone or heavy-duty baking sheet |
| Stand mixer | For dough kneading | Any brand with dough hook |
| Rolling pin | For shaping pitas | Wooden or marble |
| Clean kitchen towel | For covering dough | Lint-free cotton |
| Measuring tools | For accuracy | Digital scale preferred |
Step-by-Step Instructions
1. Preparing the Dough
- In a large bowl, combine:
- Warm water (105-110°F)
- Sugar
- Yeast
- Let stand for 5-10 minutes until foamy
- Add:
- 1 cup flour
- Salt
- Olive oil
- Mix until smooth
- Gradually add remaining flour
2. Kneading Process
Time required: 8-10 minutes
Texture goal: Smooth, elastic dough
Test: Should spring back when poked
3. First Rise
| Stage | Time | Temperature | Signs of Readiness |
|---|---|---|---|
| First rise | 1-1.5 hours | 75-80°F (24-27°C) | Doubled in size |
| Shaped rest | 20 minutes | Room temperature | Slightly puffy |
| Final rest | 10 minutes | Room temperature | Ready to bake |
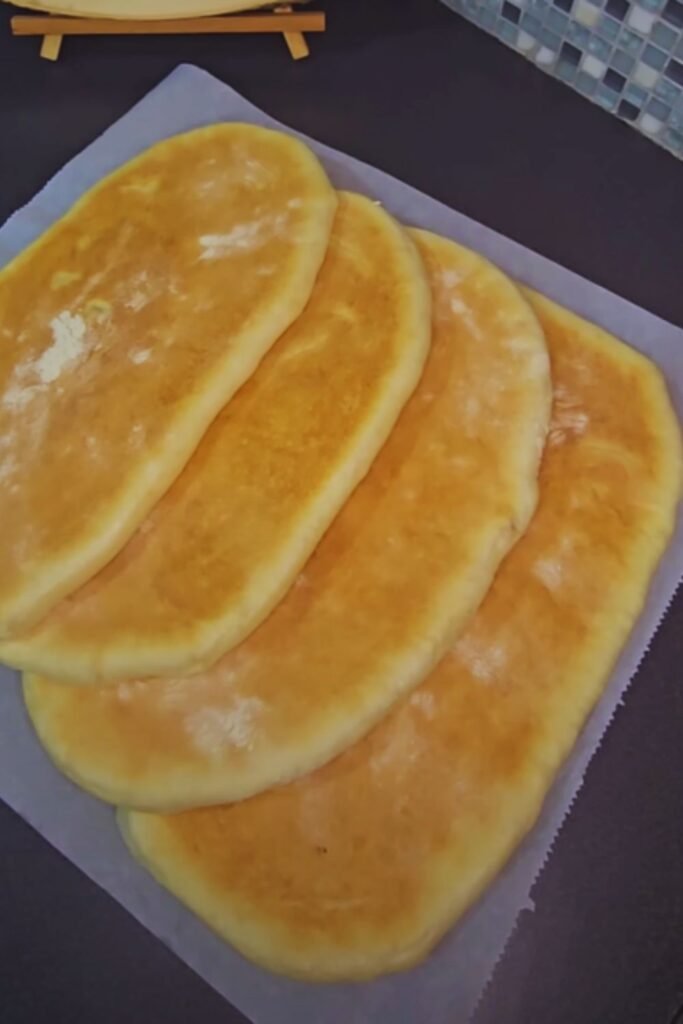
4. Shaping and Baking
- Divide dough into 8 equal portions
- Shape into balls
- Roll each to ¼-inch thickness
- Bake at 475°F (245°C) for 3-4 minutes
Troubleshooting Guide
| Problem | Cause | Solution |
|---|---|---|
| Won’t puff | Too thick/thin | Roll to ¼-inch exactly |
| Dry pitas | Overbaked | Reduce baking time |
| Dense texture | Under-proofed | Extend rise time |
| Tough crust | Old dough | Make fresh dough |
Storage and Reheating
| Method | Duration | Temperature | Notes |
|---|---|---|---|
| Room temp | 2 days | 70°F (21°C) | In sealed bag |
| Refrigerator | 1 week | 40°F (4°C) | Double-wrapped |
| Freezer | 3 months | 0°F (-18°C) | Vacuum-sealed |
Serving Suggestions
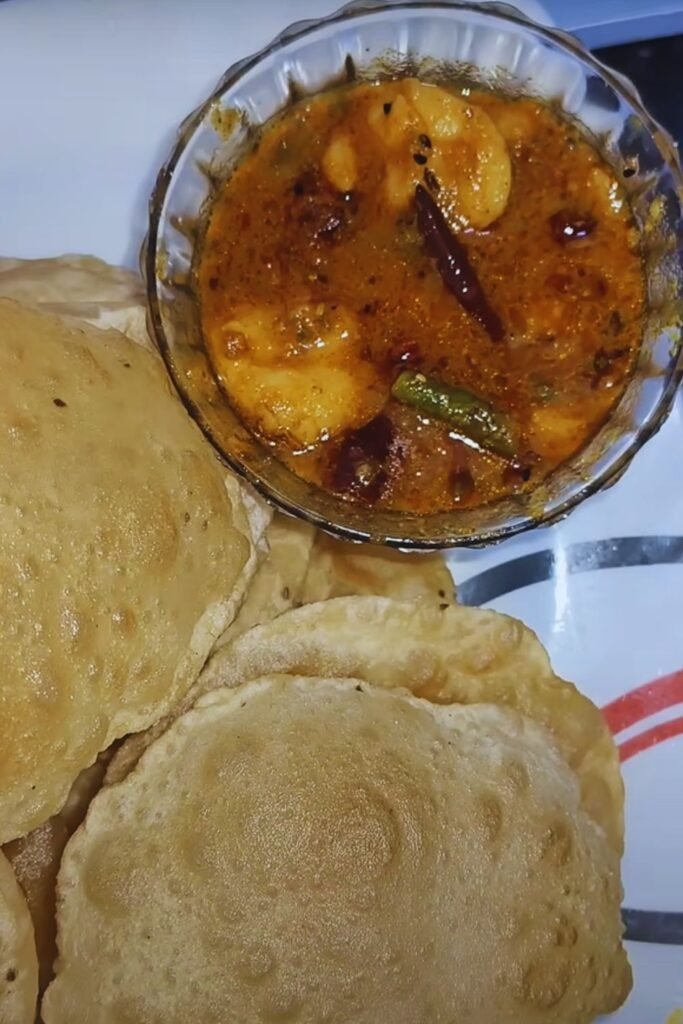
- Stuff with falafel and fresh vegetables
- Use as a base for Mediterranean pizzas
- Serve alongside hummus and baba ganoush
- Create breakfast pockets with eggs and cheese
- Make pita chips for dips
Nutritional Information
(per pita)
| Nutrient | Amount | % Daily Value |
|---|---|---|
| Calories | 165 | – |
| Carbohydrates | 33g | 11% |
| Protein | 5g | 10% |
| Fiber | 1.2g | 5% |
| Fat | 2g | 3% |
Common Questions
Q: Why didn’t my pita puff up?
A: The most common reason is uneven rolling thickness. Ensure your pitas are rolled to a uniform ¼-inch thickness and your oven is fully preheated to 475°F (245°C).
Q: Can I use whole wheat flour?
A: Yes, you can substitute up to 50% of the all-purpose flour with whole wheat flour. Keep in mind this will result in denser pitas with less pocket space.
Q: How do I keep pitas soft?
A: Store them in an airtight container or zip-top bag while still slightly warm. The trapped steam will keep them soft. If they harden, sprinkle with water and reheat briefly.
Q: Can I make the dough ahead of time?
A: Yes, you can refrigerate the dough after the first rise for up to 24 hours. Let it come to room temperature before shaping.
Q: Why are my pitas crispy instead of soft?
A: This usually happens when the oven temperature is too low, causing the pitas to bake too long. Ensure your oven is properly preheated and calibrated.
Pro Tips
- Use a pizza stone if possible – it creates the perfect environment for pitas to puff
- Don’t skip the resting periods – they’re crucial for proper texture
- Roll from the center outward for even thickness
- Keep shaped pitas covered until baking to prevent drying
- Stack and wrap warm pitas in a clean kitchen towel to maintain softness
Remember, perfect pita bread comes with practice. Don’t be discouraged if your first batch isn’t perfect – each time you make them, you’ll get better at recognizing the right dough consistency and perfecting your technique.