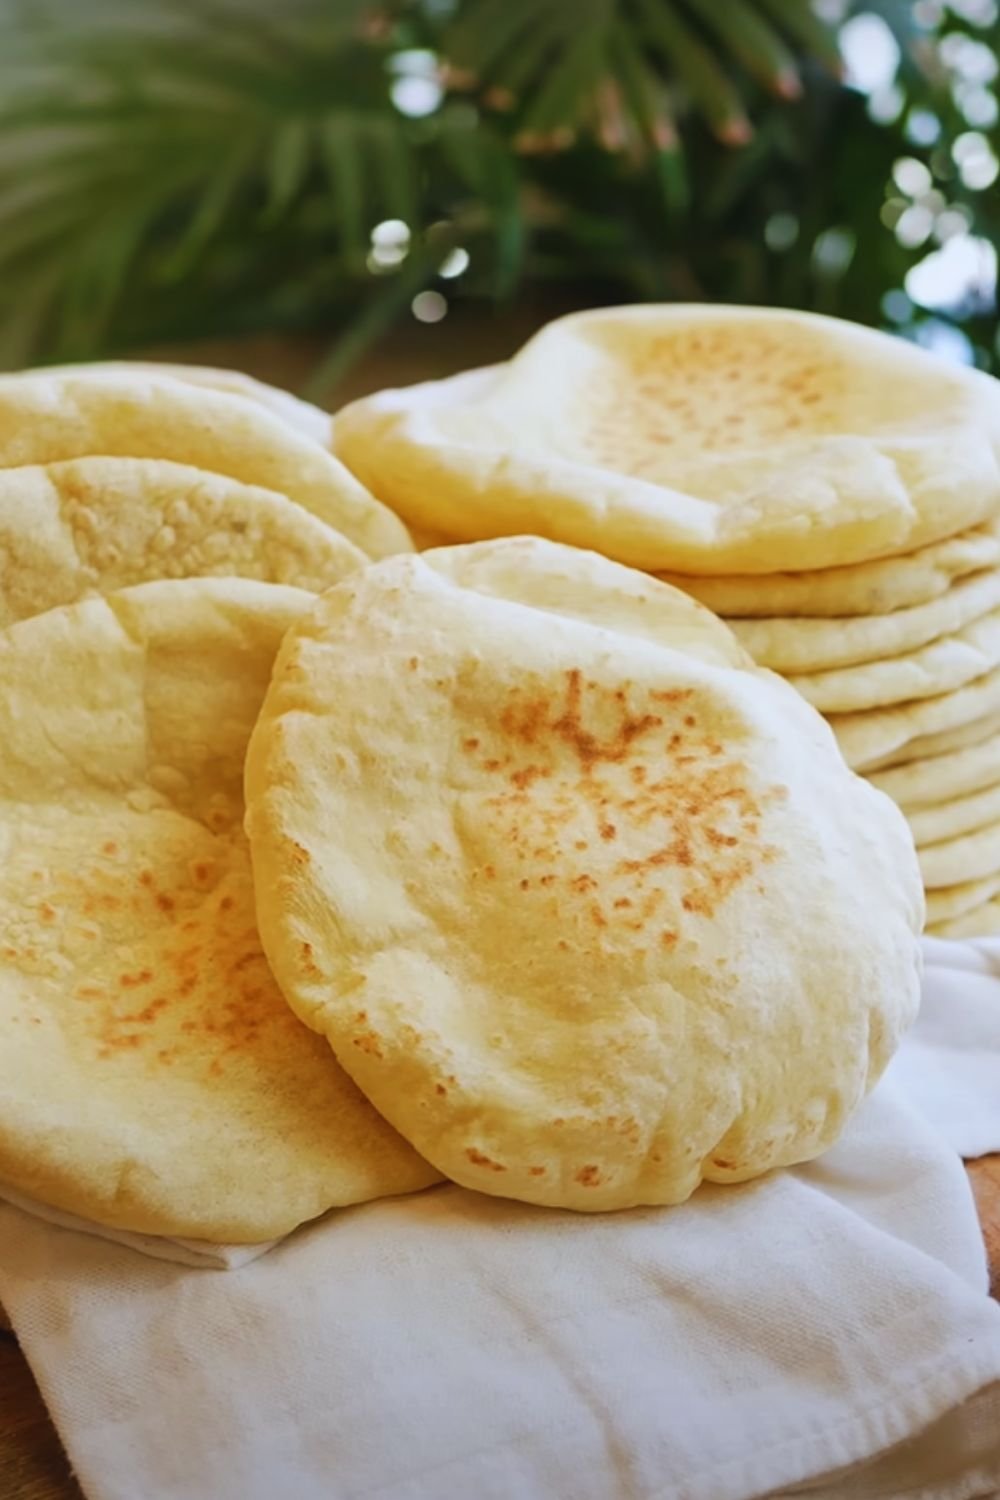
There’s nothing quite like the aroma of freshly baked dinner rolls wafting through your kitchen. I’ve spent years perfecting this recipe, and today I’m excited to share my foolproof method for creating the softest, most pillowy dinner rolls you’ve ever tasted. These rolls are so good, they’ll have your family fighting over the last one!
Why You’ll Love This Recipe
I remember the first time I attempted making dinner rolls – they turned out more like hockey pucks than bread! But after countless attempts and learning from my mistakes, I’ve developed this fail-proof recipe that works every single time. These rolls are:
- Incredibly soft and fluffy with a tender crumb
- Perfect for both beginners and experienced bakers
- Make-ahead friendly (with detailed storage instructions)
- Ready in under 4 hours (including rise time)
- Freezer-friendly for up to 3 months
Essential Ingredients

For perfect dinner rolls, quality ingredients matter. Here’s what you’ll need:
| Ingredient | Amount | Notes |
|---|---|---|
| Bread flour | 4 cups (480g) | Higher protein content for better structure |
| Active dry yeast | 2¼ tsp (7g) | One standard packet |
| Warm milk | 1 cup (240ml) | Temperature between 105-115°F |
| Unsalted butter | ⅓ cup (76g) | Softened, plus extra for brushing |
| Large eggs | 2 | Room temperature |
| Granulated sugar | ¼ cup (50g) | Helps activate yeast and adds tenderness |
| Salt | 1½ tsp (9g) | Fine sea salt preferred |
| Water | ¼ cup (60ml) | Warm (105-115°F) |
Essential Equipment
| Tool | Purpose |
|---|---|
| Stand mixer | For efficient dough kneading |
| Large mixing bowl | For dough rising |
| 9×13 inch baking pan | For baking rolls |
| Kitchen scale | For precise measurements |
| Thermometer | To check liquid temperatures |
| Pastry brush | For butter application |
| Clean kitchen towel | For covering dough while rising |
Step-by-Step Instructions
1. Activate the Yeast
- Combine warm water, 1 teaspoon of sugar, and yeast
- Let stand for 5-10 minutes until foamy
- If mixture doesn’t foam, start over with fresh yeast
2. Prepare the Dough

- In your stand mixer bowl, combine:
- Warm milk
- Melted butter
- Remaining sugar
- Eggs
- Salt
- Add 2 cups of flour and mix until smooth
- Gradually add remaining flour while mixing
- Knead for 8-10 minutes until dough is:
- Smooth and elastic
- Slightly tacky but not sticky
- Passes the windowpane test
3. First Rise
- Place dough in greased bowl
- Cover with clean towel
- Let rise 60-90 minutes until doubled
- Look for these signs of proper rising:
- Dough has doubled in size
- Leaves indentation when poked
- Feels light and airy
4. Shape the Rolls

- Divide dough into 15 equal portions (about 65g each)
- Shape each portion:
- Pat into a rough rectangle
- Fold corners into center
- Roll into smooth ball
- Pinch seams together
- Arrange in greased 9×13 pan
- Space rolls evenly for proper rising
5. Second Rise and Baking
- Cover shaped rolls
- Let rise 45-60 minutes
- Preheat oven to 375°F
- Brush with melted butter
- Bake 20-25 minutes until:
- Golden brown
- Internal temperature reaches 190°F
- Brush with more butter while hot
Troubleshooting Guide
| Problem | Cause | Solution |
|---|---|---|
| Dense, heavy rolls | Under-kneaded dough | Knead longer until passes windowpane test |
| Rolls don’t rise | Old yeast or cold room | Use fresh yeast, create warm environment |
| Uneven sizing | Poor portioning | Use scale to measure each portion |
| Dark bottom crust | Pan too close to heat | Use middle rack, consider double pan |
| Rolls spread too much | Too much liquid | Add flour gradually during mixing |
Storage and Make-Ahead Tips
Room Temperature
- Best served same day
- Store in airtight container up to 2 days
- Reheat briefly before serving
Refrigerator
- Store up to 1 week
- Wrap tightly in plastic
- Bring to room temperature before serving
Freezer
- Freeze up to 3 months
- Double wrap in plastic and foil
- Thaw overnight in refrigerator
Serving Suggestions
These versatile rolls pair beautifully with:
- Hearty soups and stews
- Holiday roasts and gravies
- Breakfast with butter and jam
- Sandwiches (they’re perfect for sliders!)
- Sunday dinners with honey butter
Common Questions and Answers
Q: Can I make these without a stand mixer?
Yes! You can knead by hand for 12-15 minutes. Look for the same dough consistency indicators.
Q: Why didn’t my rolls rise?
Check your yeast freshness, liquid temperature, and room temperature. Yeast needs warm (not hot) conditions to thrive.
Q: Can I use all-purpose flour instead of bread flour?
Yes, though the texture will be slightly less chewy. Reduce liquid by 2 tablespoons.
Q: How do I know when they’re done baking?
They should be golden brown and have an internal temperature of 190°F. When tapped, they should sound hollow.
Q: Can I make them ahead for a dinner party?
Absolutely! Shape the rolls, refrigerate overnight, then let rise at room temperature for 2 hours before baking.
Pro Tips for Perfect Rolls
- Temperature Matters
- All ingredients should be room temperature
- Liquid temperature crucial for yeast activation
- Warm rising environment (75-80°F) ideal
- Proper Kneading
- Watch dough consistency more than time
- Should clean bowl sides but stick slightly to bottom
- Windowpane test confirms proper development
- Rising Environment
- Create a warm, draft-free space
- Use oven with light on
- Boil cup of water for humidity if needed
- Shaping Technique
- Keep surface lightly floured
- Use gentle handling to maintain air bubbles
- Pinch seams tightly for smooth tops
Recipe Variations
Whole Wheat Version
- Replace 1 cup bread flour with whole wheat
- Add 2 tablespoons extra liquid
- Expect slightly denser texture
Herb-Enriched
- Add 2 tablespoons fresh herbs
- Try rosemary, thyme, or sage
- Mix into dough during kneading
Sweet Variation
- Increase sugar to ⅓ cup
- Add 1 teaspoon vanilla
- Perfect for breakfast rolls
Remember, bread making is part science and part art. Don’t be discouraged if your first batch isn’t perfect – each time you make these rolls, you’ll learn something new about the process. Happy baking!