Have you ever wondered how to elevate the humble pita bread to new heights of flavor and nutrition? I’ve spent years perfecting this unique twist on traditional pita bread, and I’m excited to share my sweet potato pita bread recipe with you. This innovative take combines the wholesome goodness of sweet potatoes with the timeless appeal of Mediterranean bread-making.
The Magic Behind Sweet Potato Pita
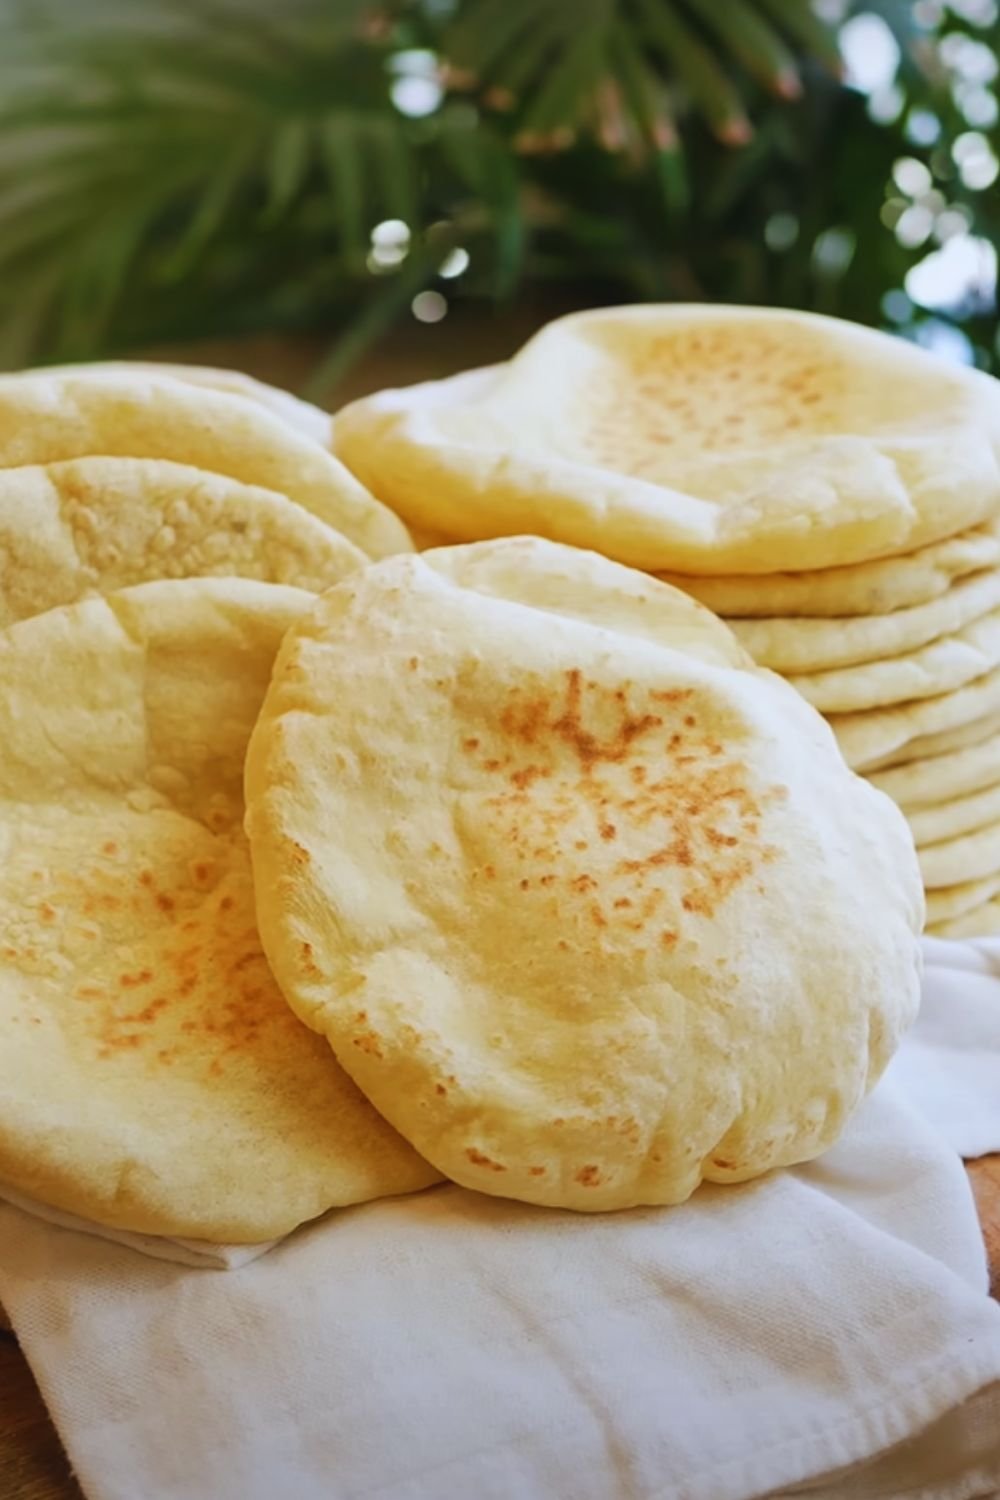
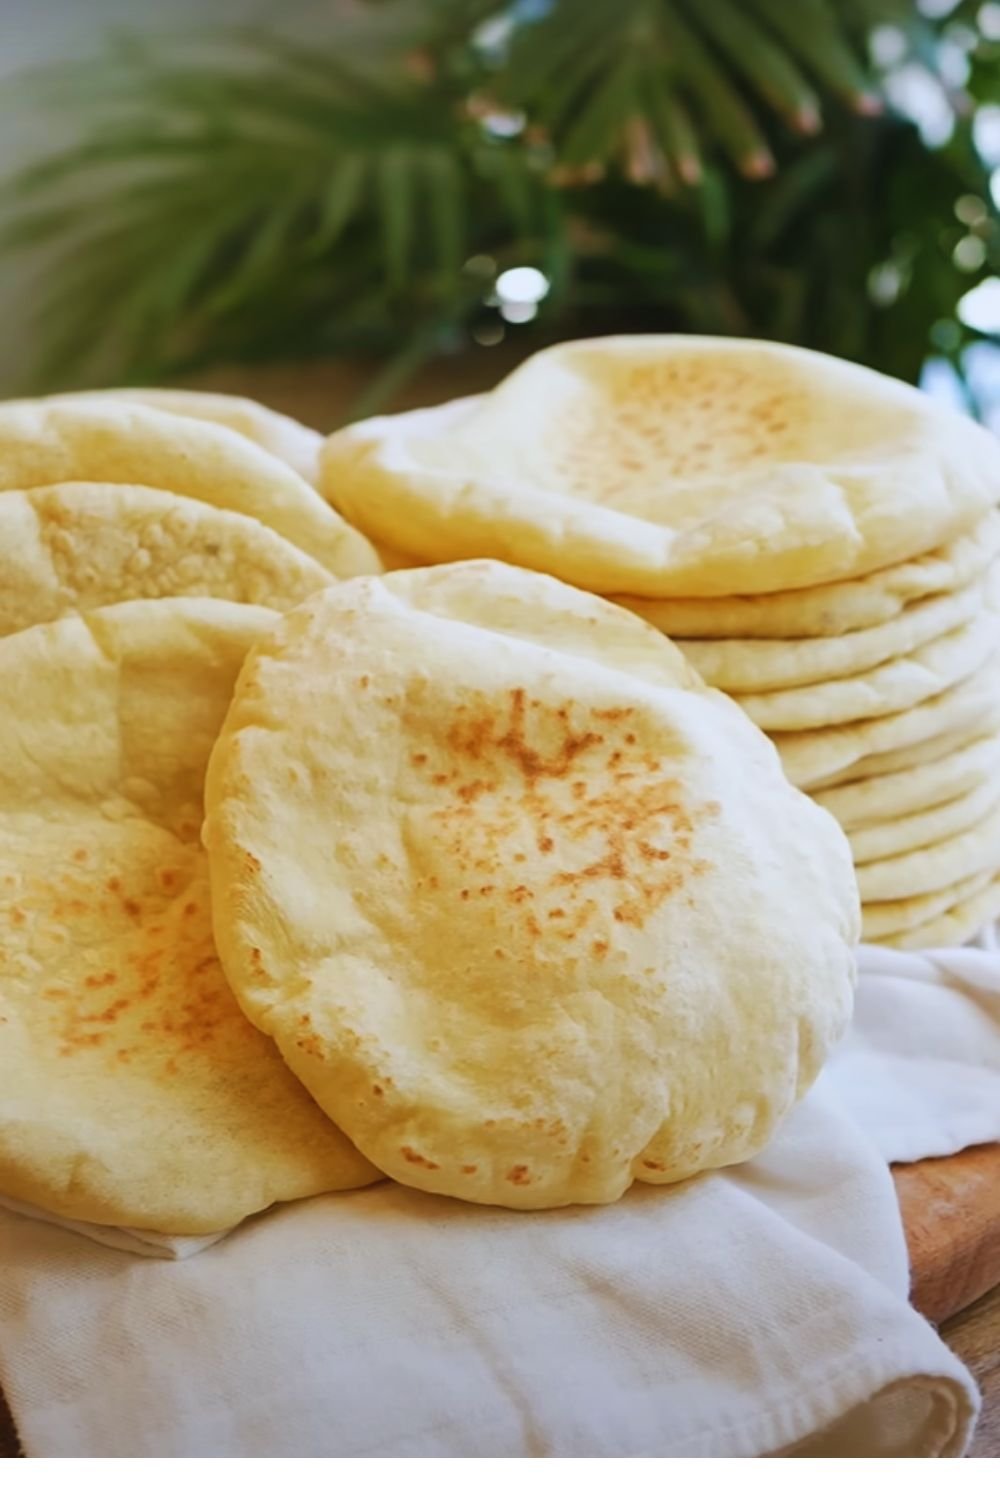
When I first started experimenting with different pita bread variations, I never imagined that sweet potatoes would become my secret weapon. The natural sweetness and moisture from the sweet potatoes create a perfectly tender pocket bread that stays fresh longer than traditional pita. Plus, that gorgeous orange hue makes these pitas absolutely Instagram-worthy!

Key Nutritional Benefits
Sweet potato pita bread isn’t just delicious – it’s packed with nutrients that make it a superior choice for health-conscious food lovers:
| Nutrient | Amount per Serving | % Daily Value |
|---|---|---|
| Fiber | 4g | 16% |
| Vitamin A | 4,400 IU | 88% |
| Vitamin C | 3.1mg | 5% |
| Iron | 2mg | 11% |
| Potassium | 230mg | 7% |
| Protein | 6g | 12% |
Essential Ingredients
For 8 medium-sized pita breads:
| Ingredient | Amount | Notes |
|---|---|---|
| Sweet potato puree | 1 cup | Freshly baked and mashed |
| All-purpose flour | 3 cups | Plus extra for dusting |
| Active dry yeast | 2¼ tsp | One standard packet |
| Warm water | ¾ cup | 110°F (43°C) |
| Honey | 1 tbsp | Raw preferred |
| Salt | 1½ tsp | Sea salt recommended |
| Olive oil | 2 tbsp | Extra virgin |
| Whole wheat flour | ½ cup | For extra nutrition |
Equipment Needed
| Tool | Purpose | Alternative |
|---|---|---|
| Stand mixer | Dough kneading | Hand kneading |
| Baking stone | Even heat distribution | Heavy baking sheet |
| Rolling pin | Dough shaping | Wine bottle |
| Kitchen scale | Precise portioning | Measuring cups |
| Thermometer | Water temperature | Wrist test |

Step-by-Step Instructions
- Prepare the Sweet Potato:
- Preheat oven to 400°F (200°C)
- Wash and pierce sweet potato several times
- Bake for 45-60 minutes until very tender
- Cool, peel, and mash until smooth
- Activate the Yeast:
- Combine warm water and honey in a bowl
- Sprinkle yeast over the mixture
- Let stand for 5-10 minutes until foamy
- If no foam appears, start over with fresh yeast
- Mix the Dough:
- Combine flours and salt in stand mixer bowl
- Add sweet potato puree and olive oil
- Pour in activated yeast mixture
- Mix with dough hook for 5-7 minutes
- Dough should be soft but not sticky
- First Rise:
- Place in oiled bowl
- Cover with damp cloth
- Let rise 1-1½ hours
- Dough should double in size
- Shape and Second Rise:
- Divide into 8 equal portions
- Shape into balls
- Rest 15 minutes covered
- Roll each into ¼-inch thick circles
- Baking Process:
- Preheat oven to 475°F (245°C)
- Place baking stone in oven
- Bake 2-3 pitas at a time
- Cook 3-4 minutes until puffed
Troubleshooting Common Issues
| Problem | Cause | Solution |
|---|---|---|
| Pitas don’t puff | Too thick | Roll thinner |
| Dough too sticky | Too much liquid | Add flour gradually |
| Dense texture | Under-kneaded | Knead longer |
| Burns quickly | Oven too hot | Reduce temperature |
| Won’t rise | Old yeast | Use fresh yeast |
Storage and Serving Suggestions
These pitas stay fresh for:
- Room temperature: 2 days
- Refrigerated: 5 days
- Frozen: 3 months
Serving Ideas:
- Mediterranean mezze platters
- Homemade falafel wraps
- Hummus and vegetable sandwiches
- Greek salad pockets
- Breakfast pitas with eggs and avocado
Alternative Variations
| Variation | Added Ingredients | Special Notes |
|---|---|---|
| Garlic Herb | 2 cloves garlic, fresh herbs | Add during mixing |
| Whole Grain | Replace AP flour with whole wheat | Need extra water |
| Spiced | 1 tsp cumin, ½ tsp paprika | Mix with dry ingredients |
| Protein-packed | Add ¼ cup ground flaxseed | Reduce flour slightly |
Questions & Answers
Q: Can I use canned sweet potato?
While fresh is best, you can use canned sweet potato in a pinch. Drain well and reduce the water in the recipe by 2 tablespoons.
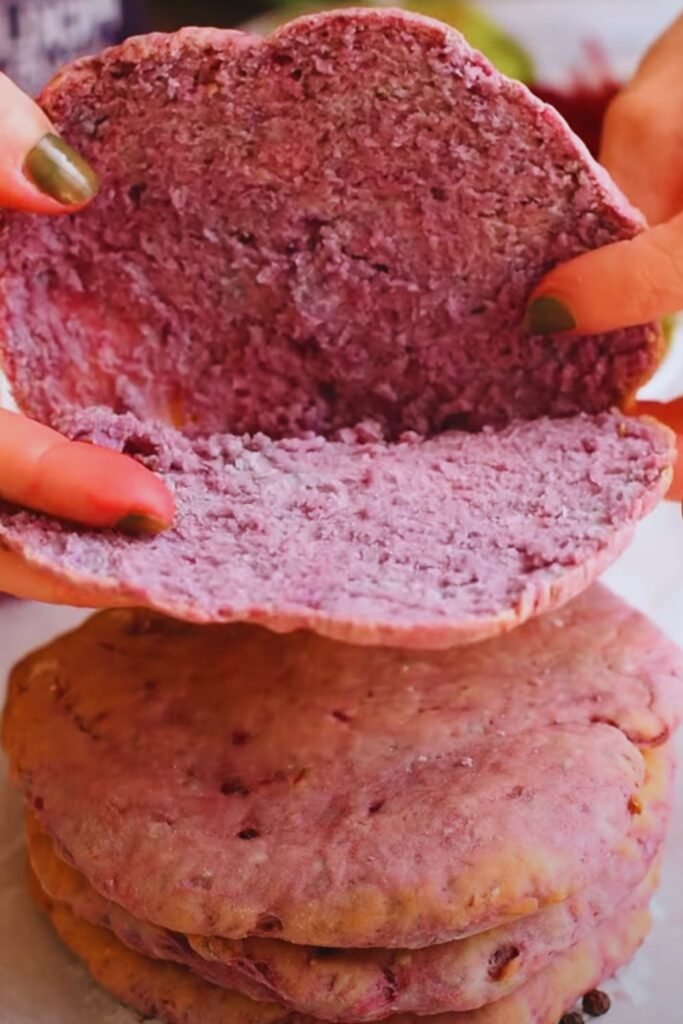
Q: Why didn’t my pitas puff up?
The most common reason is rolling them too thick or unevenly. Aim for ¼-inch thickness and ensure your oven is fully preheated with the baking stone.
Q: Can I make these gluten-free?
I haven’t had success making these completely gluten-free, as the gluten is essential for the signature pocket formation. I’m currently testing alternatives and will update when I find a reliable method.
Q: How can I prevent my pitas from drying out?
Store them in an airtight container while still slightly warm. The residual heat creates moisture that keeps them soft. If they do dry out, sprinkle with water and reheat briefly.
Q: Can I freeze the dough?
Yes! After the first rise, portion the dough, wrap each piece individually, and freeze for up to 3 months. Thaw overnight in the refrigerator before shaping and baking.
Chef’s Tips for Perfect Pitas
- Temperature Matters:
- Water should be precisely 110°F
- Oven must be thoroughly preheated
- Don’t skip the baking stone
- Dough Texture:
- Should be tacky but not sticky
- Smooth and elastic after kneading
- Responds to gentle finger press
- Rolling Technique:
- Use minimal flour for rolling
- Keep edges even thickness
- Rotate dough while rolling
- Timing is Everything:
- Don’t rush the first rise
- Allow full 15-minute rest
- Watch pitas carefully while baking
I hope this comprehensive guide helps you create perfect sweet potato pita bread. Remember, practice makes perfect, and don’t be discouraged if your first batch isn’t picture-perfect. The journey of mastering this recipe is just as rewarding as the delicious end result!