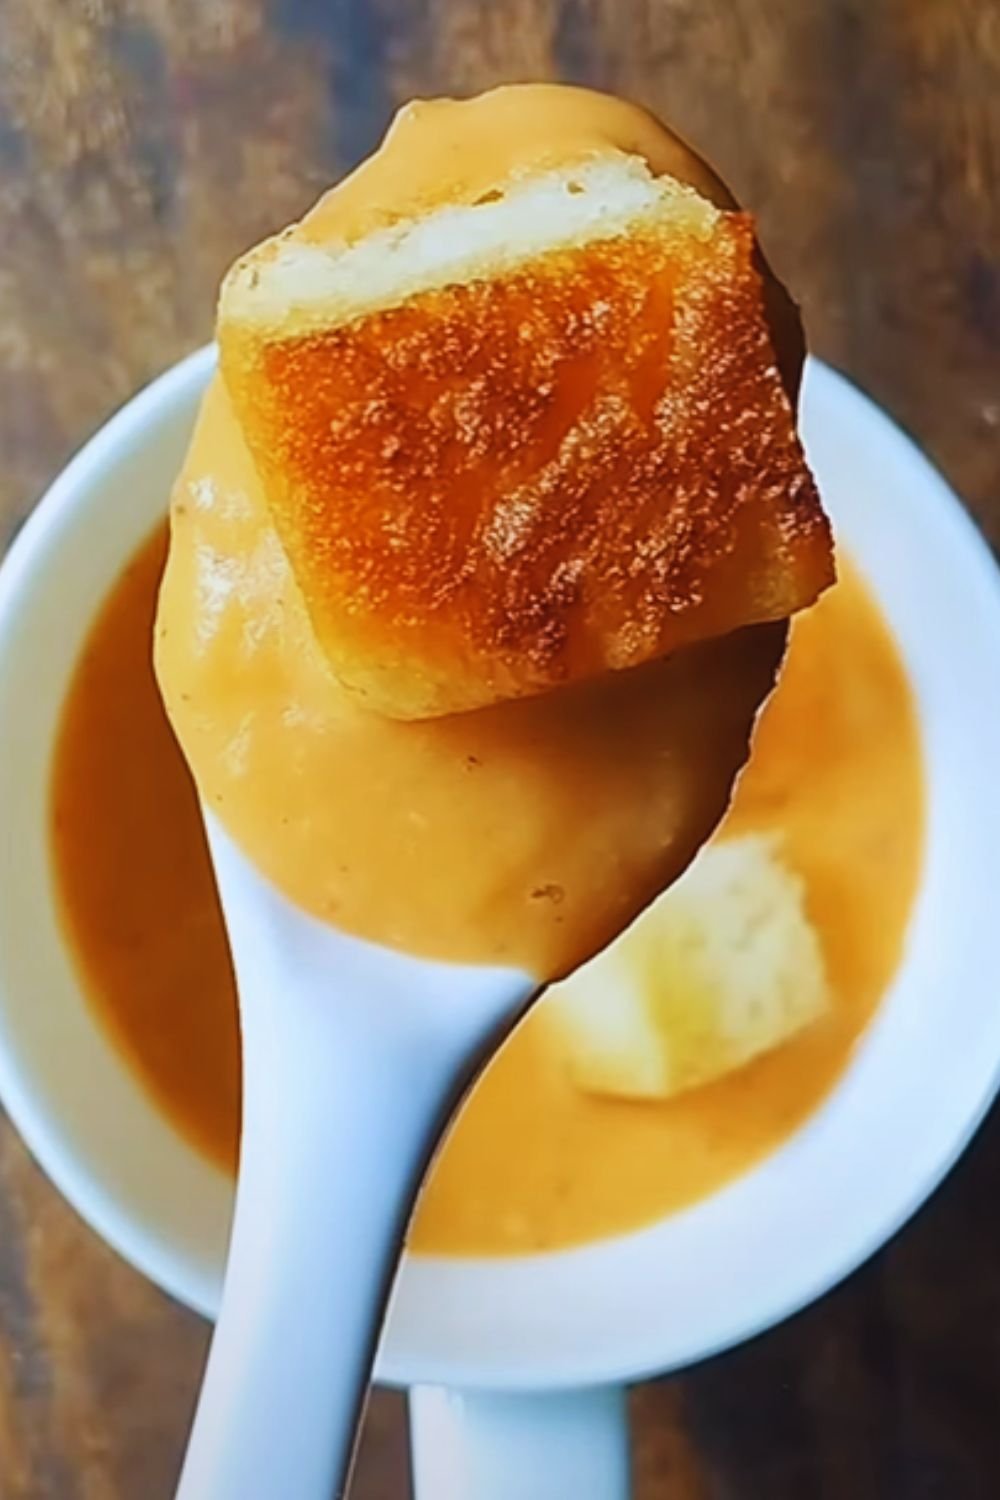
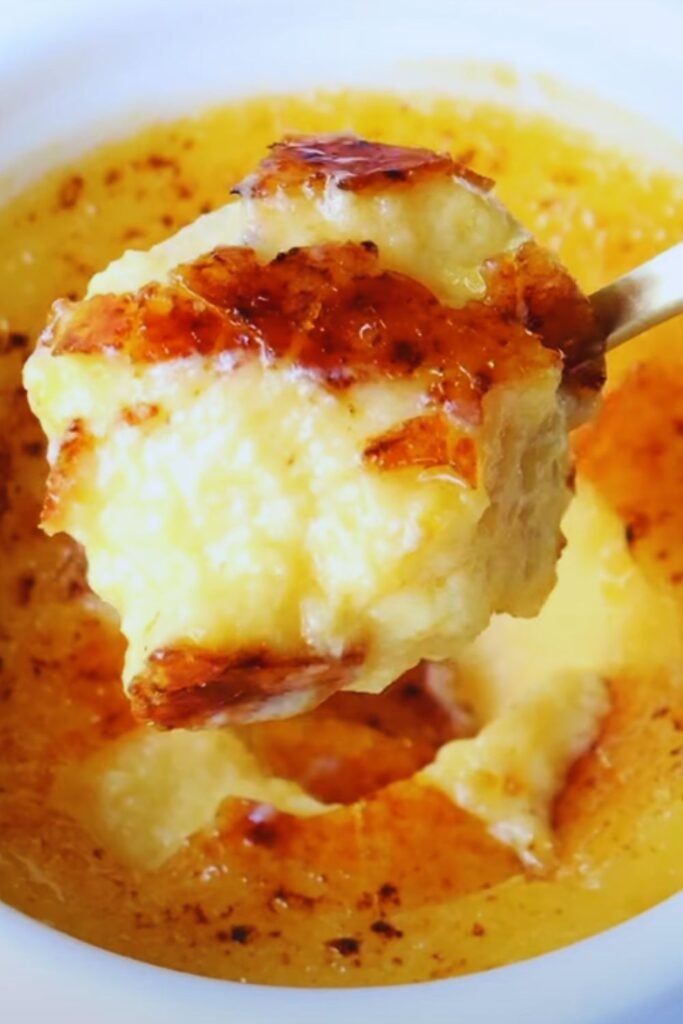
There’s something magical about cracking through that perfectly caramelized sugar crust to reach the silky custard beneath. I’ve spent years perfecting my creme brulee recipe, and I’m thrilled to share it with you today. The best part? You only need four simple ingredients to create this elegant French dessert at home.
Introduction
The first time I tasted creme brulee was at a small Parisian café tucked away on a cobblestone street. I was immediately captivated by the contrast between the brittle caramelized topping and the velvety custard underneath. What seemed like a complicated restaurant dessert turned out to be surprisingly simple to make.
After countless attempts and minor adjustments, I’ve finally created what I believe is the perfect creme brulee recipe. This classic dessert might look intimidating, but I promise you—with just four ingredients and some patience, you’ll be creating restaurant-quality creme brulee in your own kitchen.
What Makes This Recipe Special
Before diving into the recipe, let me share why this particular version stands out:
- Simplicity: Just 4 ingredients means the pure flavors shine through
- Perfect texture: Silky smooth with no eggy taste
- Foolproof method: Step-by-step instructions ensure success
- Make-ahead friendly: Perfect for entertaining
- Customizable: Easy to add flavor variations once you master the basic technique
Essential Ingredients
The beauty of traditional creme brulee lies in its simplicity. When you’re working with so few ingredients, quality matters tremendously.
| Ingredient | Amount | Notes |
|---|---|---|
| Heavy cream | 2 cups (480ml) | Use the highest fat content available, ideally 36-40% |
| Egg yolks | 5 large | Fresh eggs at room temperature work best |
| Granulated sugar | 1/2 cup (100g), divided | 1/4 cup for custard, 1/4 cup for topping |
| Pure vanilla extract | 1 tablespoon | Or 1 vanilla bean, split and scraped |
Why These Ingredients Matter
- Heavy cream: The fat content creates that luxurious mouthfeel. Don’t substitute with half-and-half or milk.
- Egg yolks: These provide the structure and richness. Using only yolks (no whites) ensures a silky texture.
- Sugar: White granulated sugar works best both in the custard and for creating that signature caramelized top.
- Vanilla: I recommend pure vanilla extract or a real vanilla bean for the best flavor.
Essential Equipment
Having the right tools makes all the difference when making creme brulee:
| Equipment | Purpose |
|---|---|
| Ramekins | 4-6 oz ramekins work best for individual servings |
| Kitchen torch | Essential for caramelizing the sugar topping |
| Fine mesh strainer | Ensures a perfectly smooth custard |
| Deep baking dish | For the water bath |
| Instant-read thermometer | Optional but helpful for custard doneness |
| Mixing bowls | For preparing the custard mixture |
| Whisk | For combining ingredients without incorporating air |
About Ramekins
I prefer shallow, wide ramekins specifically designed for creme brulee. They provide more surface area for that delicious caramelized sugar topping. However, standard ramekins work perfectly fine too.
Kitchen Torch Alternative
While a kitchen torch is ideal, you can use your oven’s broiler in a pinch. Just be vigilant—the sugar can burn quickly under a broiler.
Step-by-Step Instructions
Preparing the Custard Base
- Preheat your oven to 325°F (165°C).
- In a medium saucepan, heat the heavy cream over medium-low heat until it just begins to simmer around the edges. Don’t let it boil.
- While the cream heats, whisk together the egg yolks and 1/4 cup (50g) of sugar in a large bowl until the mixture is pale yellow.
- Once the cream is heated, remove it from the heat and slowly pour about 1/4 cup into the egg mixture while whisking constantly. This step is called tempering and prevents the eggs from scrambling.
- Gradually add the remaining cream, continuing to whisk.
- Stir in the vanilla extract.
- Strain the mixture through a fine-mesh sieve into a clean bowl or measuring cup with a spout.
Baking the Custards
- Place your ramekins in a deep baking dish or roasting pan.
- Divide the custard mixture evenly among the ramekins.
- Pour hot (not boiling) water into the baking dish until it reaches halfway up the sides of the ramekins. This water bath (or bain-marie) ensures gentle, even cooking.
- Carefully transfer the baking dish to the preheated oven.
- Bake for 30-35 minutes until the custards are set but still slightly jiggly in the center. The internal temperature should reach about 170°F (77°C).
- Remove the ramekins from the water bath and let cool at room temperature for about 30 minutes.
- Cover each ramekin with plastic wrap and refrigerate for at least 4 hours, preferably overnight.
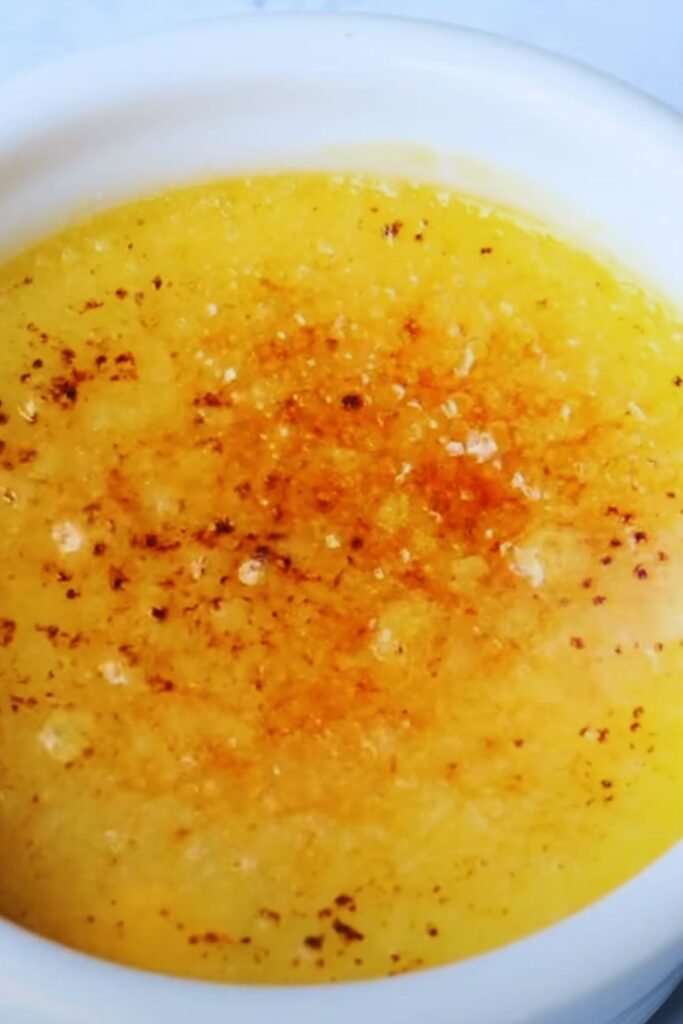
Creating the Caramelized Sugar Crust
- Just before serving, remove the custards from the refrigerator and blot any moisture from the surface with a paper towel.
- Sprinkle about 1-2 teaspoons of granulated sugar evenly over each custard. Rotate the ramekin to distribute the sugar evenly.
- Hold a kitchen torch 2-3 inches from the surface and move it continuously in small circles until the sugar melts and caramelizes to a deep amber color.
- Allow the caramelized sugar to cool and harden for 1-2 minutes before serving.
Troubleshooting Tips
Even experienced bakers encounter challenges with creme brulee. Here are solutions to common issues:
| Problem | Cause | Solution |
|---|---|---|
| Custard is too firm | Overbaking | Reduce baking time by 3-5 minutes |
| Custard is runny | Underbaking | Increase baking time; ensure proper water bath temperature |
| Sugar won’t caramelize properly | Moisture on surface or uneven sugar layer | Thoroughly blot surface before adding sugar; ensure even distribution |
| Eggy flavor | Overcooked eggs | Lower oven temperature; ensure proper tempering |
| Burnt topping | Torch held too close or in one spot too long | Keep torch moving; hold further from surface |
| Curdled texture | Heat applied too quickly to eggs | Temper eggs more gradually; strain custard |
Flavor Variations
Once you’ve mastered the classic vanilla creme brulee, try these delicious variations:
| Flavor | Ingredients to Add | When to Add |
|---|---|---|
| Chocolate | 2 oz finely chopped dark chocolate | Melt into hot cream |
| Coffee | 1 tablespoon instant espresso powder | Dissolve in hot cream |
| Citrus | 1 tablespoon zest (lemon, orange, or lime) | Add to hot cream and steep 30 minutes |
| Lavender | 1 tablespoon dried culinary lavender | Add to hot cream, steep 30 minutes, strain |
| Maple | Replace granulated sugar with maple sugar | Use in place of regular sugar |
| Coconut | Replace 1 cup cream with coconut cream | Use in the base mixture |
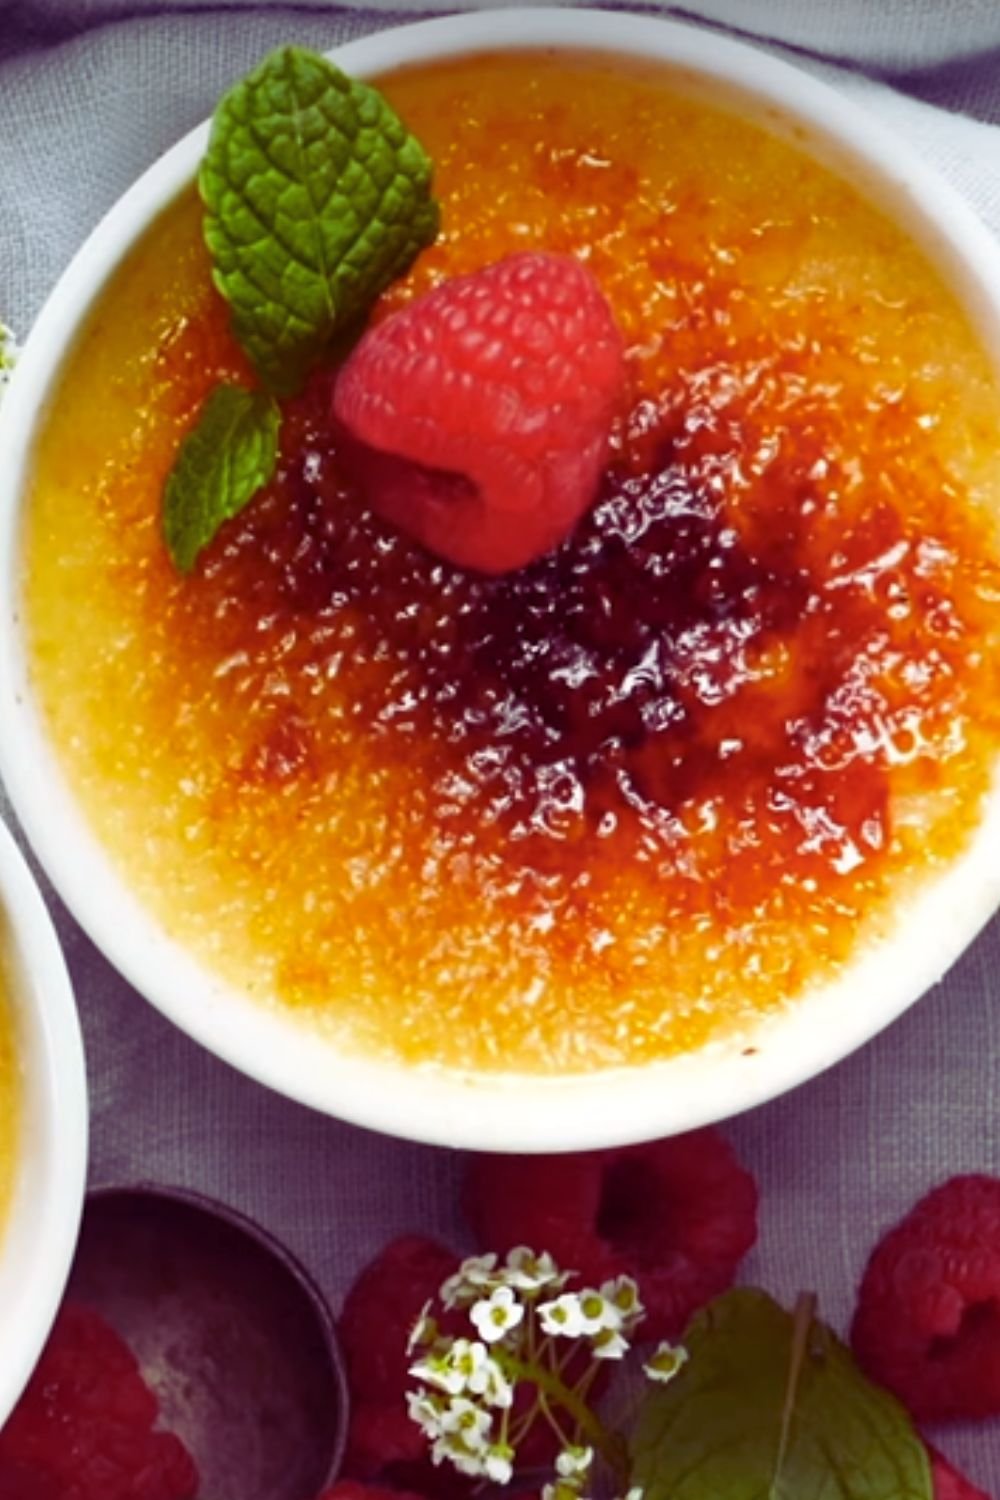
Serving Suggestions

While creme brulee is perfect on its own, here are some elegant serving ideas:
- Fresh berries on the side
- A small shortbread cookie
- A light dusting of cocoa powder around the edge of the plate
- A mint leaf garnish
- A drizzle of aged balsamic reduction around the ramekin
- A small quenelle of unsweetened whipped cream
Make-Ahead and Storage Tips
One of the beauties of creme brulee is that it’s perfect for entertaining since you can prepare it ahead of time:
- The custards can be baked up to 3 days in advance and kept covered in the refrigerator.
- Always caramelize the sugar topping just before serving.
- If you have leftover creme brulee (though this rarely happens in my house!), it will keep in the refrigerator for up to 2 days, though the caramelized topping will soften.
Why This Recipe Works
After years of testing, I’ve pinpointed the critical factors that make this recipe foolproof:
- Temperature control: Gentle heating prevents curdling
- Proper ratio: The perfect balance of cream to egg yolks
- Straining: Ensures silky smooth texture
- Water bath: Creates even, gentle heat distribution
- Thorough chilling: Develops flavors and sets texture
- Fresh ingredients: Quality matters with so few components
Frequently Asked Questions
Can I make creme brulee without a kitchen torch? Yes, you can use your oven’s broiler. Place the chilled custards on a baking sheet, sprinkle with sugar, and broil for 2-3 minutes until caramelized. Watch carefully to prevent burning.
Why did my custard curdle? Curdling usually happens when eggs get too hot too quickly. Make sure to temper the eggs properly by slowly adding hot cream while whisking constantly.
Can I use vanilla bean instead of extract? Absolutely! Split and scrape one vanilla bean and add it to the cream as it heats. Remove the pod before tempering the eggs or leave it in during baking for more intense flavor.
How do I know when my custards are done baking? The edges should be set, but the center should still have a slight jiggle—similar to Jell-O. An instant-read thermometer should register around 170°F (77°C).
Can I make one large creme brulee instead of individual servings? Yes, but you’ll need to increase the baking time. A single large custard will take about 45-50 minutes depending on the depth of your dish.
Why isn’t my sugar topping hardening properly? Make sure your custards are thoroughly chilled before caramelizing the sugar. Also, blot any moisture from the surface before adding sugar.
Can I use brown sugar for the topping? While traditionalists might object, brown sugar can create a delicious topping with a deeper molasses flavor. Just make sure it’s completely dry and free of lumps.
How far in advance can I caramelize the sugar topping? For best results, caramelize the sugar right before serving. The hard sugar crust will begin to soften after about 30 minutes.
What’s the difference between creme brulee, custard, and flan? While all are egg-based desserts, creme brulee features a hard caramelized top, custard is typically softer and sometimes served with sauce, and flan is unmolded and served with a liquid caramel sauce.
Can I freeze creme brulee? I don’t recommend freezing creme brulee as the texture can become grainy when thawed. The good news is that the custards will keep for up to 3 days in the refrigerator.
The History Behind Creme Brulee
Though often associated with French cuisine, the origin of creme brulee is actually debated. Some credit the French, while others believe it originated in England (where it was called “burnt cream”) or Spain (similar to Crema Catalana).
What we do know is that the earliest known recipe for a dessert similar to creme brulee appears in François Massialot’s 1691 cookbook. The dessert fell out of favor for some time but experienced a renaissance in the 1980s when it became a staple on fine dining menus across America.
I find there’s something wonderfully timeless about preparing a dessert that has delighted people for centuries. Each time I make creme brulee, I feel connected to this rich culinary heritage.
Final Tips for Success
After making hundreds of creme brulees, here are my most important tips:
- Be patient: Don’t rush the heating or baking process.
- Use room temperature eggs: They’ll blend more easily with the cream.
- Strain, strain, strain: Even if you think your custard is smooth, straining eliminates any potential lumps.
- Watch the water bath: Ensure it remains at the halfway point of the ramekins.
- Chill thoroughly: Overnight is best for flavor development and texture.
- Use a light touch with the torch: Keep it moving for even caramelization.
- Serve immediately: Creme brulee is at its best when the contrast between cold custard and warm, freshly caramelized topping is greatest.
The beauty of creme brulee lies in its elegant simplicity. With just four ingredients, you can create a dessert that never fails to impress. I hope this recipe becomes a favorite in your kitchen as it has in mine. There’s nothing quite like the sound of a spoon cracking through that caramelized sugar crust to reveal the creamy custard beneath—pure dessert perfection.